Kinematic 0.5.0 is out. Modeling and sculpting in the viewport, a timeline on every graph, photo and sound editing. What's new
Kinematic / Who it's for / Photographers

Develop, retouch and deliver your photos in Kinematic.

Develop a whole shoot, pick the sky or the subject with one click, heal and clone, merge brackets and restore old prints. One press of Save writes the web copy and the print copy. Every edit stays open, so you can change it long after you made it.

  • Landscape photographers
  • Portrait photographers
  • Product photographers
  • Real estate photographers
  • Retouchers
  • Archivists
16-bit TIFF and PNG, float EXRDisplay P3, Adobe RGB and ProPhoto read inSubject and sky found on your machineFree, even for commercial use
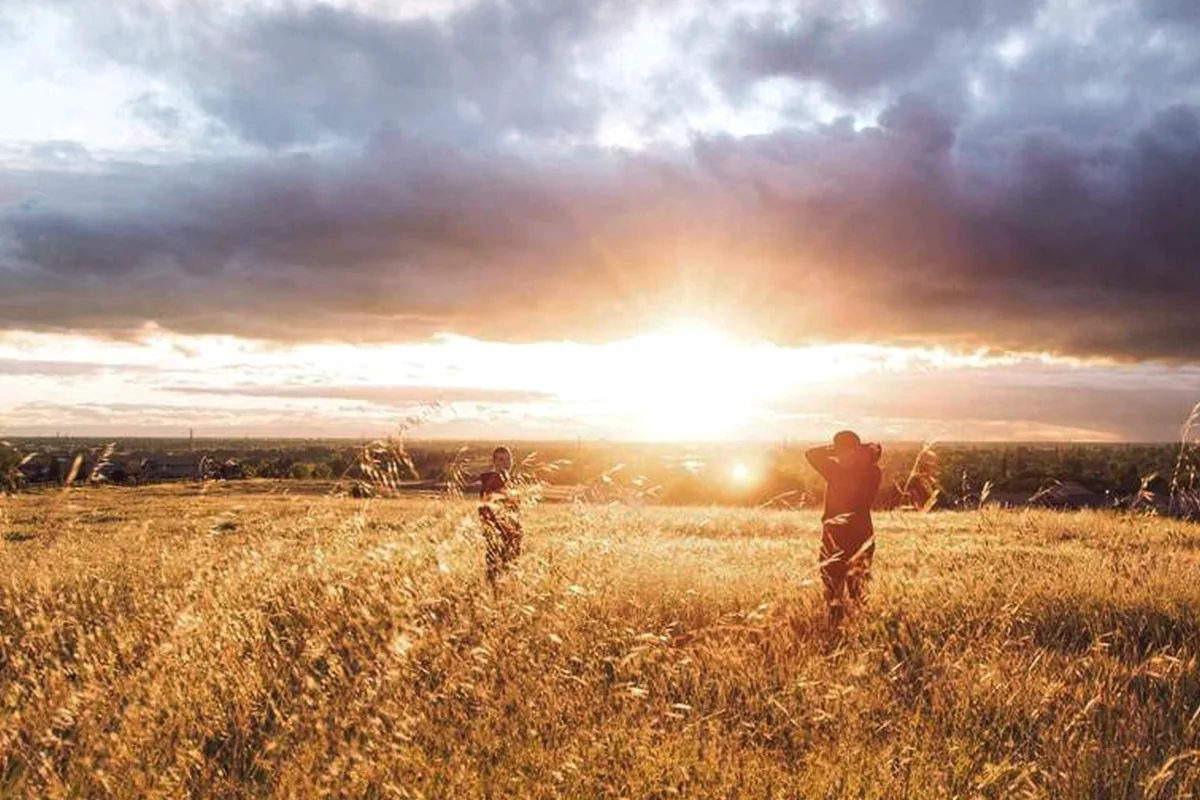
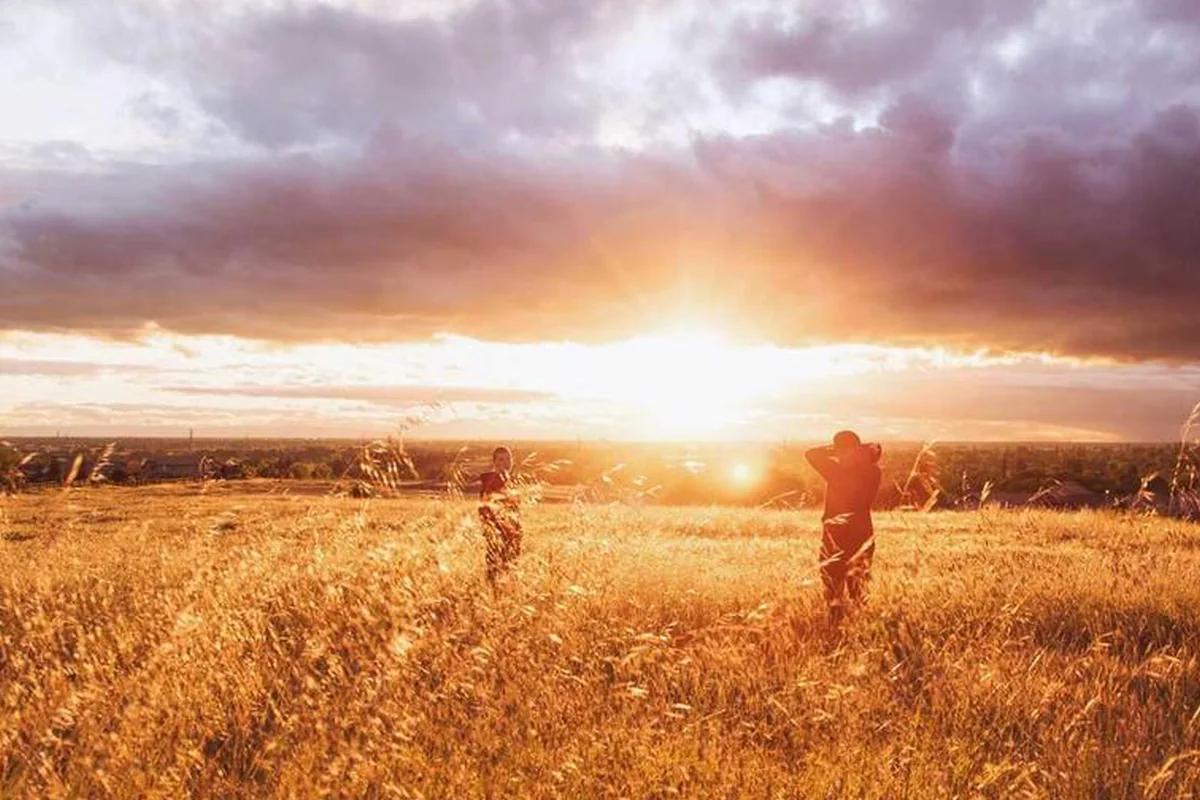
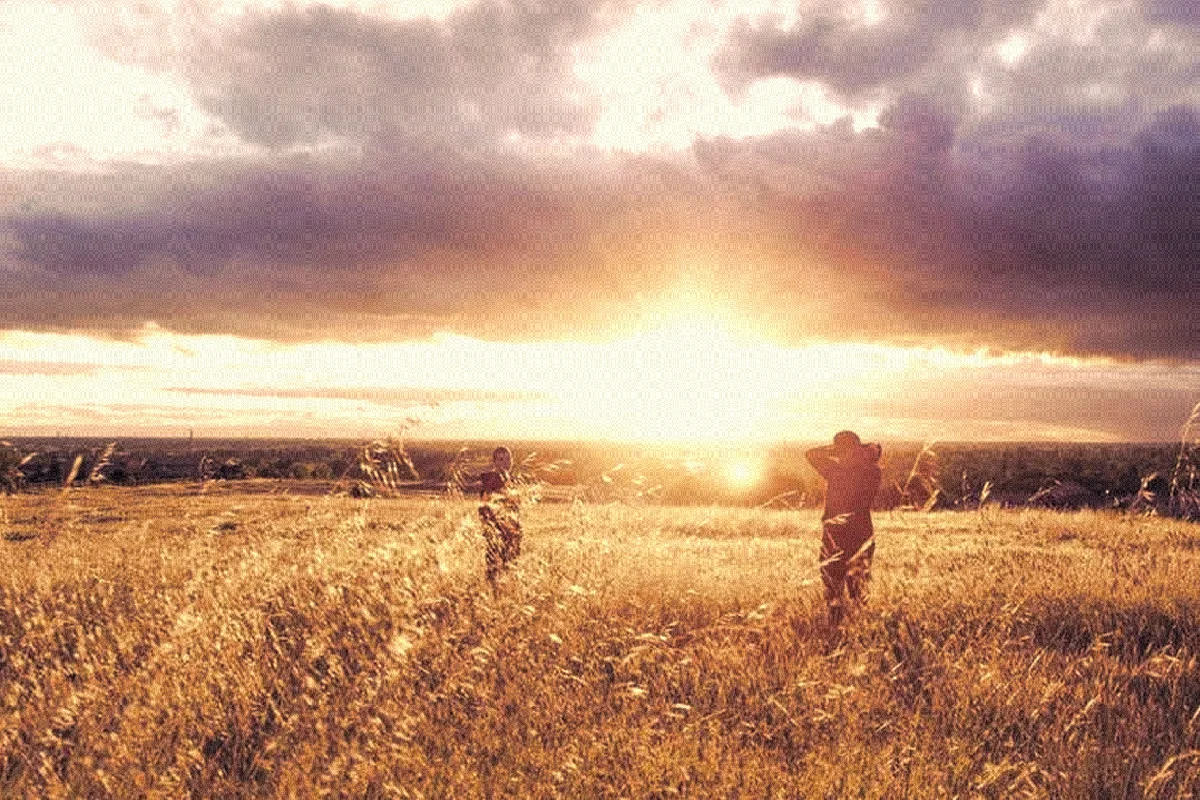
a sunset over a field of tall grass, two people standing in it, as shot the same photo with a look laid on it

One photo in three looks, each made in Kinematic. Drag across to compare it with the photo as shot.

The work

Edit your photos.

The jobs that come in week to week, and how each one is done here. Every step stays a node, so you can open it again when the client writes back.

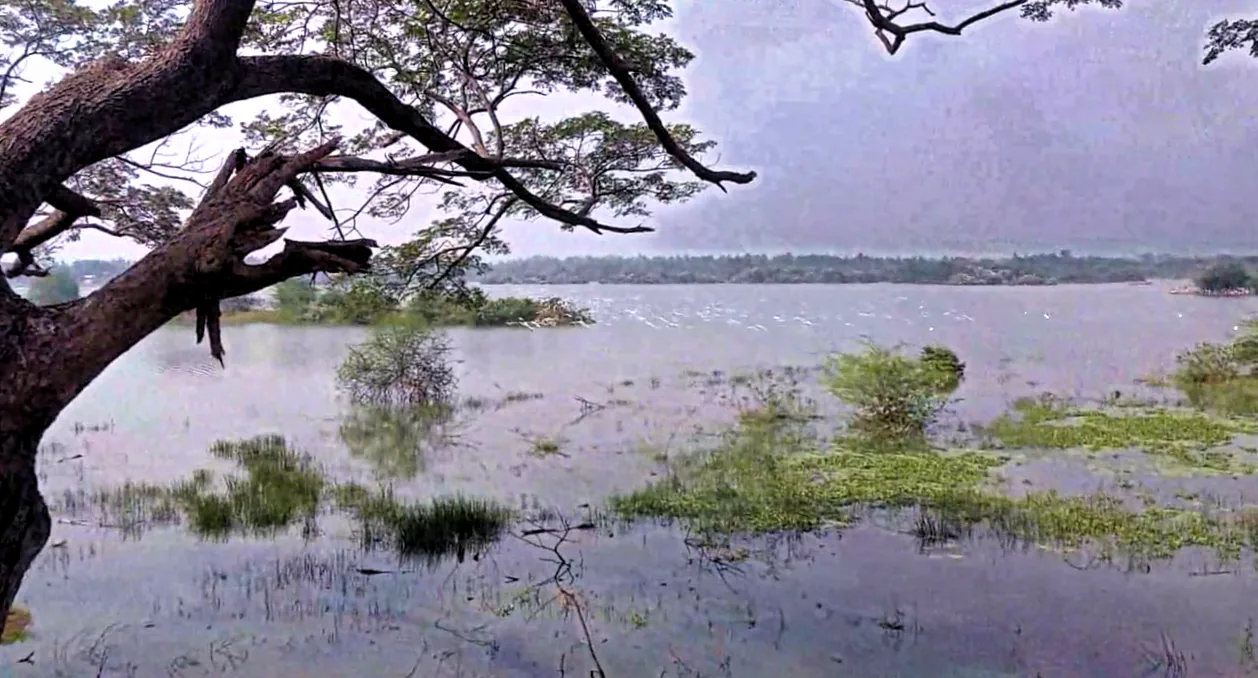
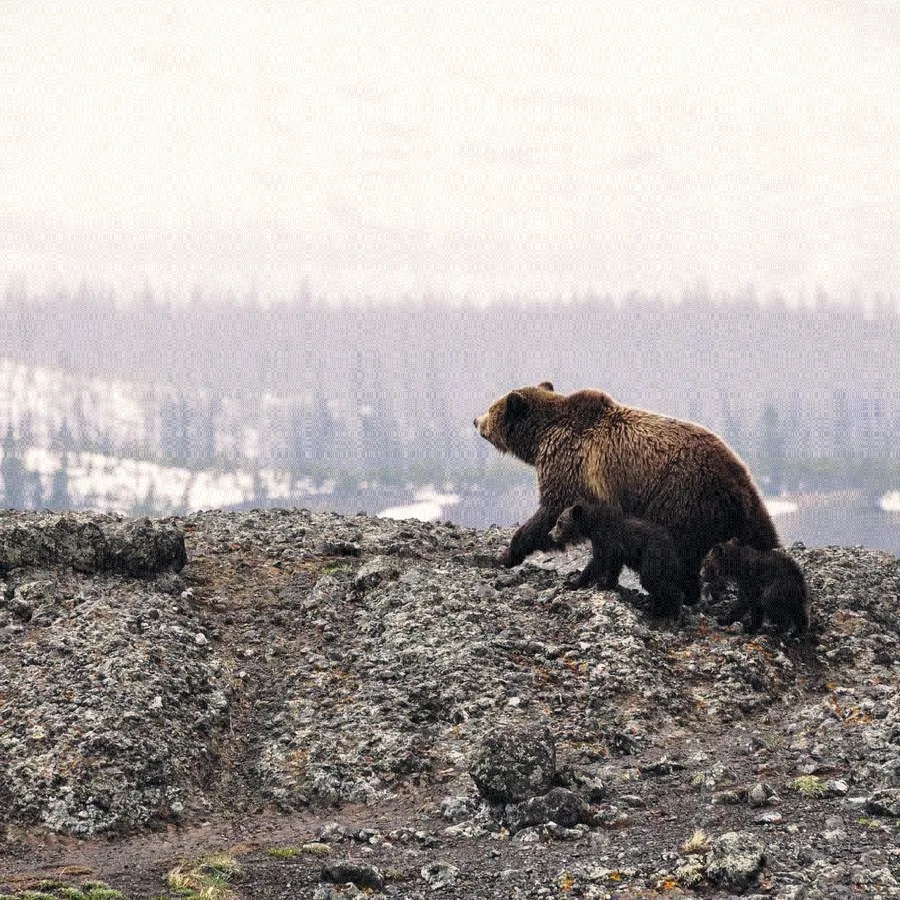
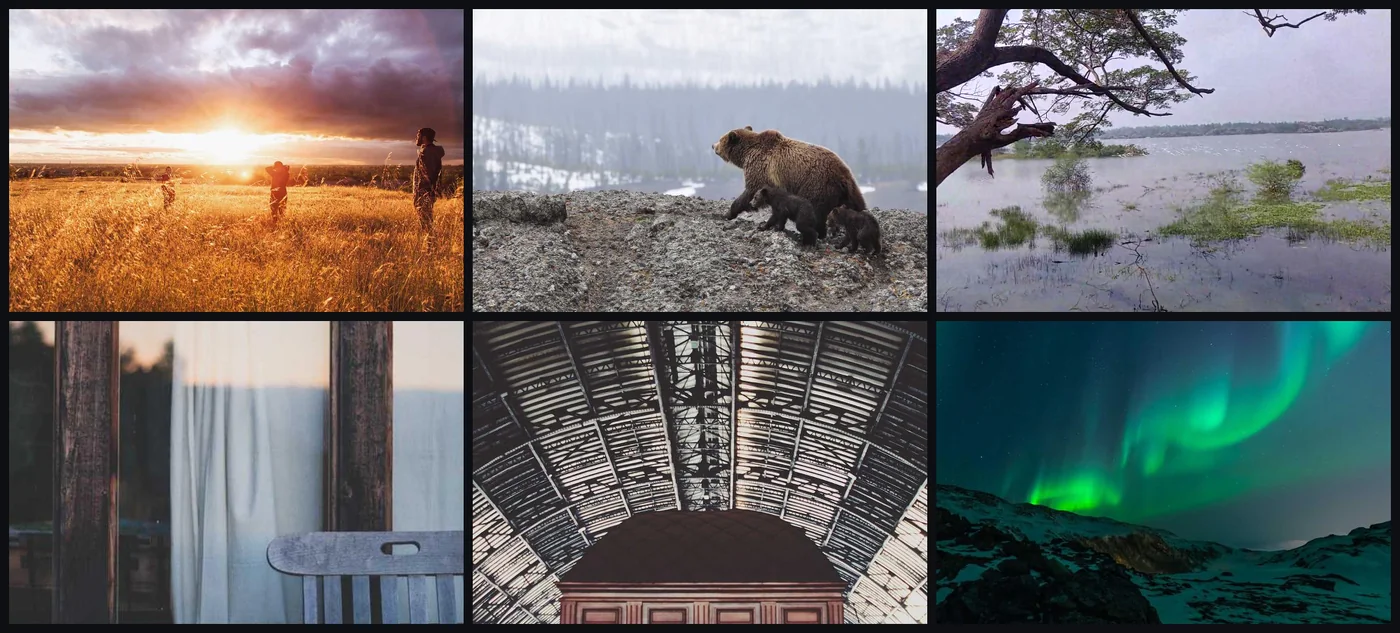
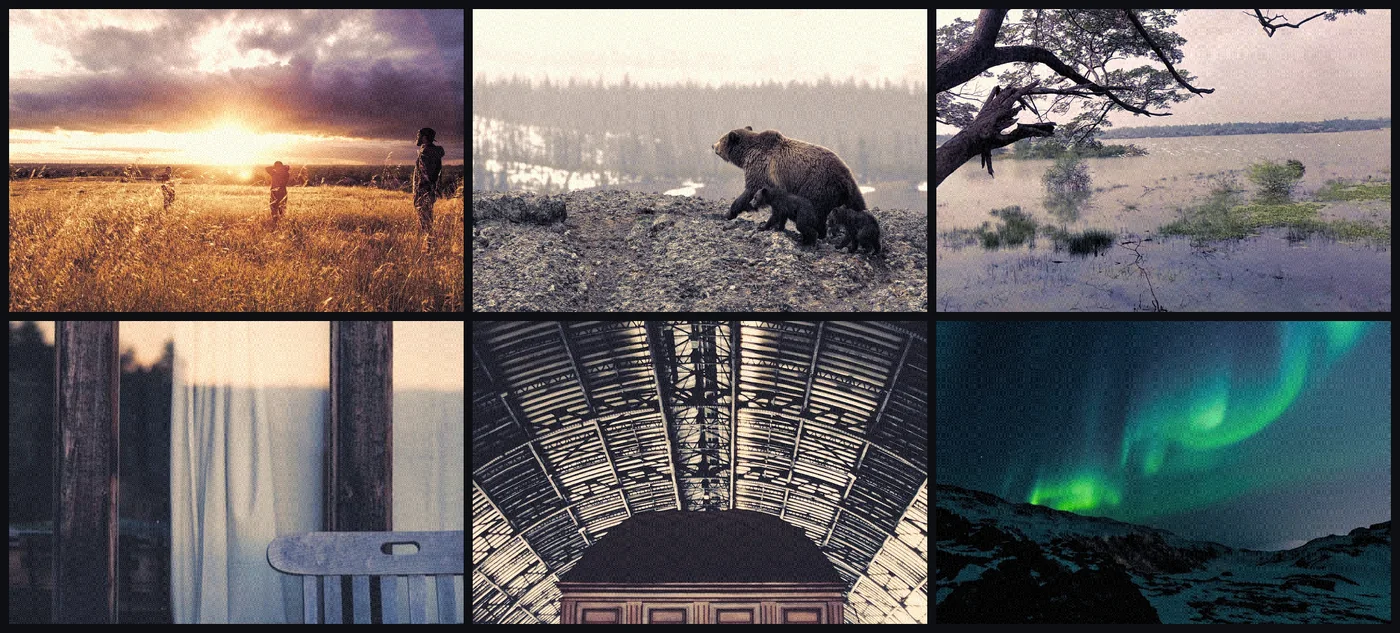
six photos as shot: a sunset field, a bear, a lake, a window, a station roof and the northern lightsthe same six photos with one warm look on all of them
six photos, one look, laid out as a contact sheet
01 · A shoot

Give a whole shoot one look.

Build the look on one photo: exposure, white balance, a color mix, split toning and grain. Copy the edits and choose Paste edits here on the next photo, and the crop stays behind. Save it as a Look and it waits for the next shoot, with its own Amount.

ImageDevelopImageHueCurveImageSplitToningImageGrainImageContactSheet
You hand overA set that reads as one shoot, and a contact sheet for the client.Give a whole shoot one look →
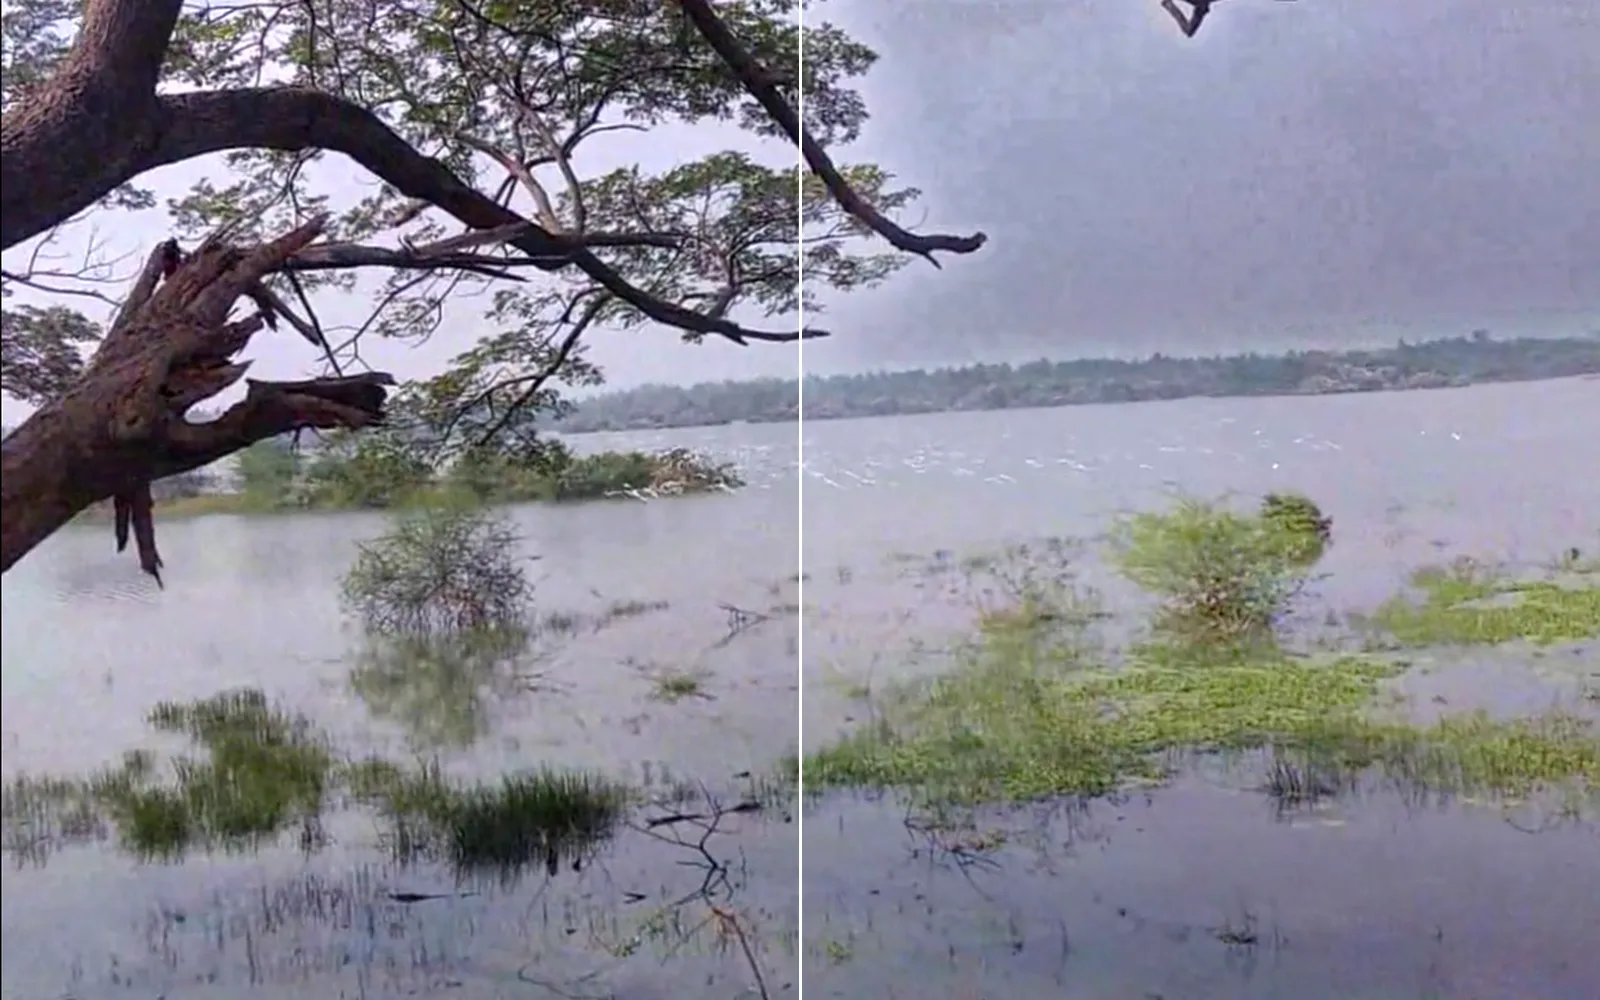
the lake shore leveled and cropped to 3:2, before and after the cooler sky and darker front
02 · Landscape

Rescue a flat landscape.

Level the horizon and crop to 3:2. Click Sky and the sky is found for you, so it can cool down and keep its highlights while the land opens up. Dehaze and clarity sit on the same Develop, and a gradient darkens the foreground.

LocalAIImageToSceneParsingImageMaskRefineImageDevelopImageSelectShapeImageRotateImageCrop
You hand overA level 3:2 frame with a sky that keeps its color.Rescue a hazy landscape →
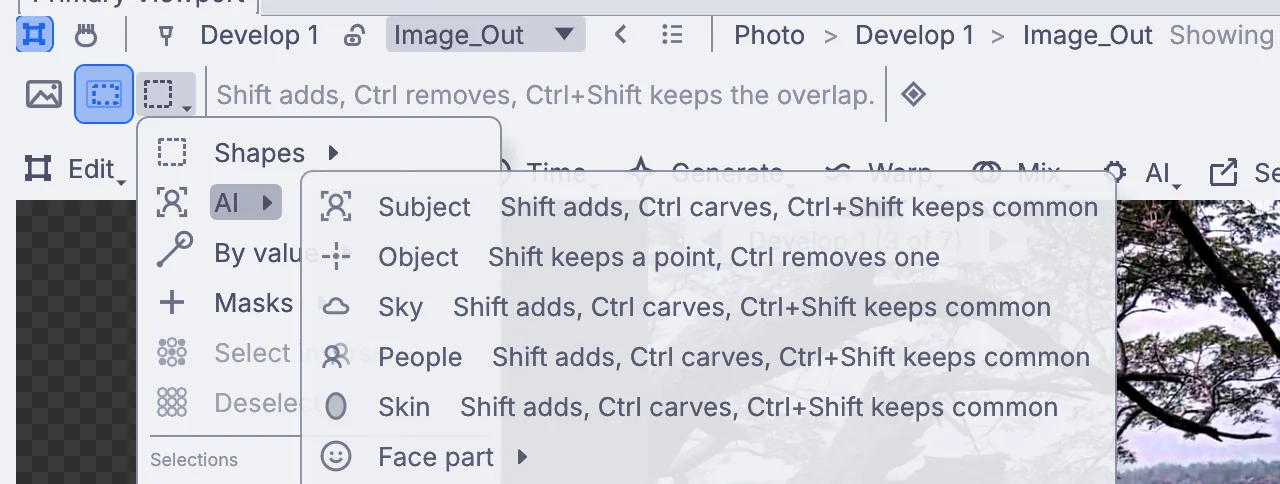
Select > AI: Subject, Object, Sky, People, Skin and Face part
03 · Portraits

Pick the subject, the skin or the eyes in one click.

Subject, Object, Sky, People, Skin, and the eyes, lips and teeth are in the selection menu. Shift adds, Ctrl carves. Then retouch inside the selection with heal, clone, frequency separation, dodge and burn and liquify. The selections run on your own machine, so the photos stay with you.

ImageMaskRefineImageFrequencySeparationImageHealImageLiquifyImagePaint
You hand overA finished portrait, with every stroke still there to change.Finish a portrait →
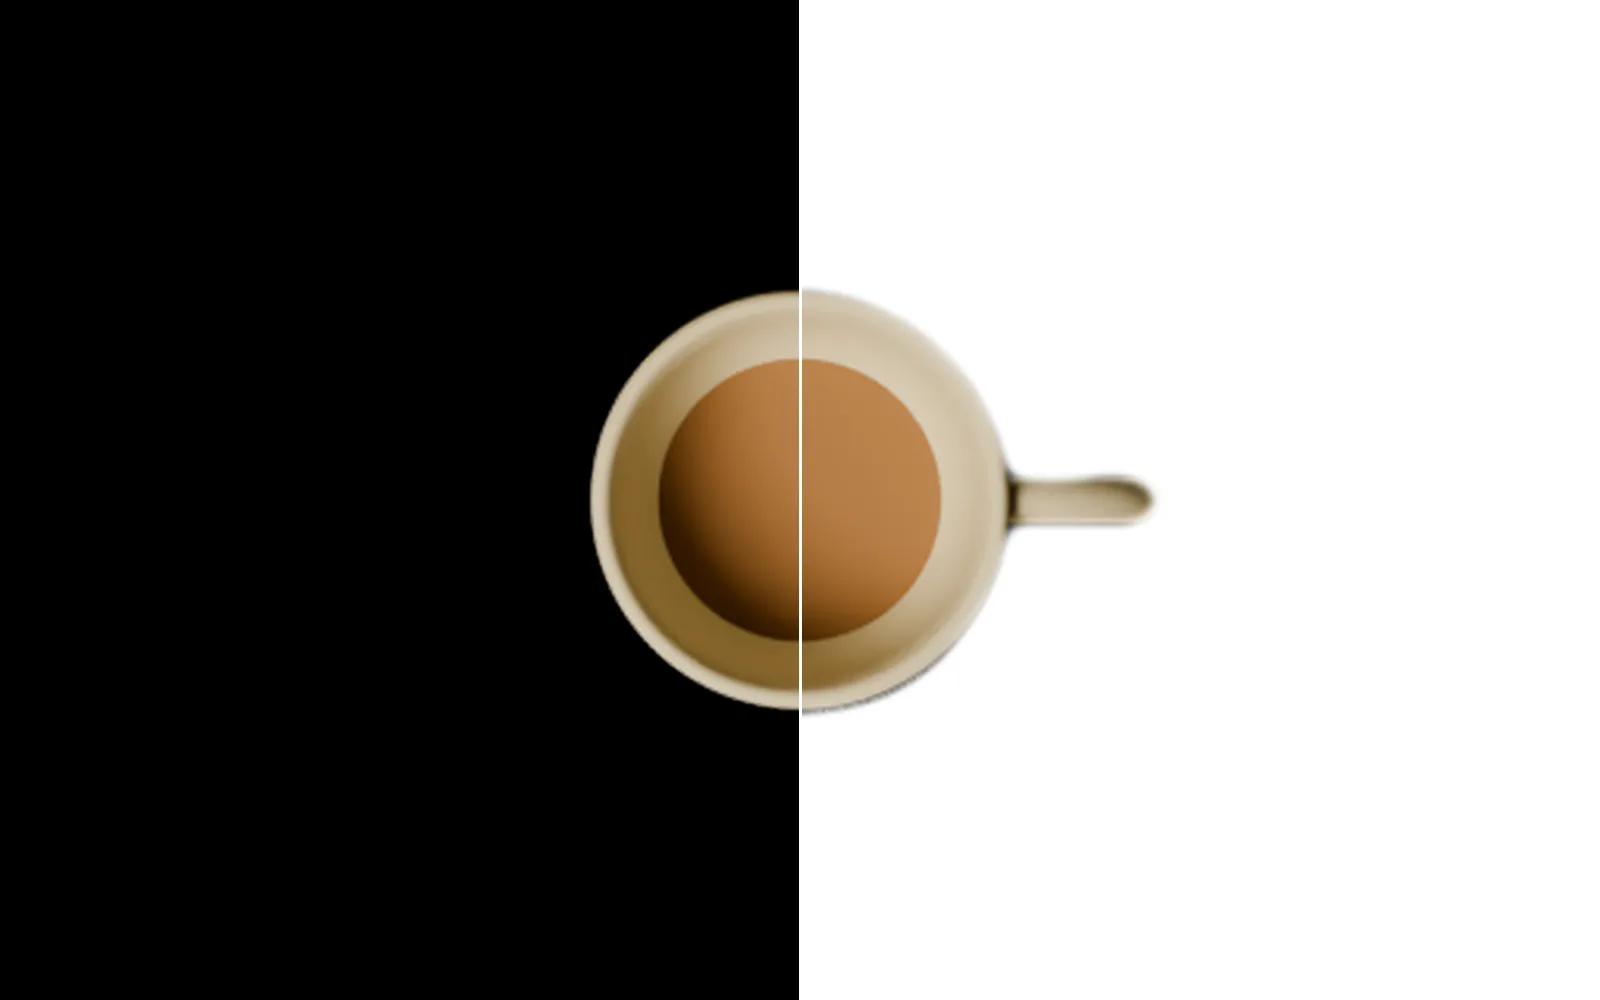
the cup on its dark backdrop and on clean white, split down the middle
04 · Product

Put a product on white for a shop.

Click Subject, select the inverse and fill it white. Pull the edge in a pixel and soften it, so no trace of the old backdrop shows on the rim. Resize to 1800 and add a 100 pixel margin, so the edge never touches the product.

LocalAIImageRemoveBackgroundImageMaskRefineImageFillImageReformatImagePadOutputImageFile
You hand overA 2000 by 2000 JPEG on clean white.Put a cup on white for a shop →
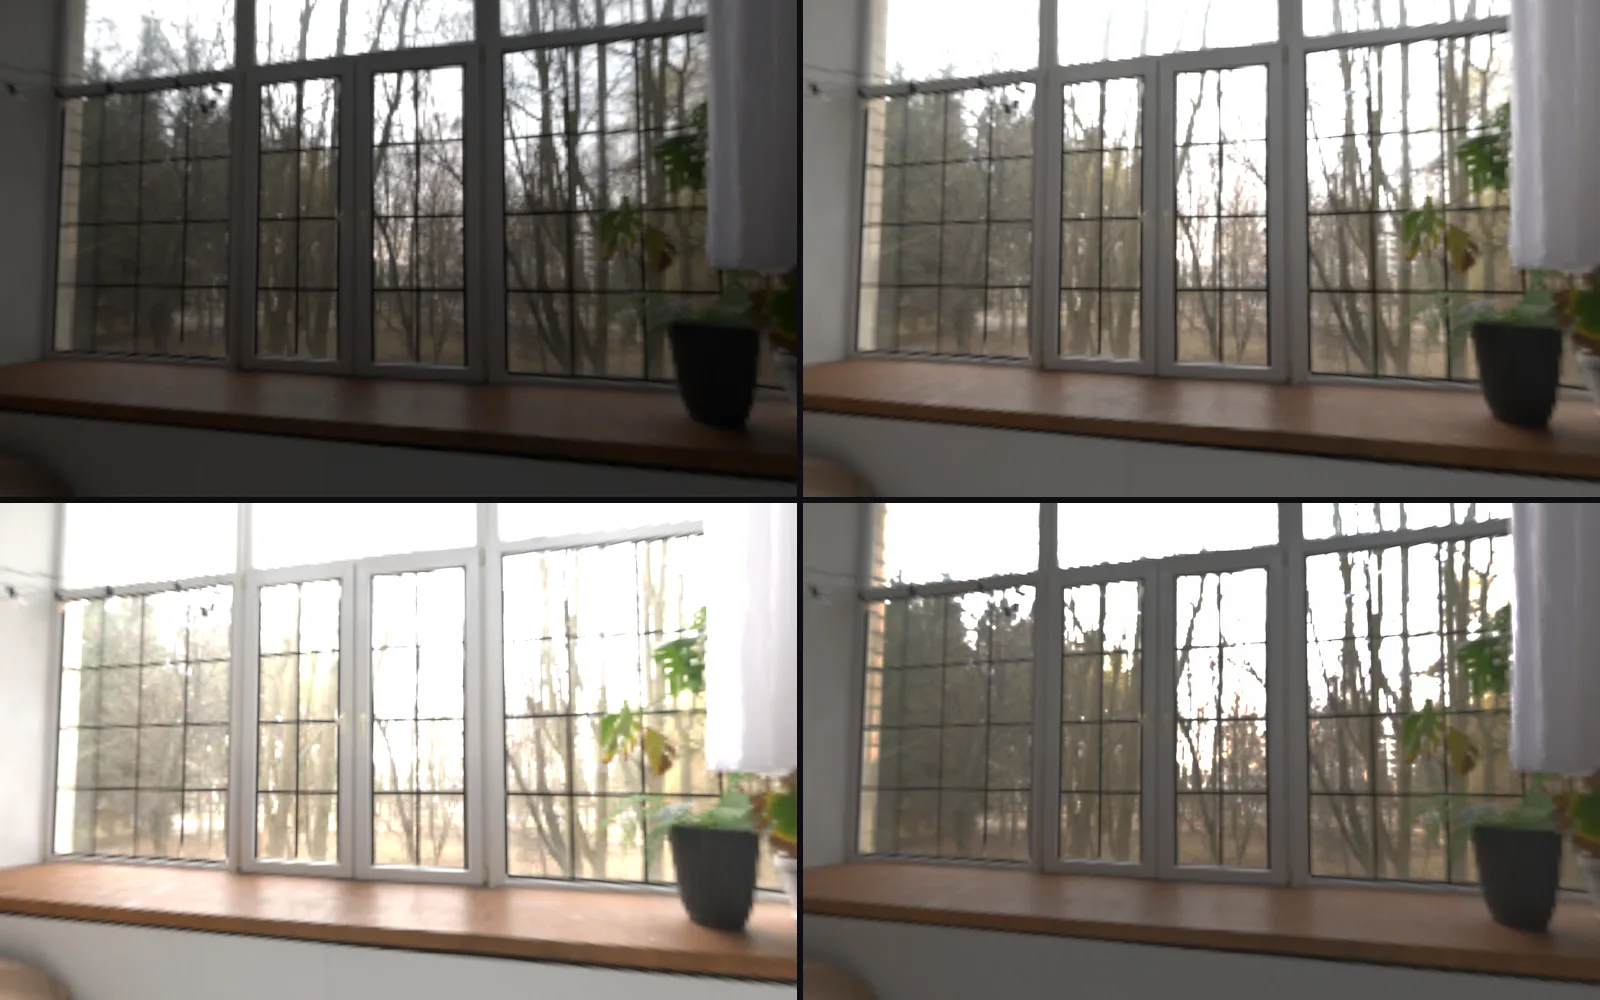
three exposures of one room, made from a single interior capture, and the merge at bottom right that holds both the window and the room
05 · Interiors

Merge a bracket and straighten the room.

File > Merge brackets lines up two to nine frames shot by hand, reads the shutter, aperture and ISO from each file, and keeps the middle frame where something moved. Then take the lens bend out, stand the walls up straight and paint out the outlets.

ImageBracketAlignImageExposureMergeImageToneMapImageLensDistortImageCornerPinLocalAIImageInfill
You hand overA listing photo that holds the window and the room, 2048 wide.Merge a bracketed interior →
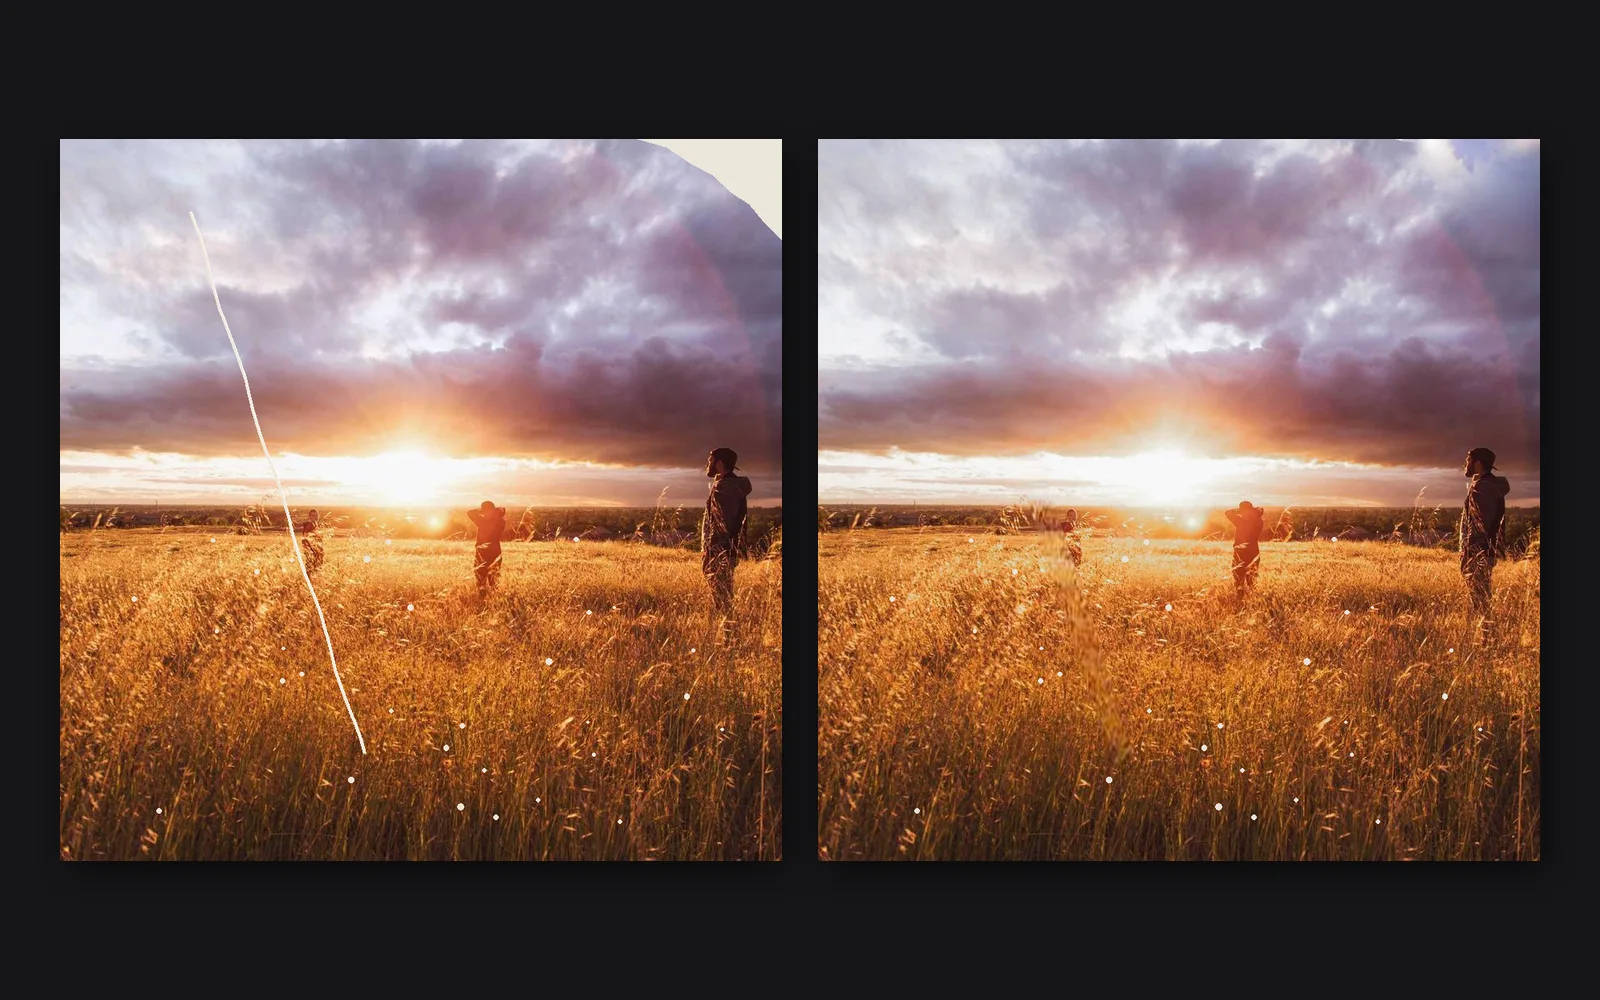
the scratched print with a torn corner, then mended
06 · Restoration

Restore an old print.

Crop the scanner bed away, bring the faded color back and clear the dust. A torn corner and a scratch are filled from the picture around them. Grain, haze and blur come out in one pass, and a small print can go four times bigger. Each model runs on your machine.

ImageAutoCropImageNormalizeImageDespeckleLocalAIImageInfillLocalAIImageRestoreLocalAIImageUpscale
You hand overA 16-bit master and a copy for the web.Mend a torn, scratched print →
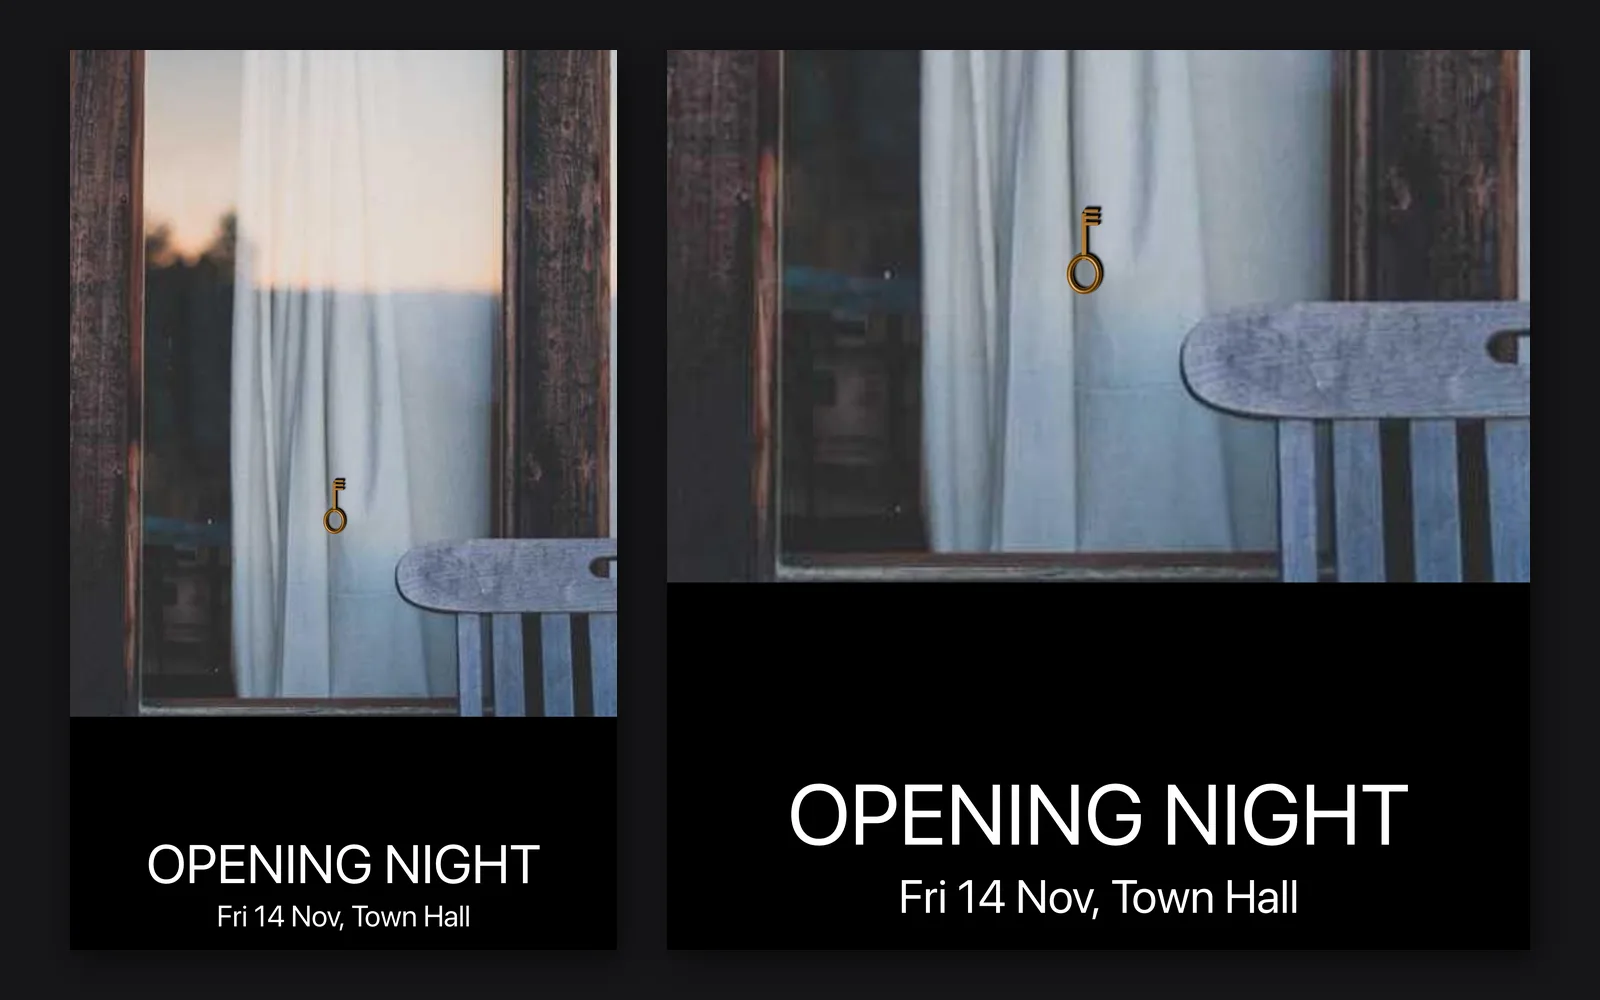
an A3 event poster made from one photo, with a close look at its text band
07 · Delivery

Save every size in one press.

Export presets put Web 2048, Print 300 dpi, At 1x and At 2x beside your Save, each with its own size, sharpening, format, print size and file name ending. One press of Save writes them all, and your copyright line and your name go into every JPEG, PNG and TIFF.

ImageReformatImageSharpenOutputImageFile
You hand overWeb, print and poster files, each named after its photo.Save one design for web and print →
Familiar work, done here

Every edit stays open.

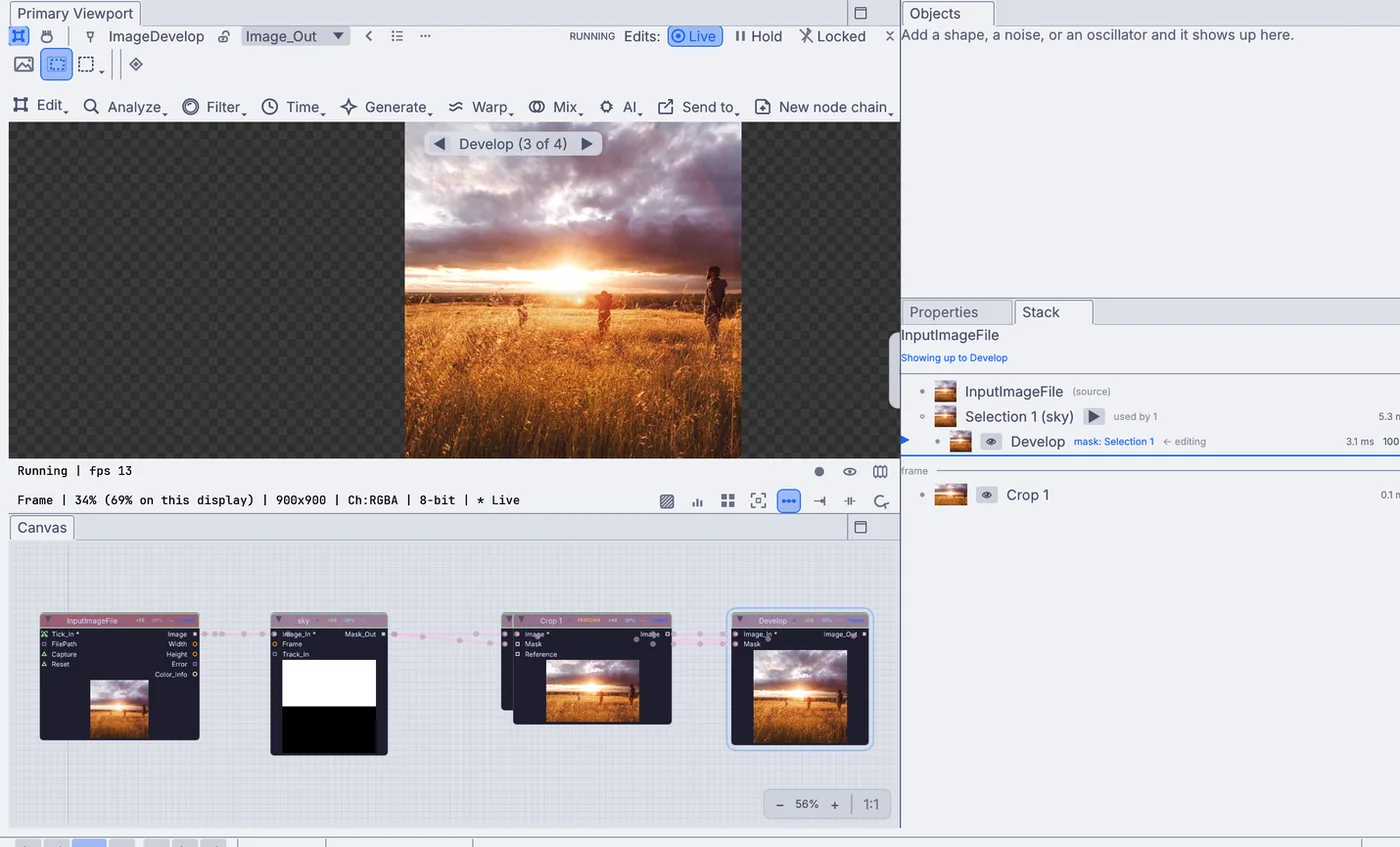
Each edit is a step in the Stack and a node on the canvas. The photo you started from is never changed: the edits live in the file beside it, so the first crop and the last grain can both be changed tomorrow.

  • Click a step to change it, hide it with its eye, or press Compare to see it against the step before
  • One selection can feed several edits: the sky you picked once drives Develop and Hue and saturation together
    ImageMaskRefineImageDevelopImageHueSaturation
  • New version from here branches the edits, so a print master and a web crop share every step above the branch
  • Save as Look keeps a look with its own Amount, ready for the next shoot
  • A whole folder runs through the same edits from the command line, with no window
Kinematic with a sunset photo in the viewport, its edit steps on the canvas below and in the Stack at the right
What you gain: scans

Scan objects and places in 3D.

If you already shoot for photogrammetry, bring the Gaussian splat into the app you grade in. Clean it, take out the light it was shot under, light it again, and grade it like a photo.

  • Splats from PLY, SPZ, SOG and .splat files, and the COLMAP solve they came from
    3DGeoImportPLY3DGeoImportSPZ3DGeoImportCOLMAP
  • Crop to the object and sweep away the floating specks
    3DGeoSplatCrop3DGeoSplatPrune
  • Take out the light it was shot under, then light it from a sky
    3DGeoSplatDelight3DGeoSplatProbeRelight
  • Grade it through a color table made in your grading app
    3DGeoSplatClut
  • Turn one photo of an object into a 3D splat, sides included
    LocalAIImageTo3DObjectSplat
  • Build a solid mesh from a scan, color and all, and save it as glTF
    3DGeoSplatToSurface3DGeoExportGLTF
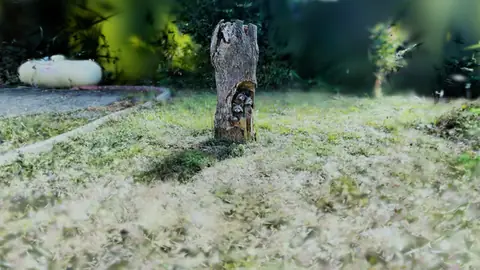
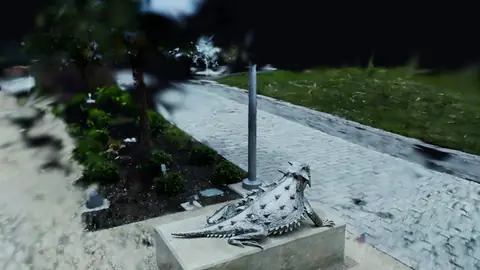
a scanned garden sculpture going from the way it was shot to a warm film look, and back · scan by Niantic Labs, MIT license
the same sculpture and the garden around it, the camera circling · scan by Niantic Labs, MIT license
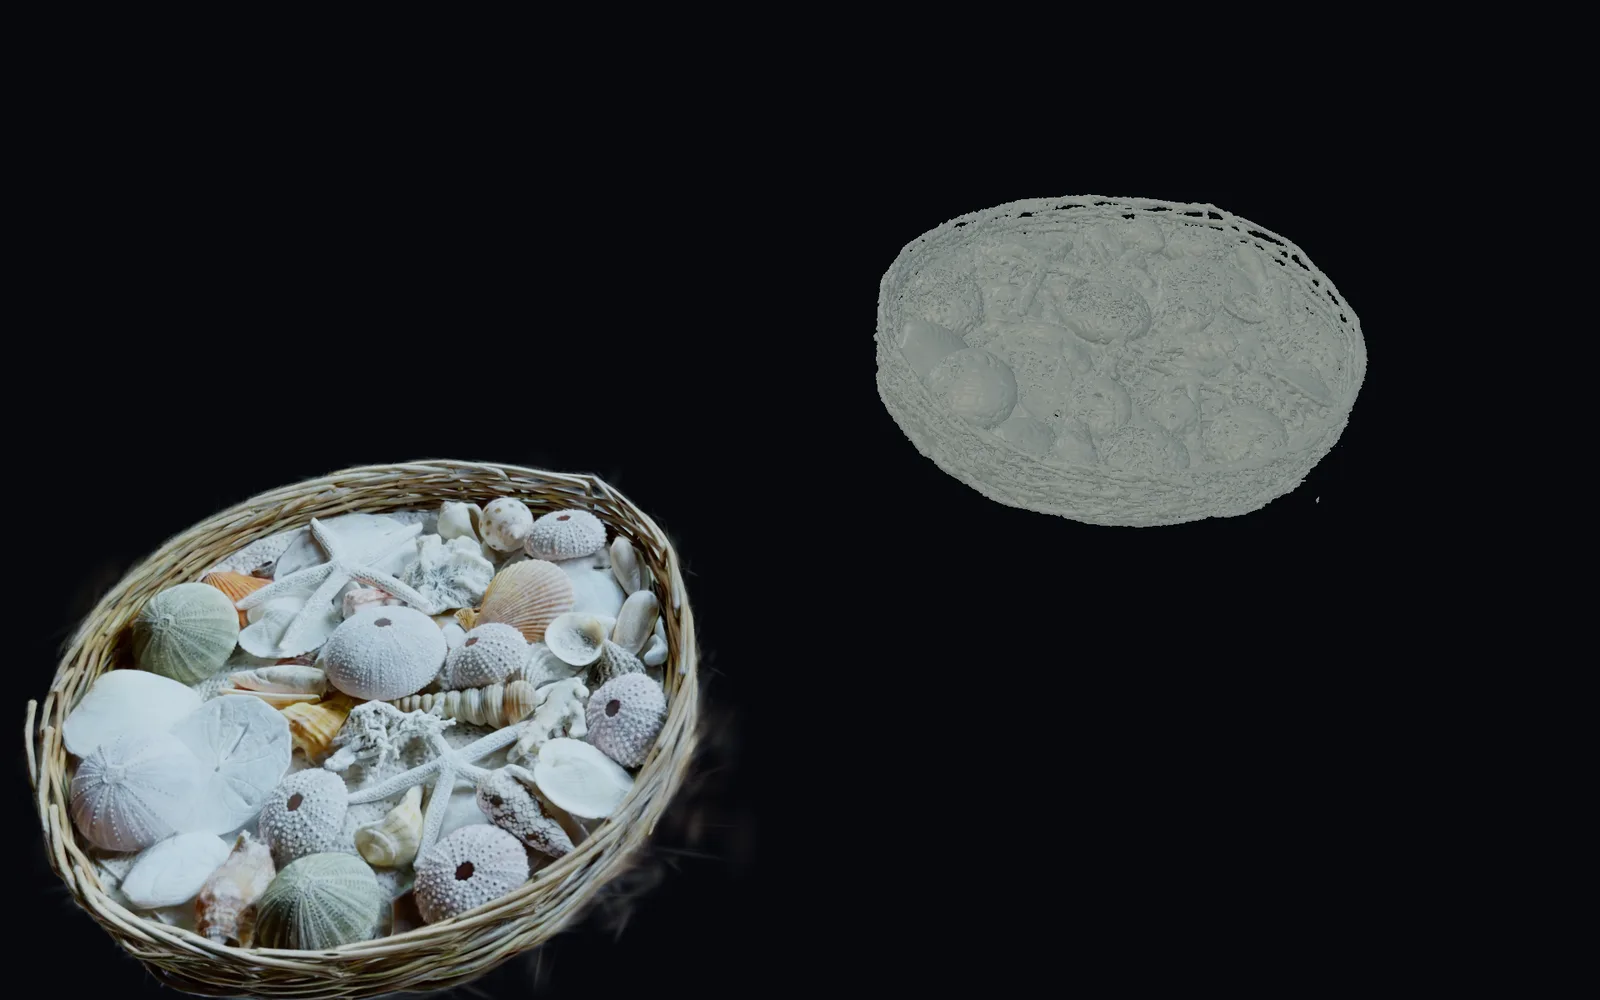
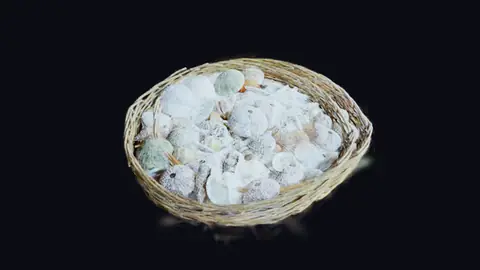
a scanned basket of shells beside the solid built from it · scan by Marc (superspl.at), CC BY 4.0
What you gain: a 3D studio

Light a product in 3D.

Shoot the product that is not made yet. Load the model, give it real materials, light it with a rig or a sky, and render the stills and the turntable from the same file.

  • Models from OBJ, FBX, glTF, USD and Alembic
    3DGeoImportOBJ3DGeoImportFBX3DGeoImportGLTF3DGeoImportUSD
  • Key, fill and rim from a light rig, or click where the shine should sit and the light moves to put it there
    3DGeoLightRig3DGeoLightCreate
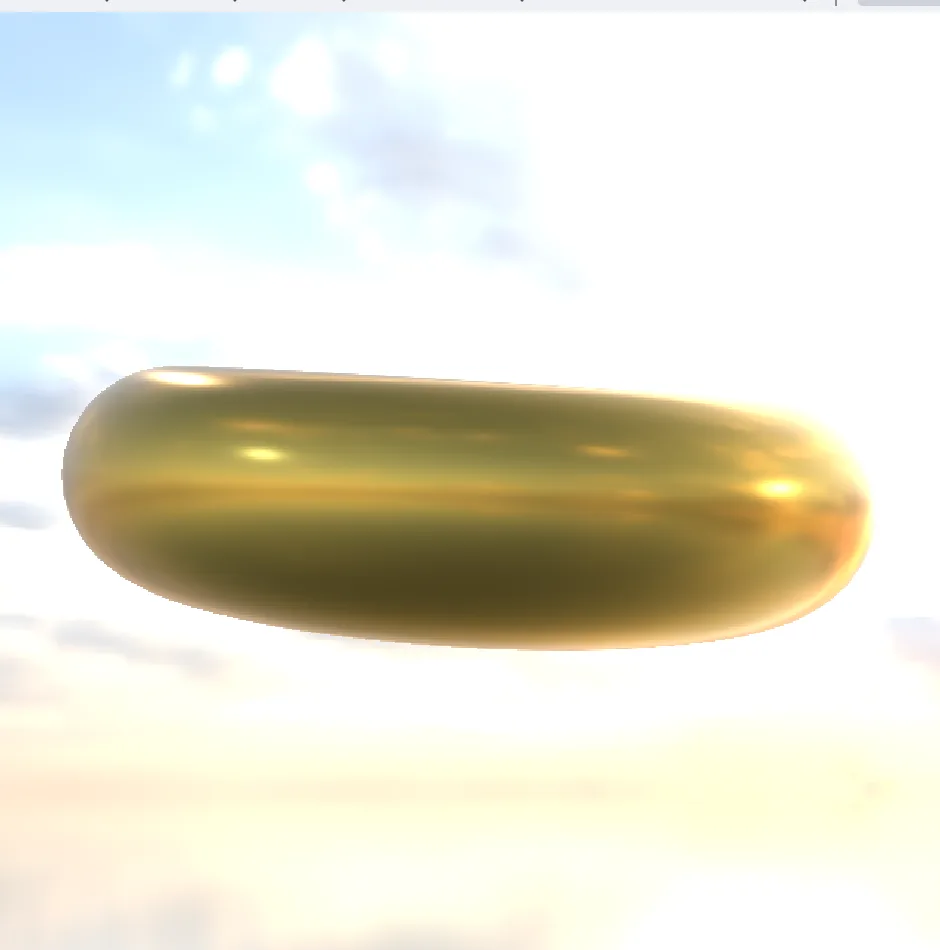
  • Gold, chrome and glass, lit by a real sky that shows in every reflection
    PbrMaterialInputHDRImageFileImageEquirectToCubemap
  • A shadow catcher floor lays the render's shadow onto your own photo
    ShadowCatcherMaterial
  • An orbit camera for the turntable, rendered to MP4 with no window
    3DGeoCameraOrbitOutputVideoFile
  • Renders in 32-bit float, saved as EXR, or as PNG and JPEG
    3DGeoSceneRenderToImage
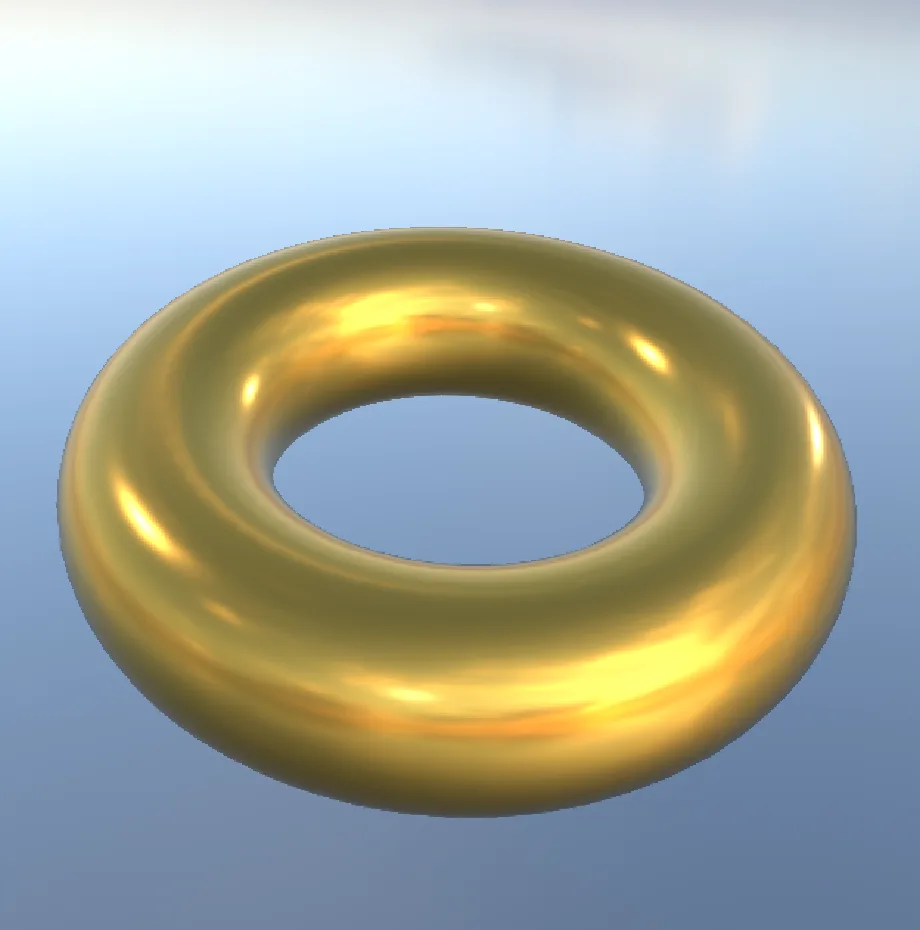
a gold ring seen from a little above, against a blue sky, with warm highlights
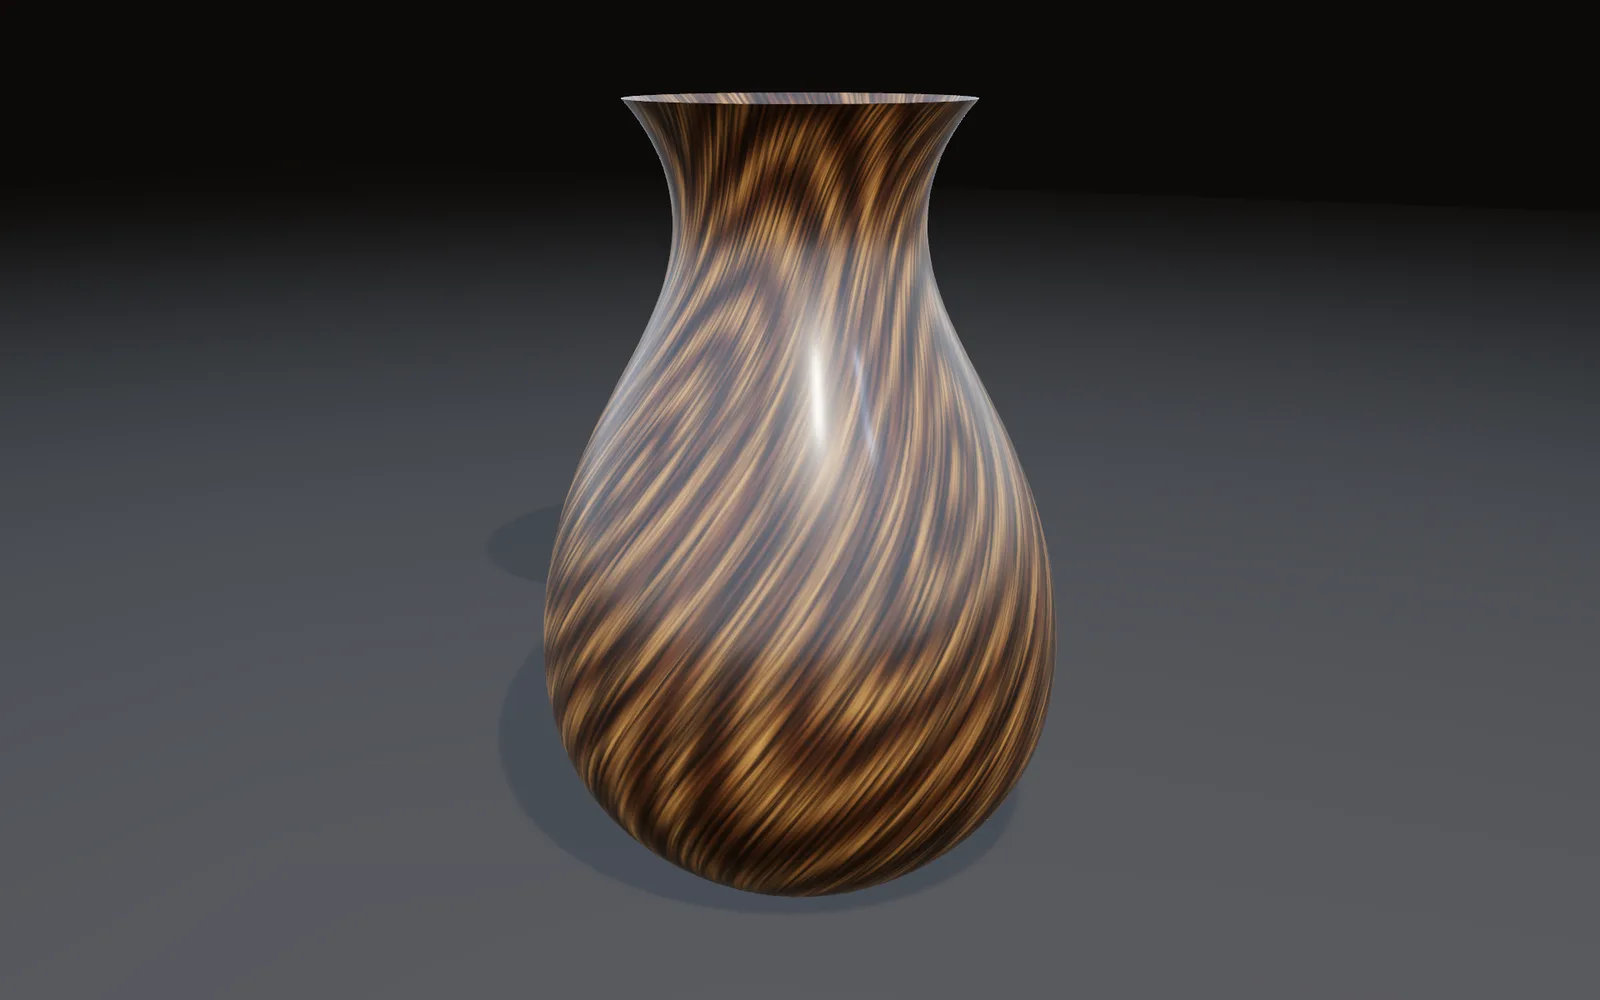
a vase outline revolved, then twisted, its wood grain spiraling up the side
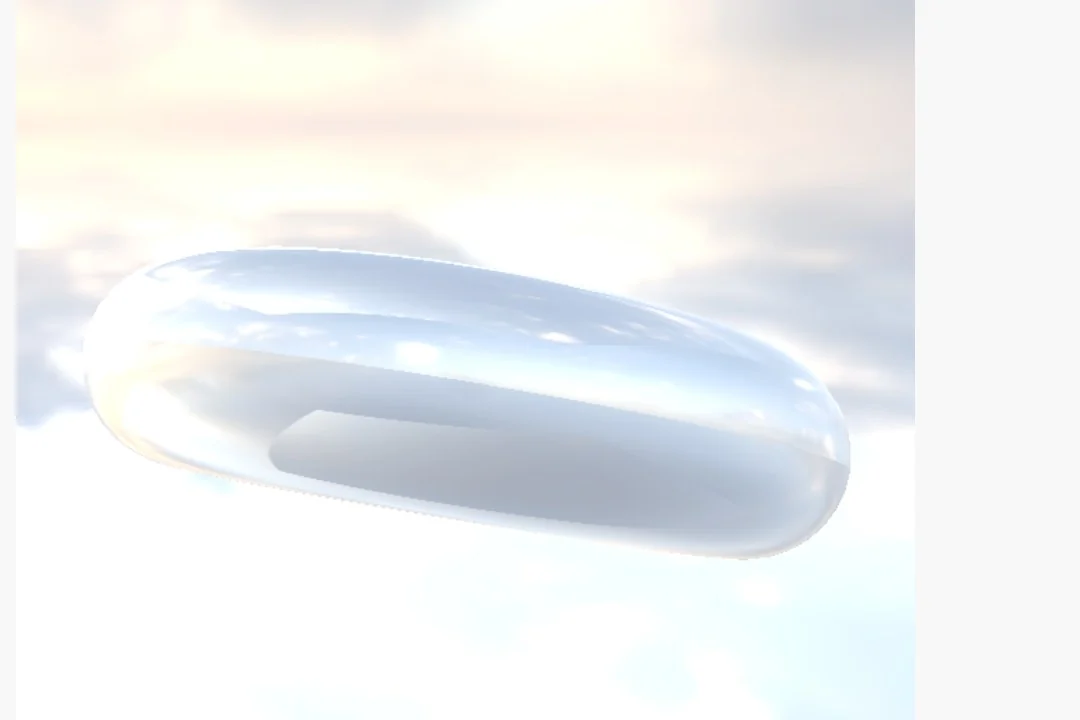
a glass torus lit by an HDR sky
What you gain: live

Show your photos on walls and screens.

The graph keeps running, so the file you graded in can also run the opening night: a projection on a wall, a slideshow on a second screen, a look on a live camera. Sound lives in the same file, so the pictures can follow the music.

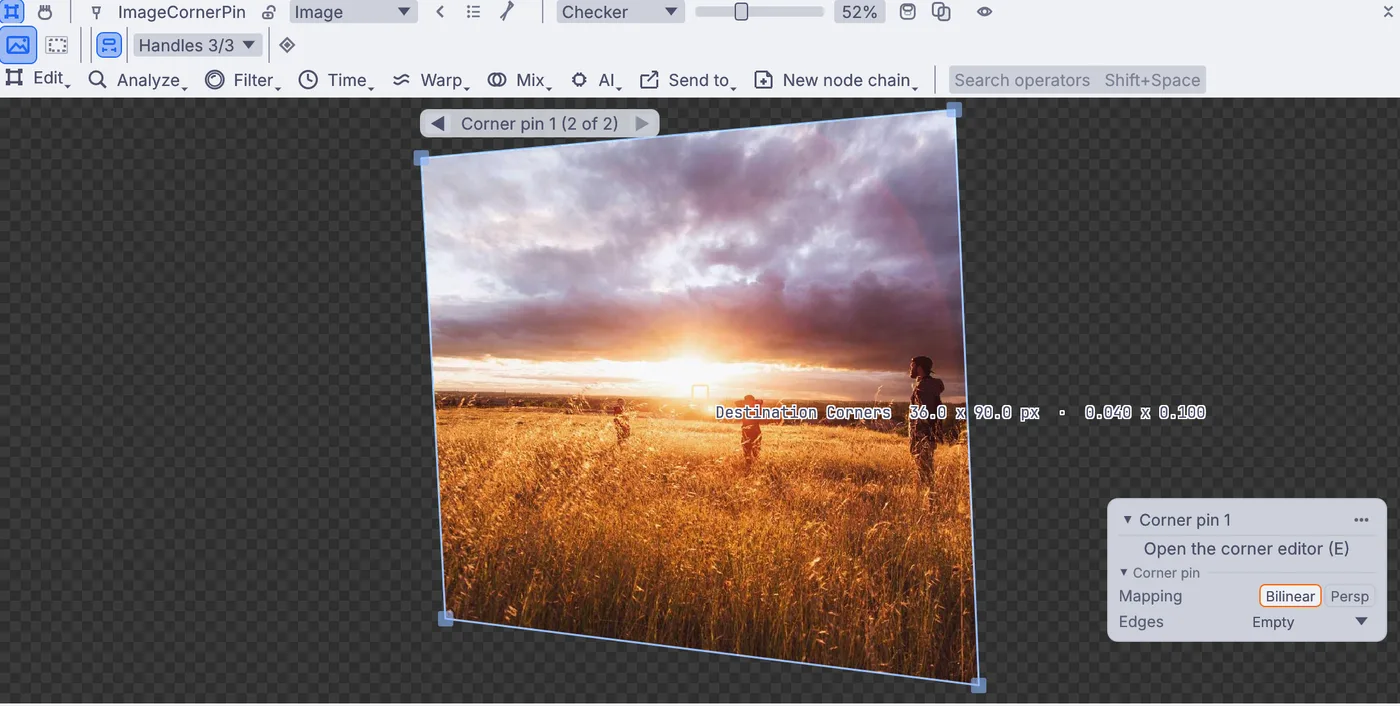
  • Pull a photo square onto a wall from a projector off to one side
    ImageCornerPin
  • Blend two projectors into one wide picture with no visible join
    ImageEdgeBlend
  • Map photos onto panels, columns and set pieces
    ProjectionMapper
  • Your look on a live camera, eased from cold to warm on a fader
    VideoCaptureInterfaceImageColorBalanceImageCrossfade
  • A song's loudness and its beats can ride exposure, warmth or a glow
    AudioEnvelopeFollowerAudioOnsetDetect
  • Put the sliders on a panel and play them from a MIDI controller
    UIPanelMidiLearn
  • Full screen on a projector or a second display, or out over NDI
    StreamingNDISendInterface
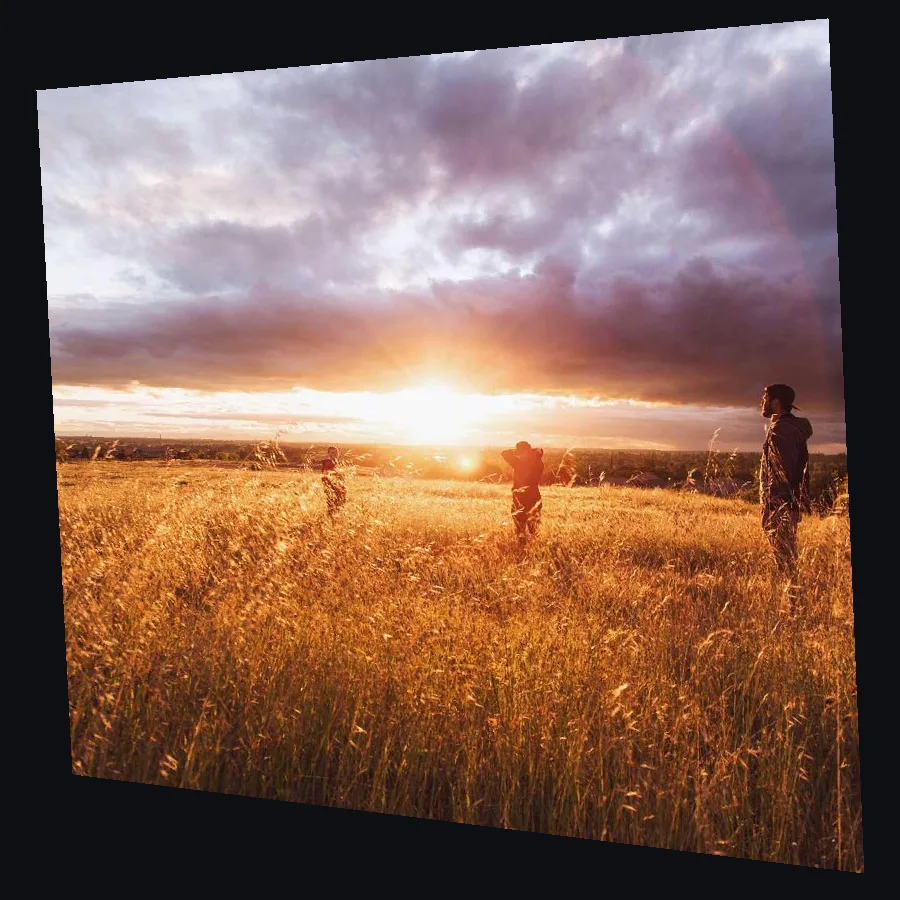
a sunset photo pulled into a slanted shape by its four corners, the way it goes out to a projector off to one side
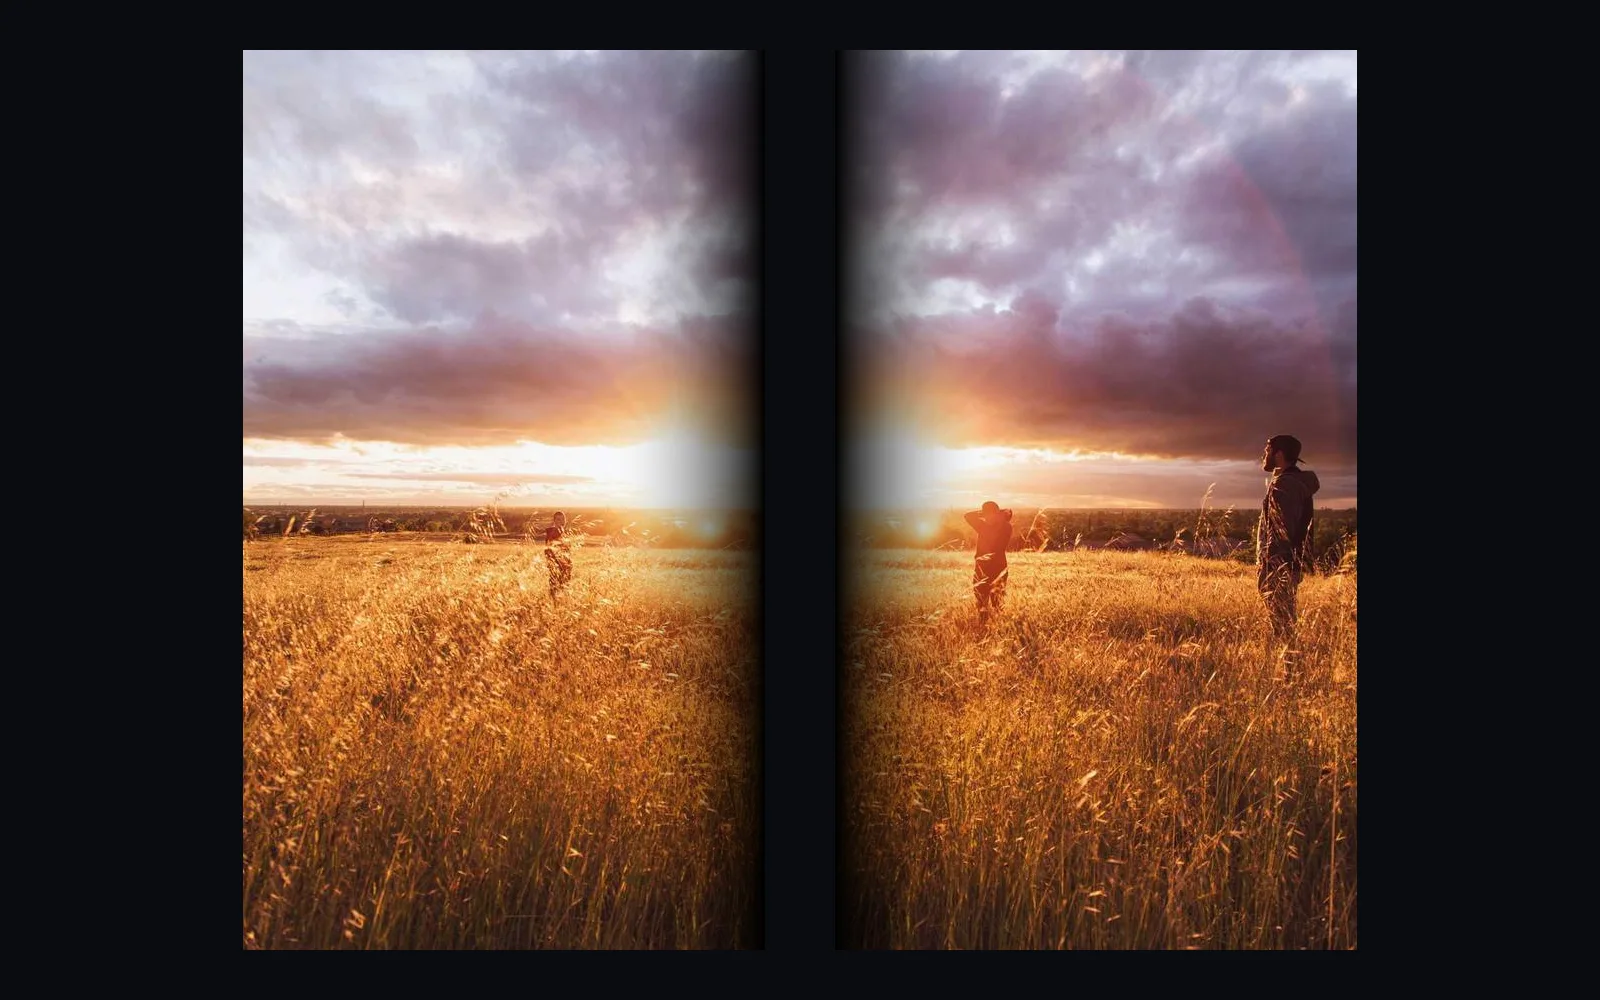
a sunset photo split into two projector halves, each with a soft edge where they overlap
a cold look easing into a warm one on a fader
How it fits how you work

Files, color and gear.

Photos come in and go out in the formats the rest of the job already uses.

Opens

JPEG, PNG, TIFF, WebP, BMPEXR and HDRLayered EXRGIF (first frame), QOI, TGANumbered picture sequencesEmbedded ICC profilesDisplay P3, Adobe RGB, ProPhotoEXIF orientationShutter, aperture and ISO, for brackets.cube LUTsOCIO configsSplats: PLY, SPZ, SOG, .splatOBJ, FBX, glTF, USD, Alembic

Saves

JPEG, PNG, TIFF, WebP, BMP16-bit PNG and TIFFEXR in half or full float, and HDRsRGB, Display P3, Rec.2020 PQ and HLGA color note in the filePrint size in dpiCopyright and creatorNumbered sequences.cube LUTsMP4 and MOVglTF and PLY for scans

Live and gear

Webcams and capture cardsProjectors and second screensNDI in and outSyphon on a MacMIDI controllersStream DeckOSC from a phone or tablet
Everything it works with →

Color from the file to the print.

A photo's own color profile is read as it opens, so Display P3, Adobe RGB and ProPhoto pictures keep their color. Float pictures stay linear from the read to the write, and a save can carry a color note so other apps show it the same way. Work inside an OCIO config, or the ACES one that comes built in.

InputImageFileImageOpenColorIOInputImageLutFileOutputImageFile

A whole folder, with no window.

Run one look over every photo in a folder, four at a time. Name the save {source}_edit.jpg and each file keeps its own name. Before you start, probe tells you the color space, bit depth and HDR tags a photo carries.

$ kinematic run look.kin \
    --each photo.file_path="shoot/*.jpg" --jobs 4
$ kinematic probe IMG_2041.jpg
The command line →
Where to start

Tutorials and demos.

Short lessons that each end with a finished picture, and demos that come with the app. Take one apart and keep what you need.

Tutorials

Browse every demo →
Honest gaps

What it does not yet do.

Better to know before the shoot. Need one of these for your work? Reach out.

  • Camera raw filesCR2, NEF, ARW, DNG and other raw files do not open yet. Export a 16-bit TIFF from your raw developer first.
  • HEIC and AVIFPhone photos saved as HEIC, and AVIF files, do not open yet. Use JPEG or TIFF.
  • A photo libraryThere is no catalog with star ratings, flags or keywords for culling a shoot.
  • PanoramasStitching several frames into one panorama is not in yet.
  • Focus stackingExposure brackets merge today. A focus bracket does not.
  • Tethered shootingKinematic cannot fire or set up a stills camera over USB. Webcams and capture cards come in live.
  • Lens profilesThere is no lens database. Take the lens bend out by eye, or with your lens's own coefficients.
  • Print proofingNo CMYK files and no soft proof against a printer profile. Saves are RGB, with a print size in dpi. Adobe RGB and ProPhoto open in their own color, but do not save yet.
  • Photoshop filesPSD files and their layers do not open.
Your next shoot

Download Kinematic.

Free, even for commercial use. No account, no license key. macOS, Windows, Linux and Raspberry Pi. Bring a photo you are working on.

the sunset field in its cool dusk look
the sunset field, cool dusk