Kinematic 0.5.0 is out. Modeling and sculpting in the viewport, a timeline on every graph, photo and sound editing. What's new
Kinematic / Edit / Photo

Edit photos.

Landscapes, skies, shop shots and listings, edited right in the viewport. You can go back and change any edit.

a warm film look sweeping across a cold city street, before and after
01

Rescue a hazy landscape

A gray lake shore turned level, cropped to 3:2, with a cooler sky and a darker foreground.

  1. Straighten the shore and crop to 3:2.
  2. Select the sky. Cool it, pull its highlights down and cut the haze.
  3. Lift the shadows on the land and drag a gradient to darken the front.
InputImageFile→ImageMaskRefine→ImageDevelop→ImageSelectShape→ImageLensDistort→ImageRotate→ImageCrop+LocalAIImageToSceneParsing
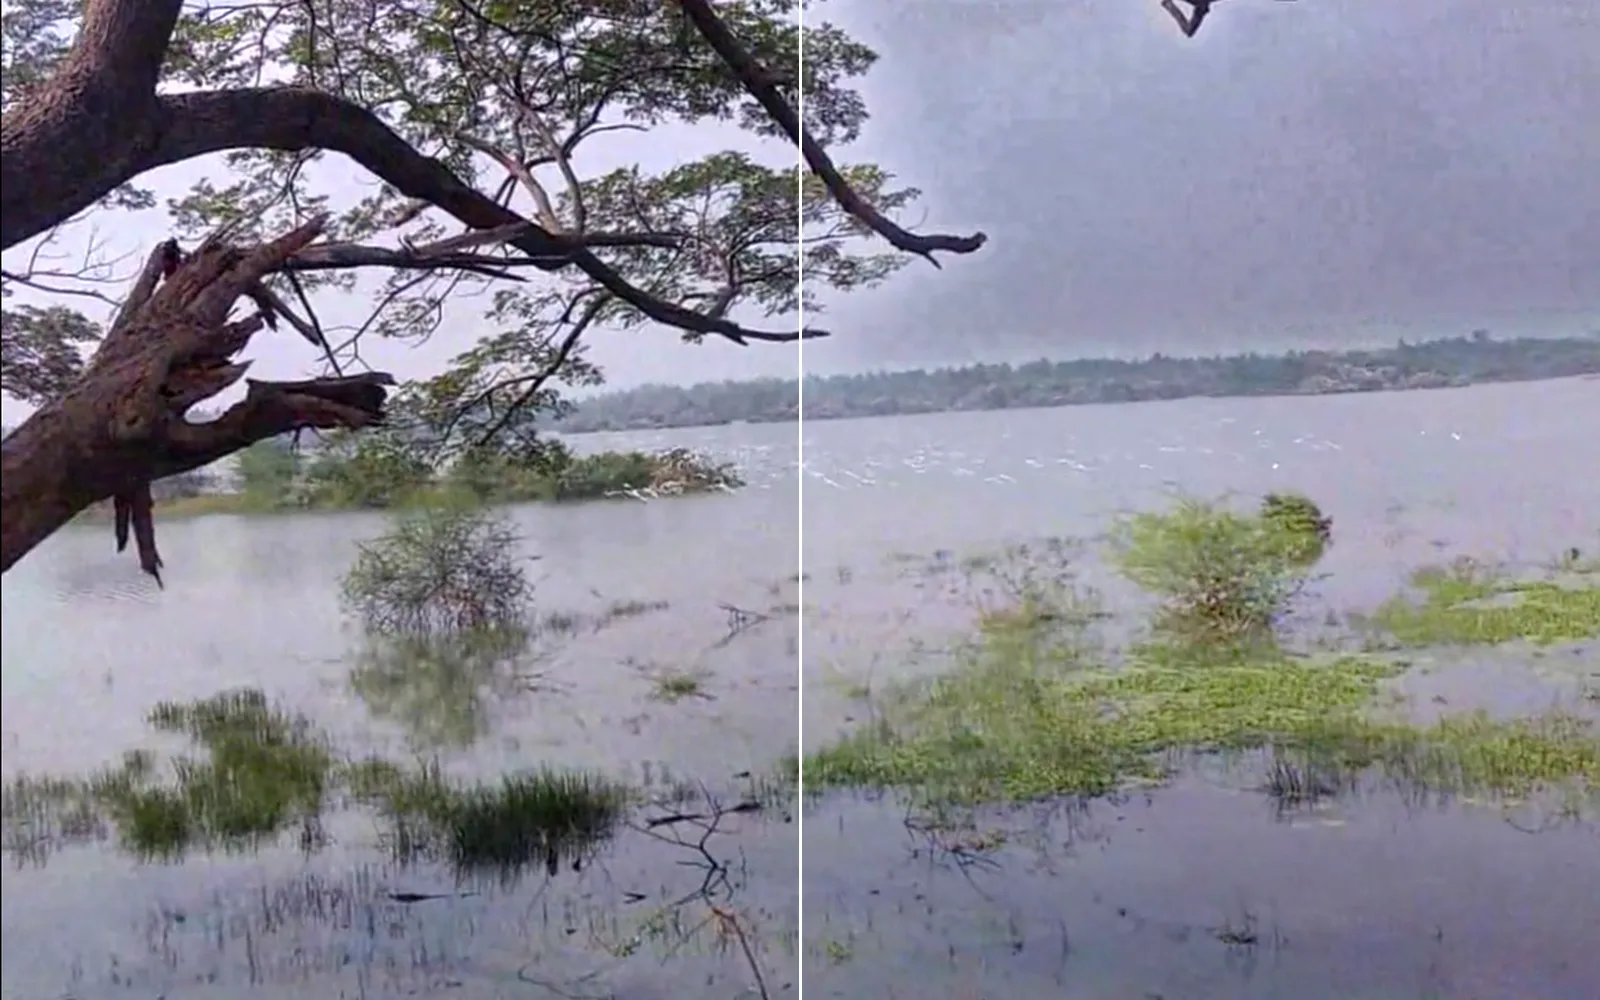
the lake shore leveled and cropped to 3:2, before and after the cooler sky and darker front
02

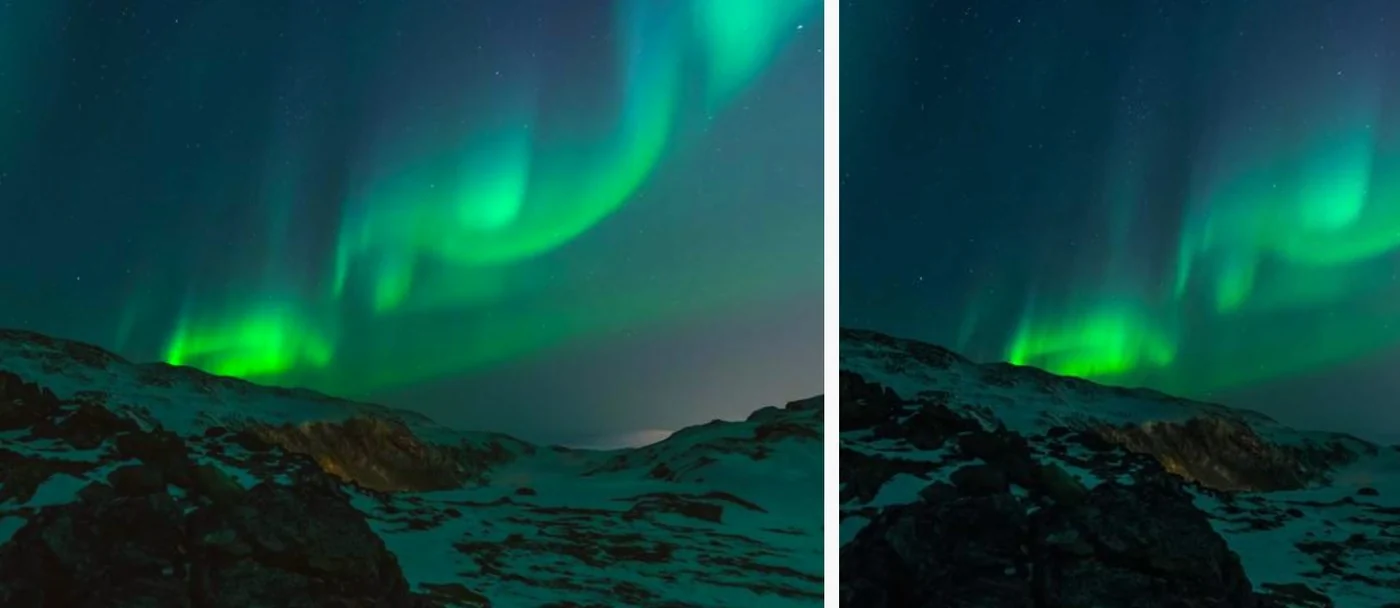
Make the northern lights glow

Pick the sky once, push its green and hold its highlights. The land stays as it was.

  1. Click Sky. The sky is found for you.
  2. Push the green with Hue and saturation.
  3. Pull the highlights down with Develop. Both edits share the one selection.
InputImageFile→ImageMaskRefine→ImageHueSaturation→ImageDevelop+LocalAIImageToSceneParsing
a grade on the northern lights
03

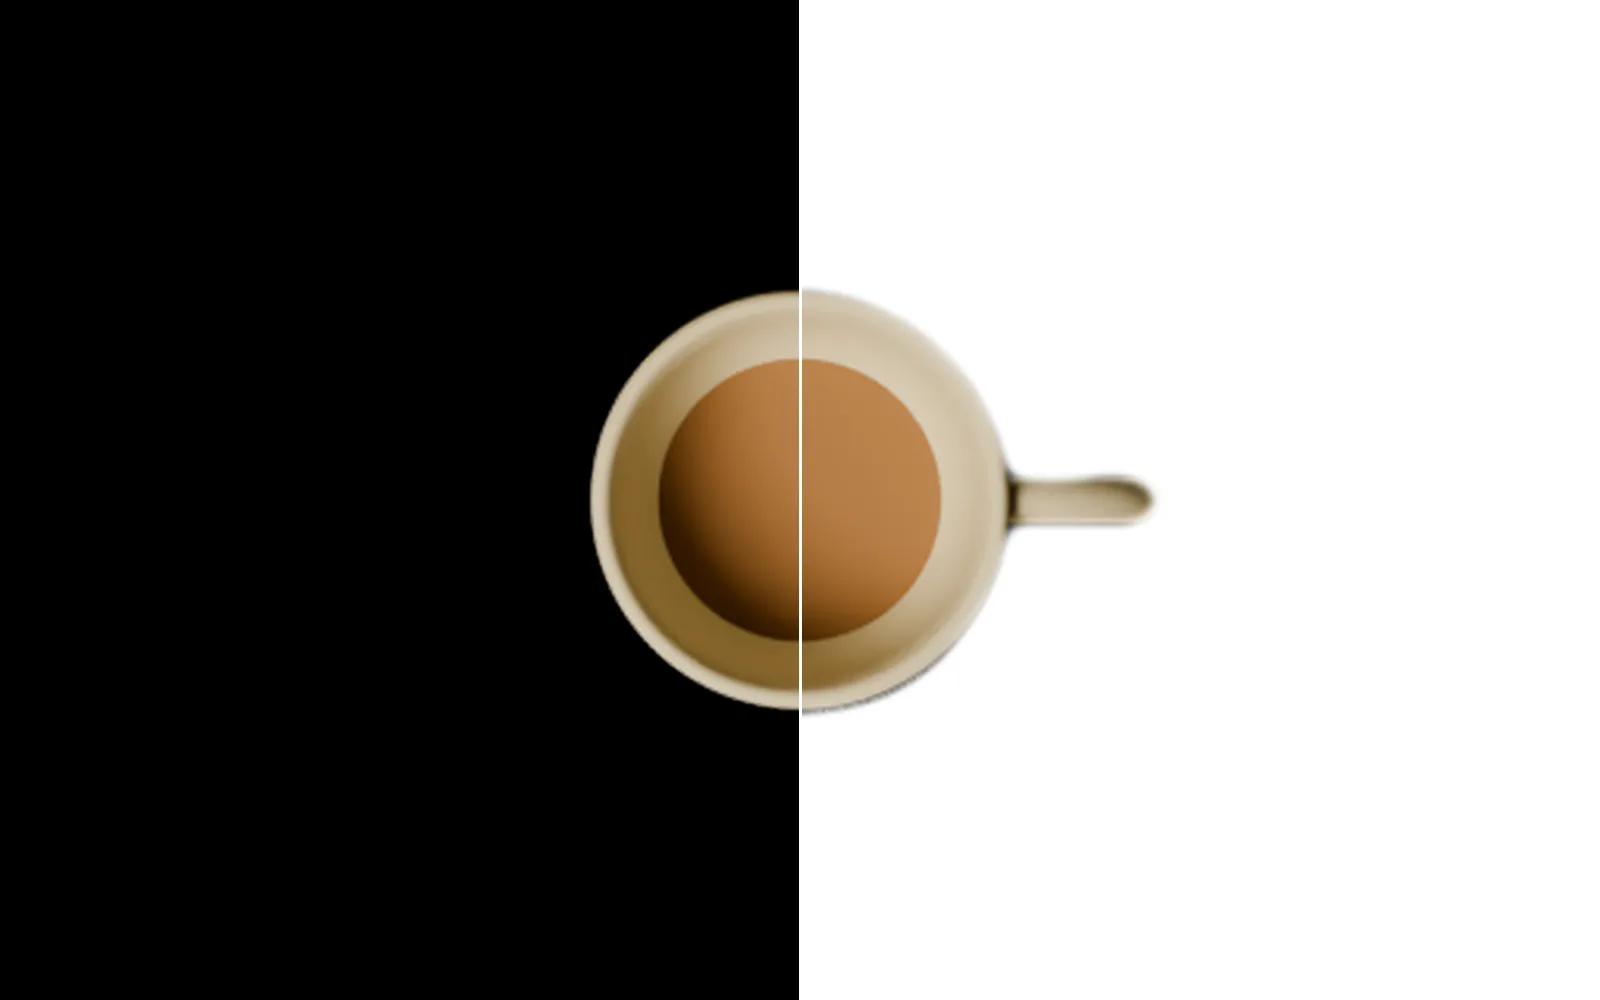
Put a cup on white for a shop

A 2000 by 2000 JPEG with a clean white edge that never cuts into the cup.

  1. Click Subject, then Select inverse.
  2. Fill the background white. Pull the edge in one pixel and soften it by two pixels.
  3. Resize to 1800, add a 100 pixel margin and save.
InputImageFile→ImageMaskRefine→ImageFill→ImageReformat→ImagePad→OutputImageFile+LocalAIImageRemoveBackground
the cup on its dark backdrop and on clean white, split down the middle
04

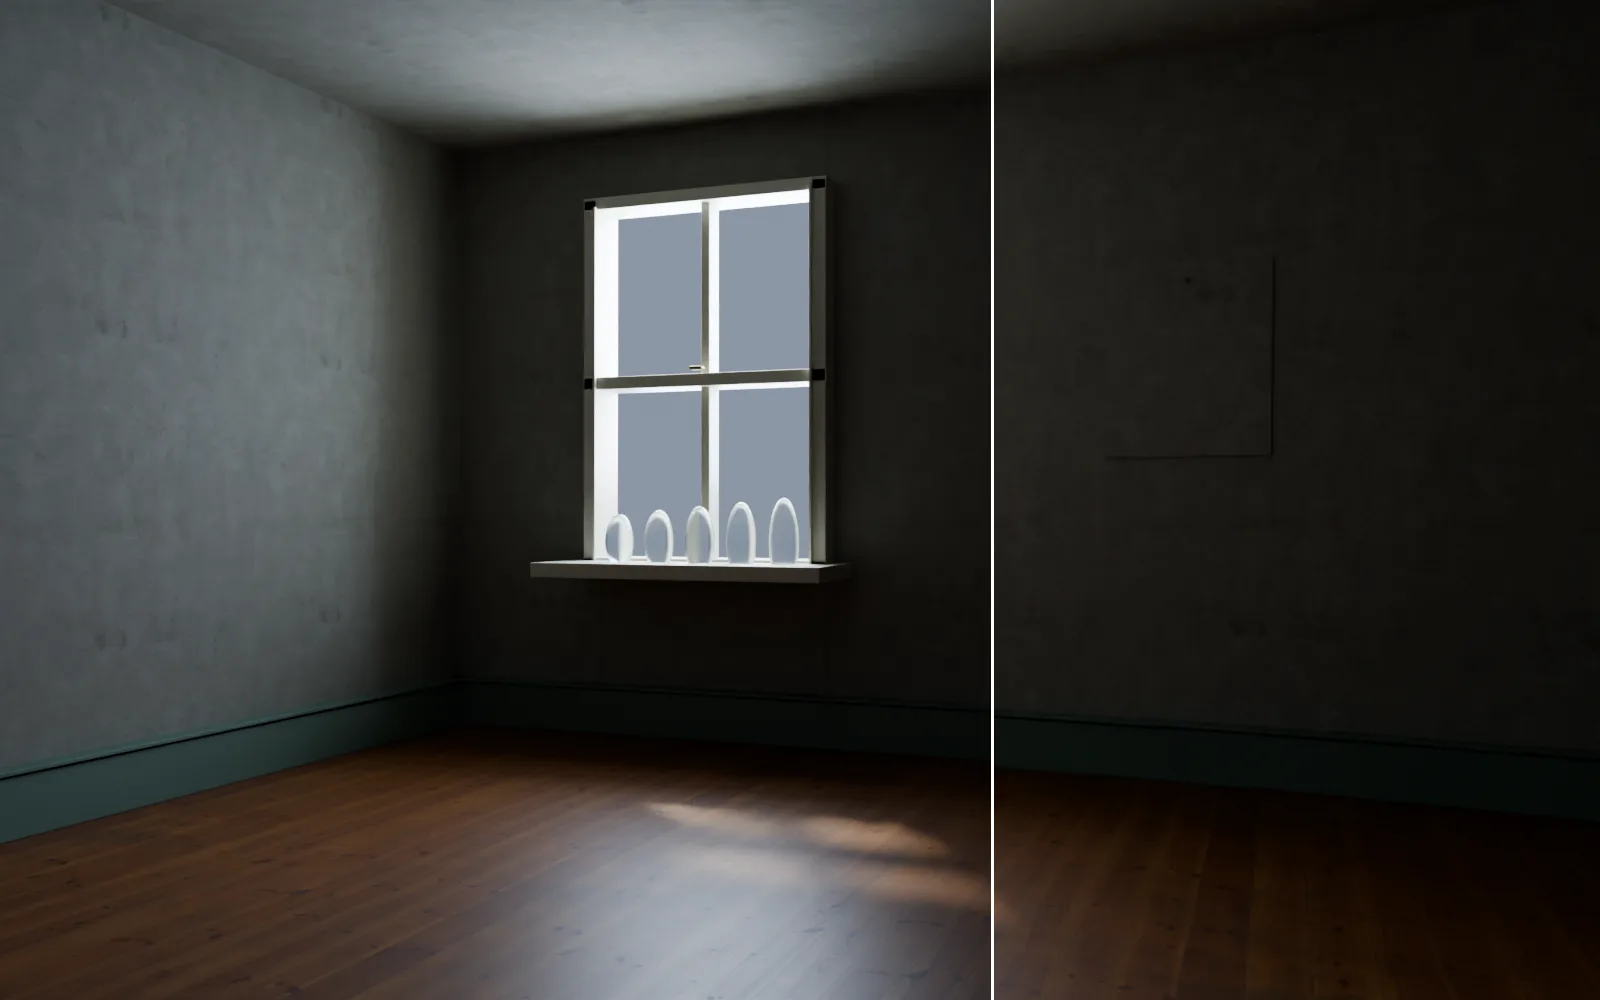
Get a living room ready for a listing

Straight walls, open shadows and no outlets by the floor, saved 2048 wide.

  1. Take out the lens bend and stand the walls up straight.
  2. Open the shadows and paint out the outlets. Draw a box around the doorway and the lit wall and darken them.
  3. Resize to 2048 wide and save.
InputImageFile→ImageLensDistort→ImageCornerPin→ImageDevelop→LocalAIImageInfill→ImageReformat→OutputImageFile
a dark empty room before and after: lens bend out, walls squared, shadows opened
05

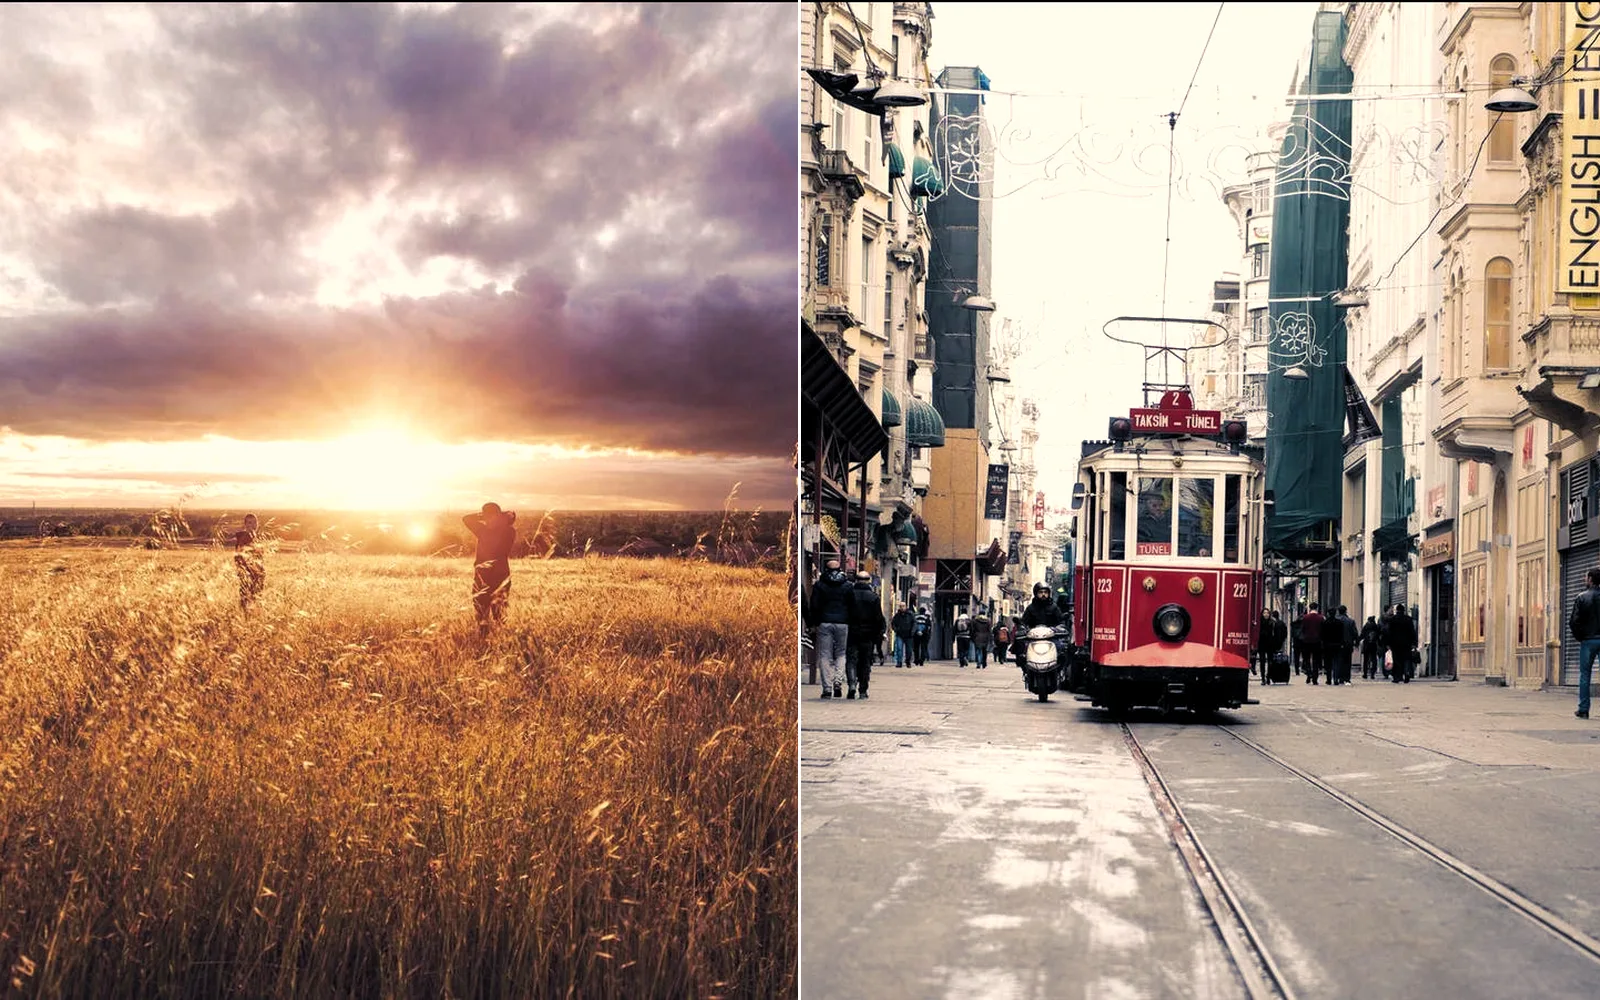
Give a whole shoot one look

Build a warm look on one photo, paste it on the next, and save a print copy and a web copy.

  1. Build the look on one photo: Develop, Color mixer, Split toning and grain.
  2. Copy the edits and pick Paste edits here on the next photo. The crop stays behind.
  3. Branch a web version. One press of Save writes both files.
InputImageFile→ImageDevelop→ImageHueCurve→ImageSplitToning→ImageGrain→ImageCrop→OutputImageFile
one warm look on two photos, a sunset field and a tram street
06

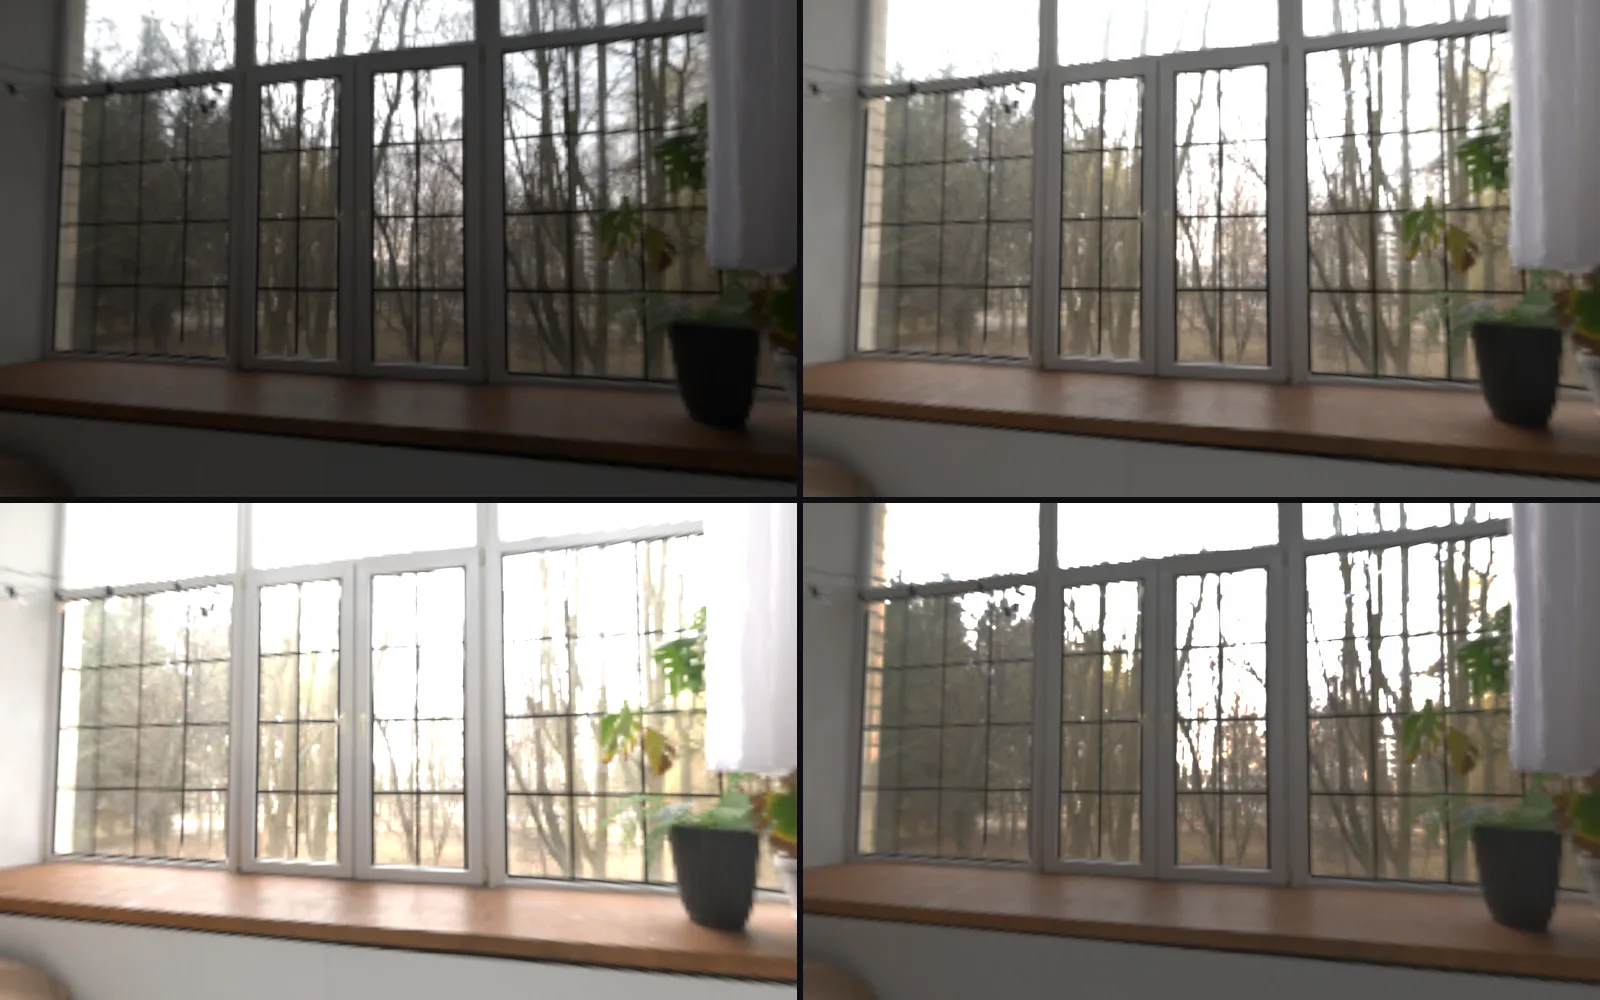
Merge a bracketed interior

Three exposures of a room with a bright window become one frame that holds them all.

  1. Choose File > Merge brackets and pick the three shots.
  2. Check Line them up and Remove ghosts, then pick HDR for grading.
  3. Grade it, then tone map it to fit a screen.
InputImageFile→ImageBracketAlign→ImageExposureMerge→ImageToneMap→OutputImageFile
three exposures of one room, made from a single interior capture, and the merge at bottom right that holds both the window and the room
Take it further

It all connects.

Every part of Kinematic works with the others. Wire one into the next.

Keep going

Free and open. Yours, forever.

No account, no license key. macOS, Windows, Linux and Raspberry Pi.

Download Kinematic 0.5.0