A recipe is a set of edits packed into one, which you put on with a single click. Film print comes with the app, and you can change every part of it.
Steps
Click New Project and drag your photo from your desktop onto the viewport. It opens there.
Get the photo right first: choose Edit > Adjust > Tone > Develop and set Exposure and Contrast on its card until it looks clean and natural.
Choose Edit > Recipe > Stock > Film print. The photo takes on the colors of a print film, with grain and a soft glow.
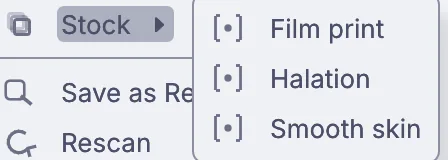
Edit > Recipe > Stock holds Film print, Halation and Smooth skin. Look at the Properties panel with Film print picked in the Stack. Under Parameters sit three knobs: Strength sets how much of the film color you get, Grain how strong the grain is, and Halation the red glow around bright spots. Try Strength
0.6for a gentler look.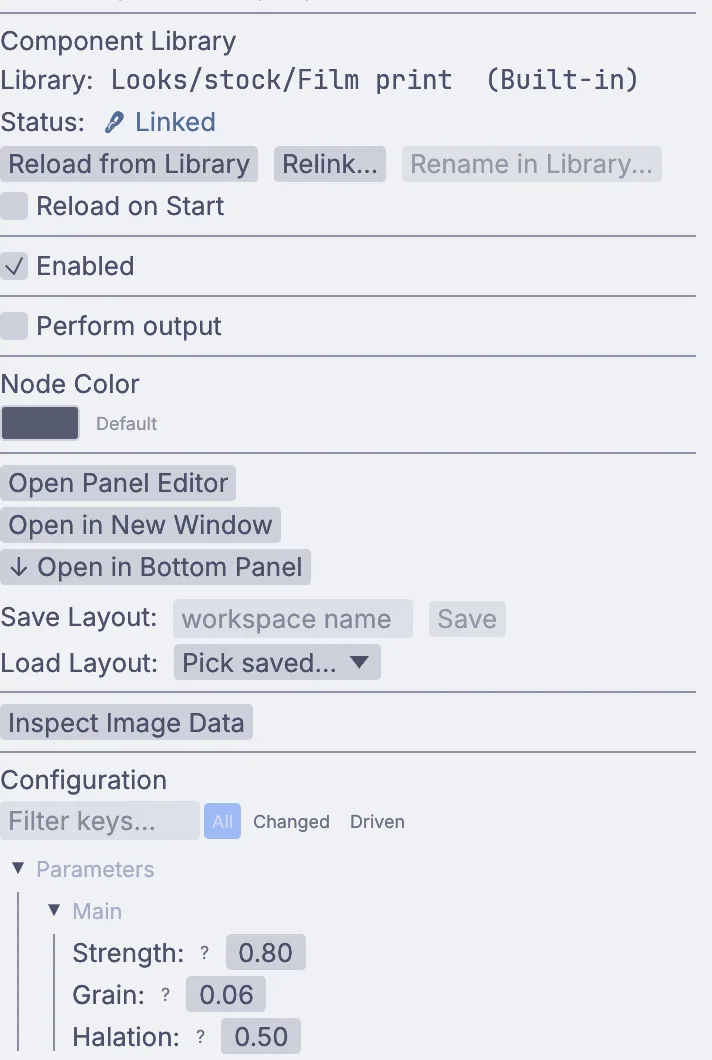
Film print in Properties: a built-in recipe, with Strength, Grain and Halation under Parameters. Choose Filter > Light and lens > Vignette for darker corners, and set its Strength in the Properties panel.
Open Window > Panels > Stack and press Compare on Film print to wipe between the plain photo and the film look.
To save, click the dotted rectangle above the viewport's Edit menu to switch to Selection, then choose Edit > Layer > Save frame.... Set where the file goes with File path on the save step's card.
On the canvas
The recipe is one Component node. Inside it, InputImageLutFile does the print color, ImageGrain the grain, and ImageLumaKey, ImageBlur, ImageColorCorrect and ImageComposite make the glow around bright spots.
Make it yours
- Put Edit > Recipe > Stock > Halation on a night photo with street lights.
- Turn Grain up and Strength down for an old snapshot.
- Keep your settings with Edit > Recipe > Save as Recipe... and use them on the rest of a set.
- Add Edit > Adjust > Looks > Split toning before the recipe for teal shadows.