Kinematic 0.5.0 is out. Modeling and sculpting in the viewport, a timeline on every graph, photo and sound editing. What's new
Kinematic / Edit / Color

Color grade photos and video.

Curves, hue curves, color wheels, scopes and LUTs, with a look you build once and lay over a whole set.

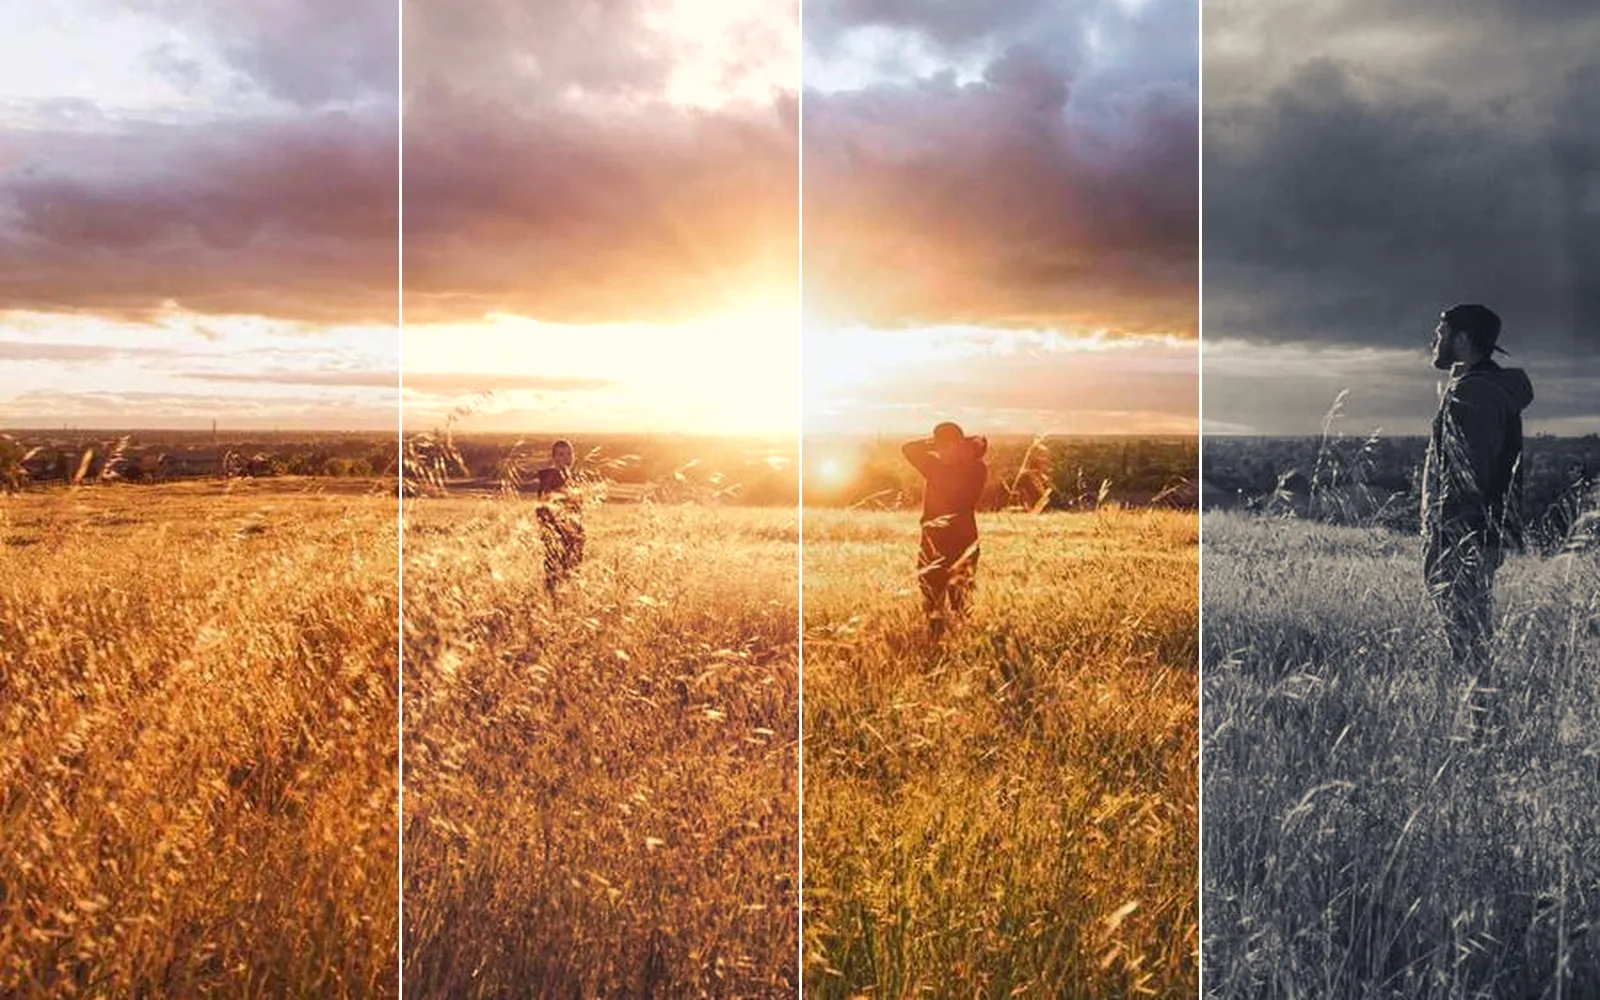
one sunset field in four looks: as shot, warm film, teal and silver
01

Make a warm film look for a wedding set

Warm light, cool blue shadows and cream highlights, saved as one Look with its own Amount.

  1. Warm and lift a photo with Develop. Put cool blue in the shadows and cream in the highlights with Split toning.
  2. Save the two edits as a Look and lay it on the next photo.
  3. Step inside either copy, change it and pick Update the Look. Every copy follows.
InputImageFile→ImageDevelop→ImageSplitToning→ImageMaskMix→ImageContactSheet
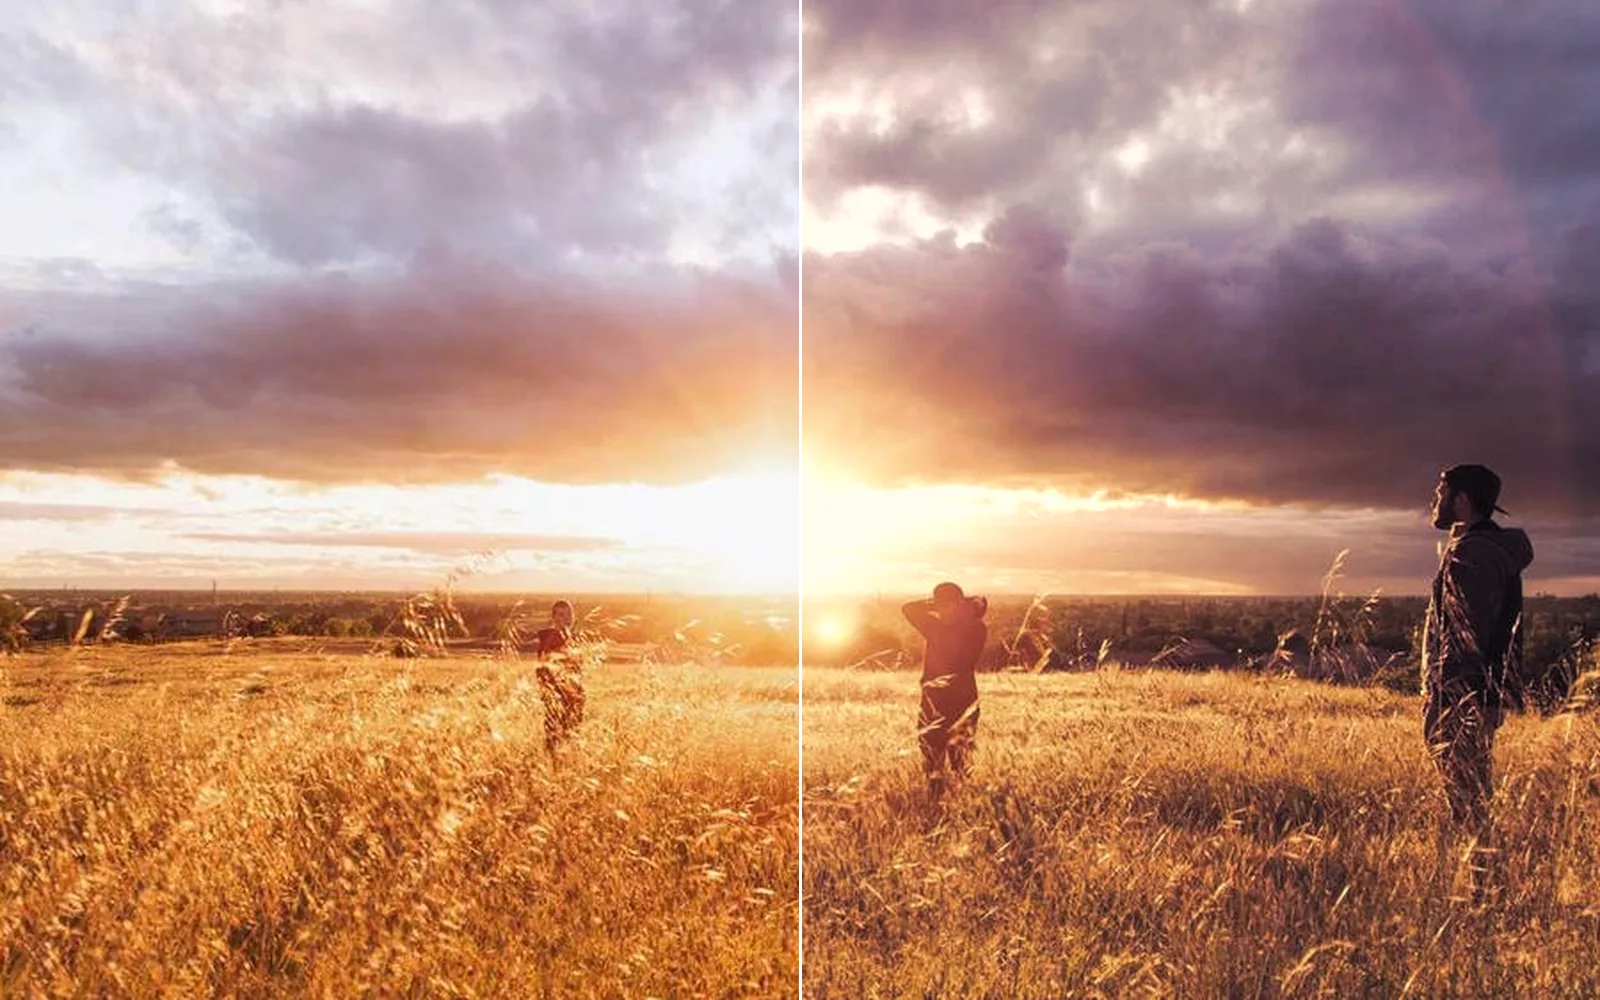
the sunset field before and after the warm film look
02

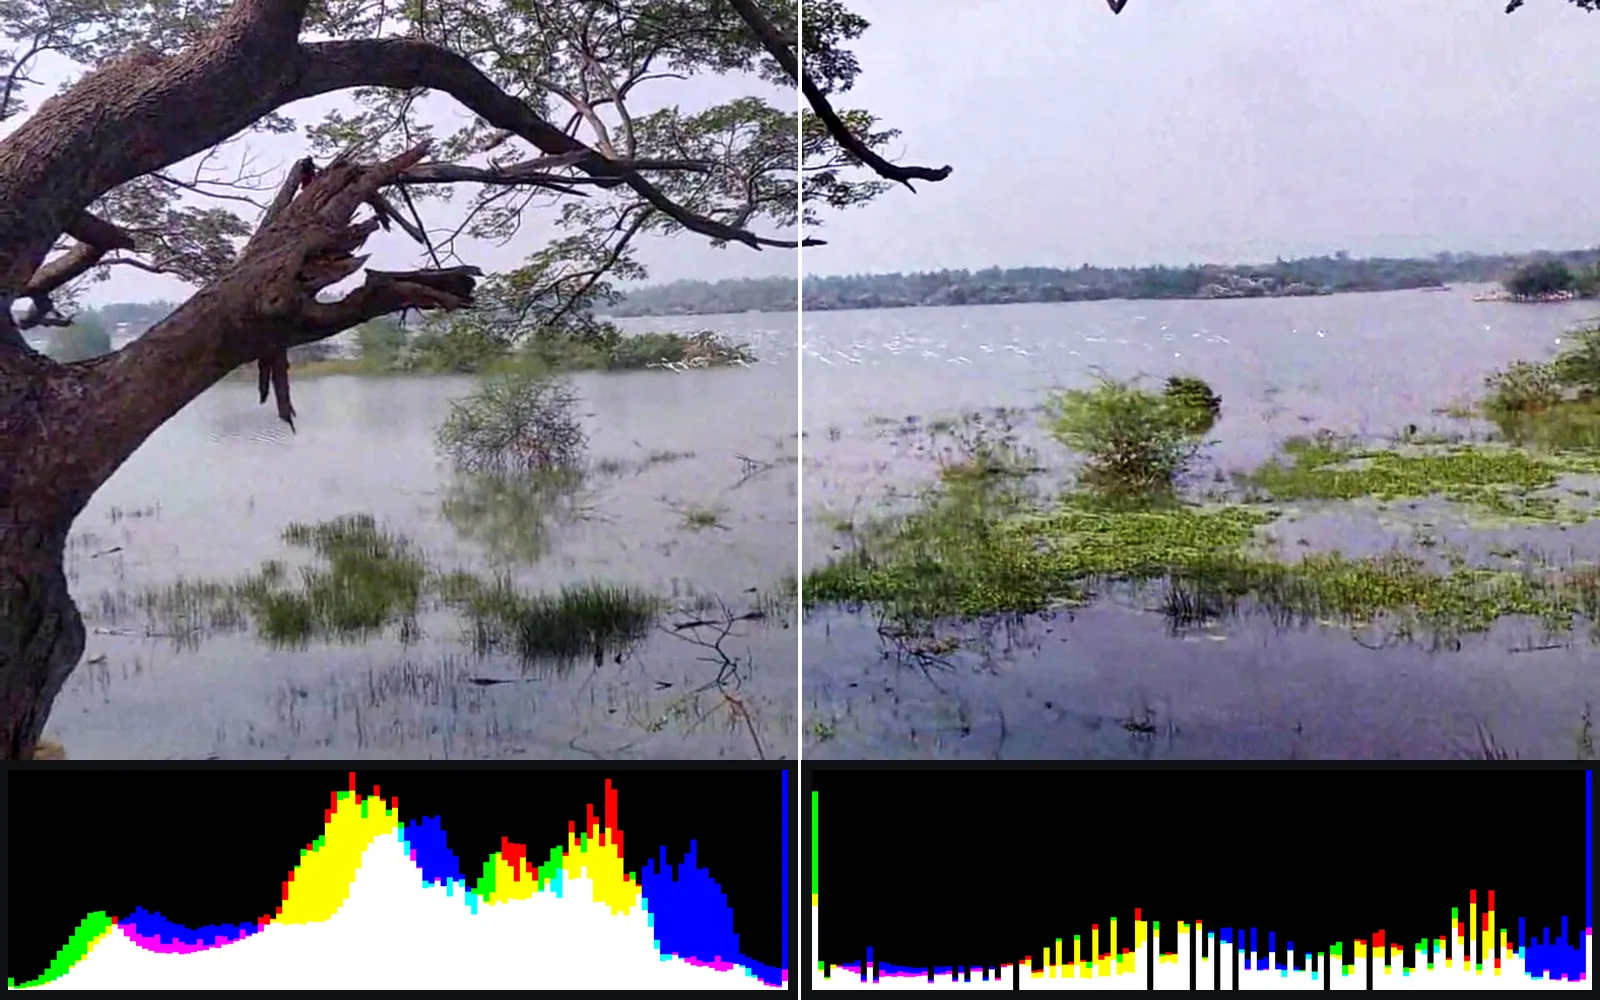
Bring a flat, hazy shot back

Real blacks and real whites out of a gray haze, checked on the scopes as you drag.

  1. Turn on the scopes in the view.
  2. Pull the black point up and the white point down in Levels. Watch the waveform stretch.
  3. Add a gentle S curve for a little more snap.
InputImageFile→ImageLevels→ImageRGBCurves
the hazy lake before and after Levels and Curves, each with its histogram below
03

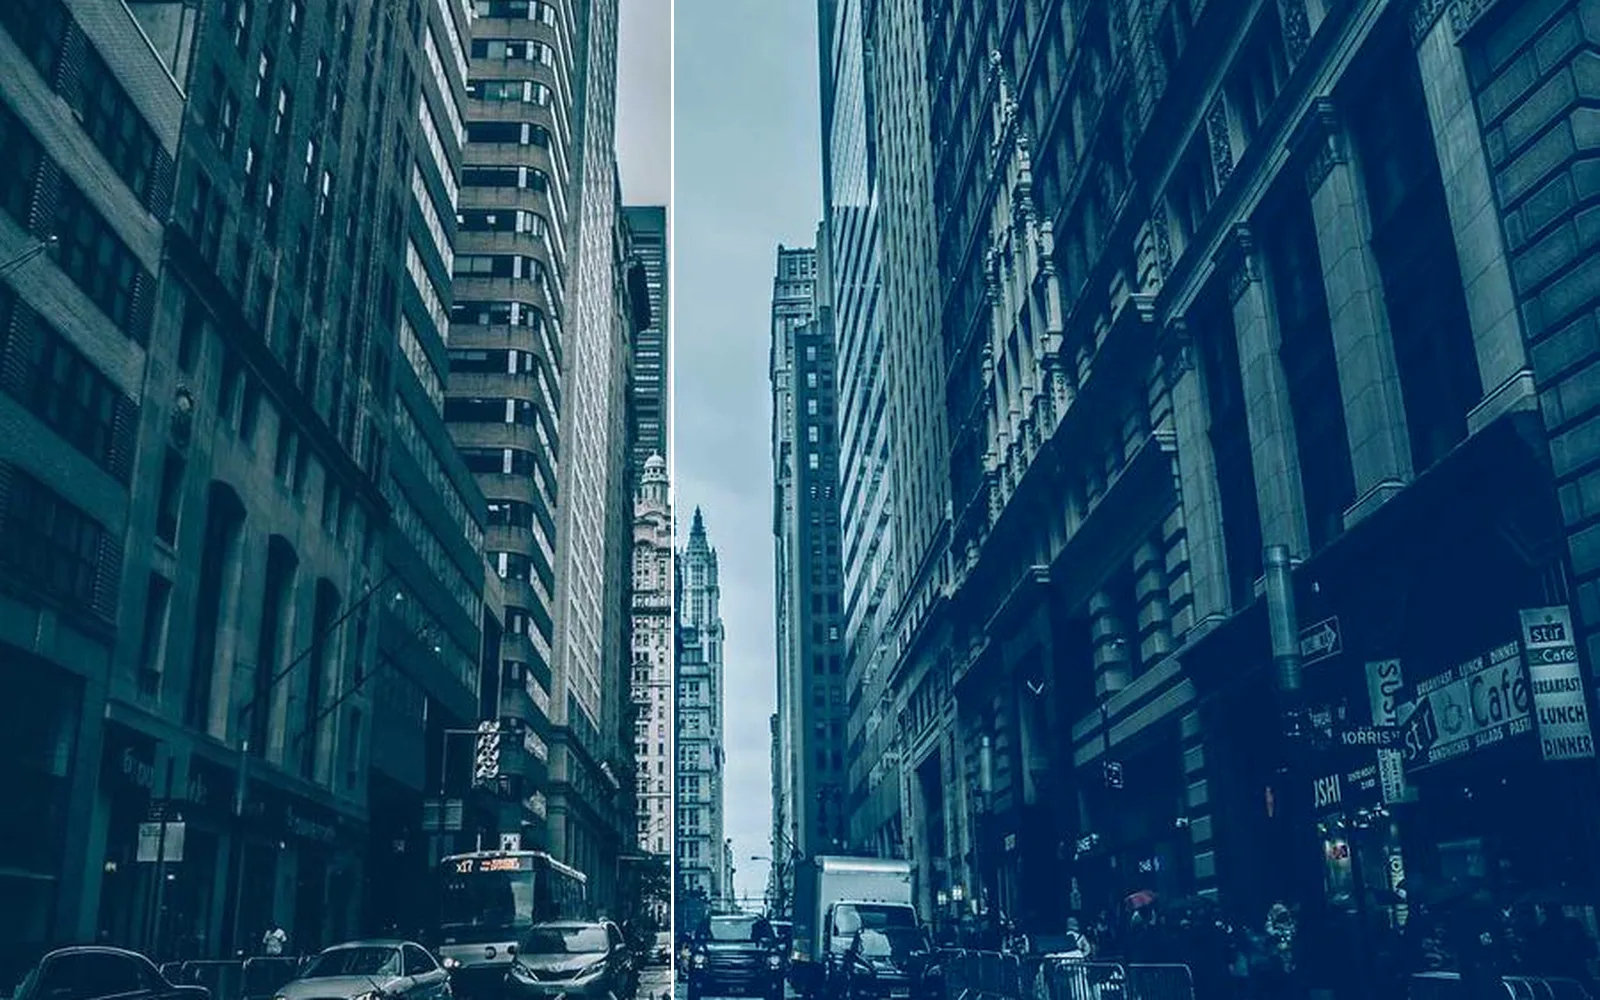
Give a city street a cool teal grade

Teal midtones and blue shadows, with a sky that stays clean.

  1. Push the midtones toward teal on the Color balance wheels.
  2. Drag on a dark doorway in Color correct. Only the shadows go blue.
  3. Leave the highlights alone so the sky stays clean.
InputImageFile→ImageColorBalance→ImageColorCorrect
the city street before and after: teal midtones, blue shadows, a clean sky
04

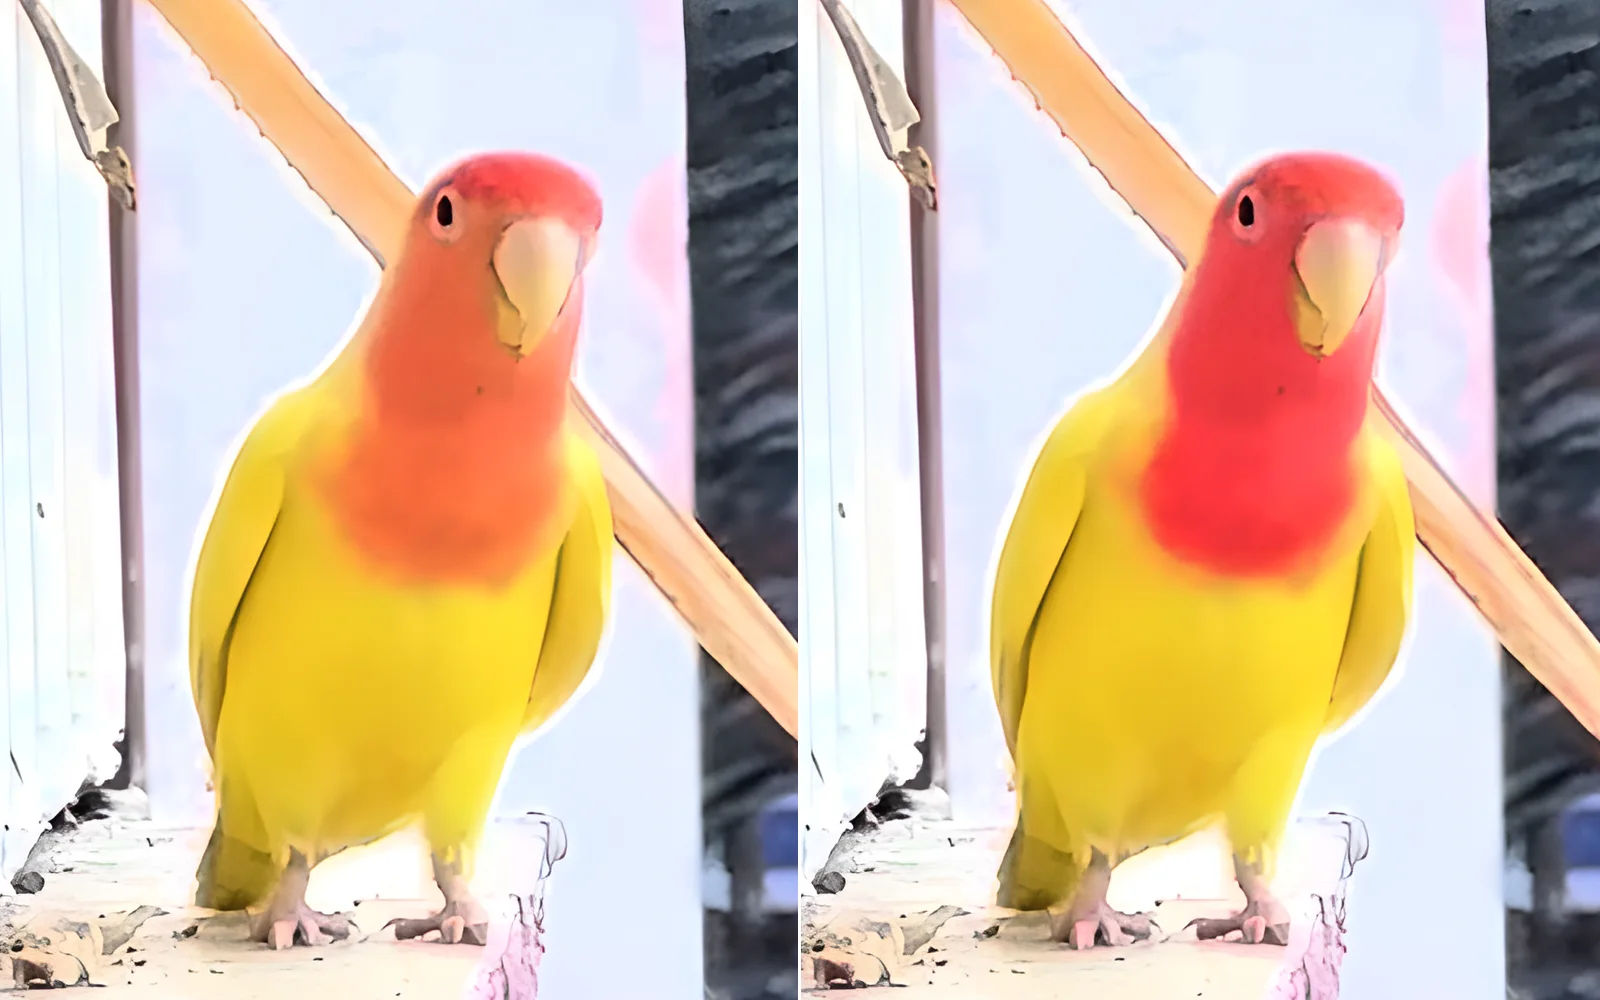
Shift one color and leave the rest

A lovebird's peach face turned rose red. Its yellow body stays as it was.

  1. Open Hue vs curves.
  2. Drag on the bird's face. The curve bends at that color's own hue.
  3. Nudge it a little. Only that range of color moves.
InputImageFile→ImageHueVsCurves
a lovebird's peach face turned rose red, the yellow body left as it was
05

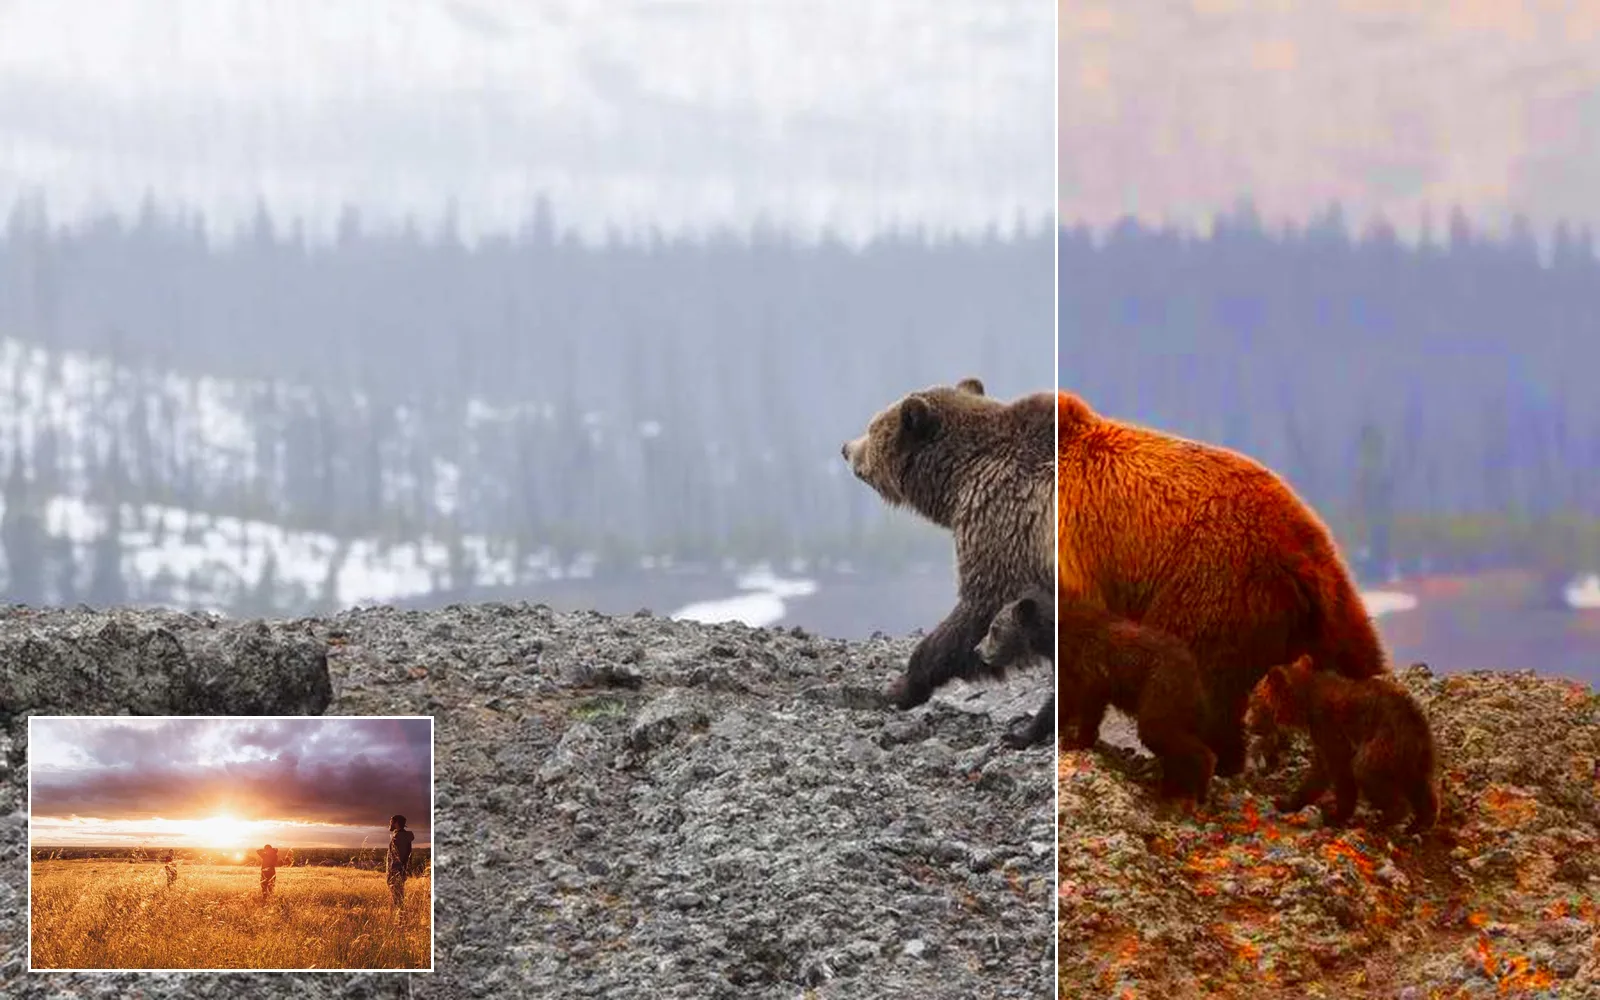
Match a set of shots to one hero frame

A cold, misty shot pulled toward a warm sunset shot, then fine-tuned by eye.

  1. Pick Match colors to a frame and choose the hero.
  2. Set it to Overall balance. It moves the color and contrast, not every tone.
  3. Trim what is left on the Color balance wheels.
InputImageFile→ImageHistogramMatch→ImageColorBalance+InputImageFile
a cold misty bear shot pulled toward the warm sunset frame in the corner
06

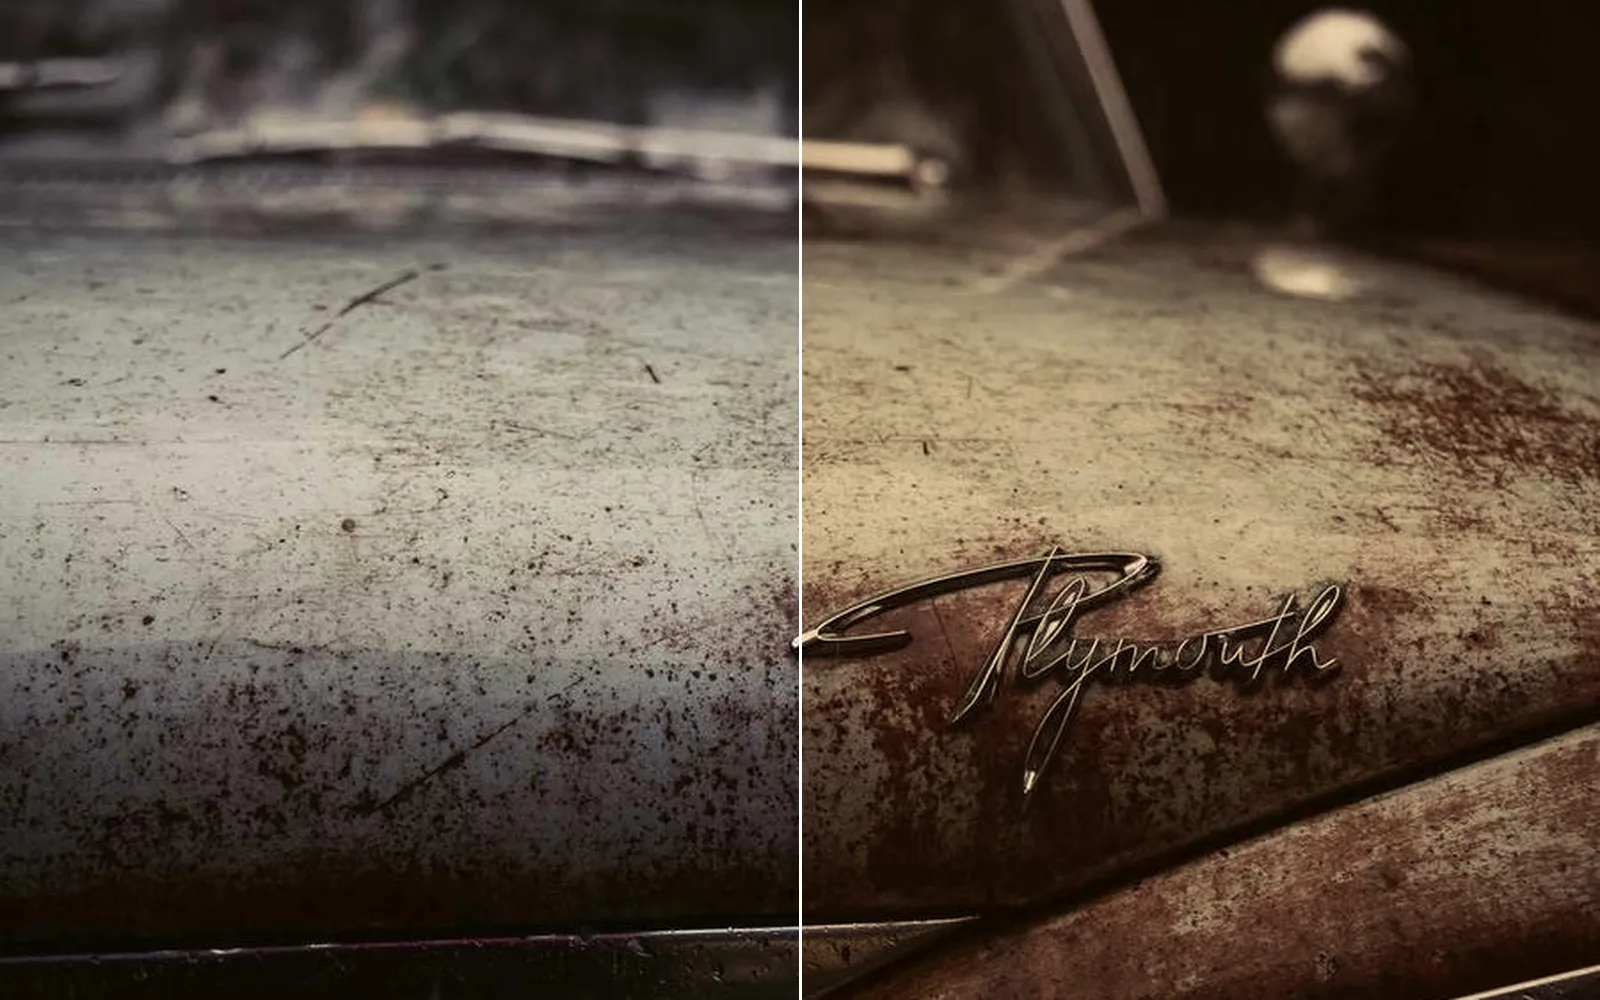
Bring in a LUT from your grading app

A .cube look on a photo at the strength you pick, updated each time you export it again.

  1. Export a .cube file from your grading app.
  2. Load it on the photo and set the strength.
  3. To go the other way, select your grade edits and pick Export LUT.
InputImageFile→InputImageLutFile
an old car before and after a warm .cube look
Take it further

It all connects.

Every part of Kinematic works with the others. Wire one into the next.

Keep going

Free and open. Yours, forever.

No account, no license key. macOS, Windows, Linux and Raspberry Pi.

Download Kinematic 0.5.0