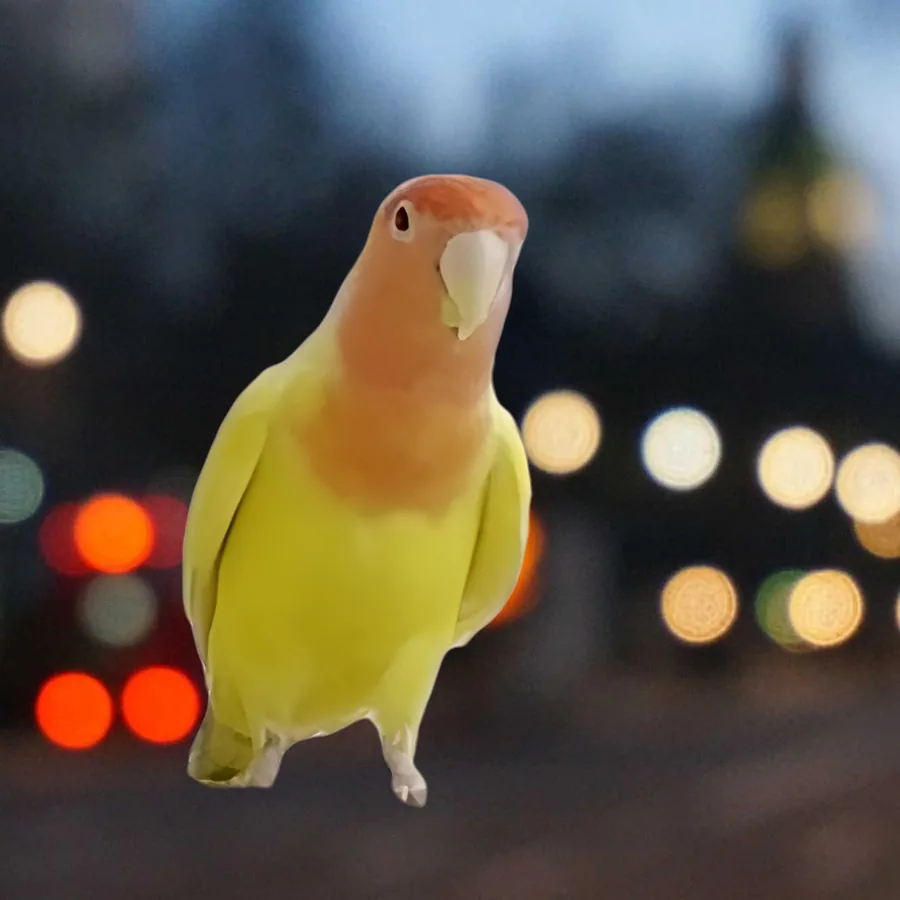
You need two photos: one with a clear subject, such as a pet, a plant or a cup on a table, and the new background. Pick a background the same size as the first photo, because the finished picture takes the background's size.
Steps
Click New Project and drag the photo of your subject onto the viewport.
Click the dotted rectangle above the viewport's Edit menu to switch to Selection.
Select it. Open the Select menu (the dotted rectangle with a small arrow) and choose AI > Subject. The first time, Kinematic downloads what it needs. Then marching ants go around your subject.
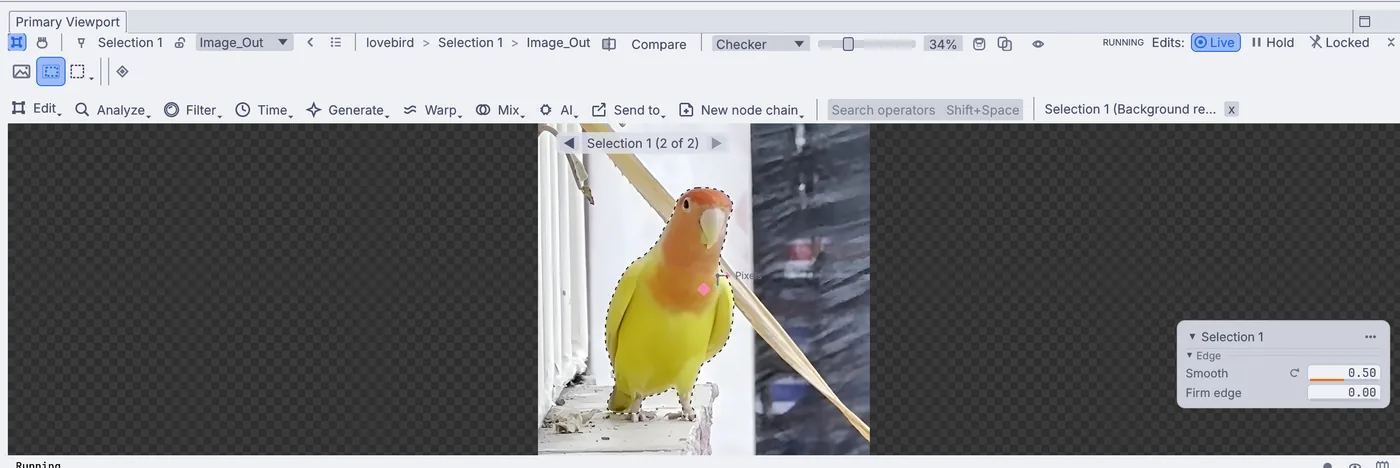
Marching ants around the lovebird after AI > Subject. The stalk behind it stays out. Cut it out. Choose Edit > Retouch > Remove > Cut out. Everything outside the selection turns clear, and the checkerboard shows through.
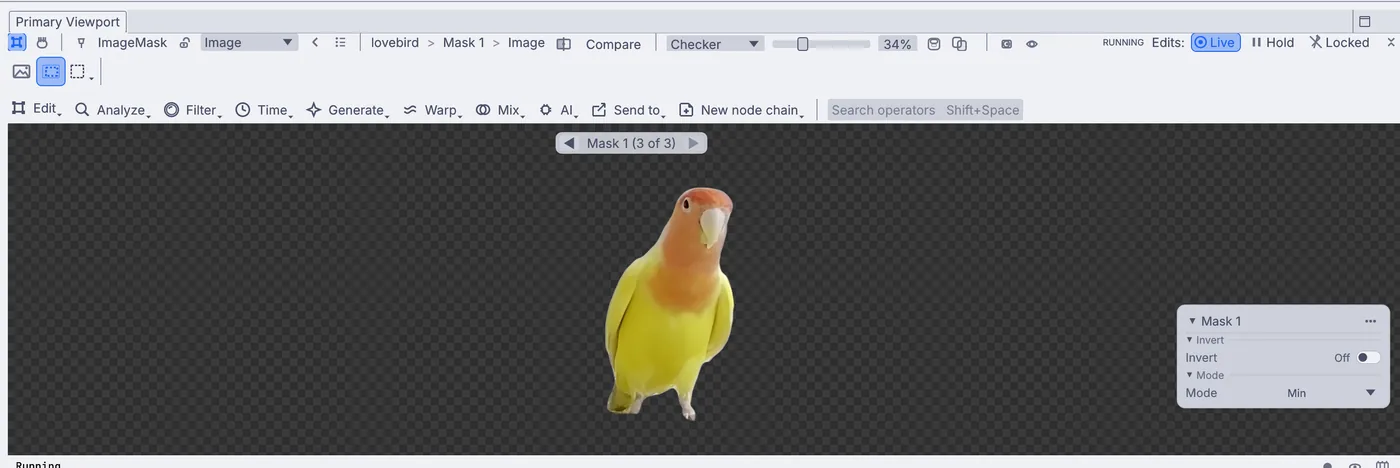
The cut-out: only the bird is left, on a clear background. Clean the edge. Choose Edit > Layer > Key > Edge decontaminate. It takes the old background's color out of the soft edge, around feathers, fur and hair. Raise Band in the Properties panel to reach further in.
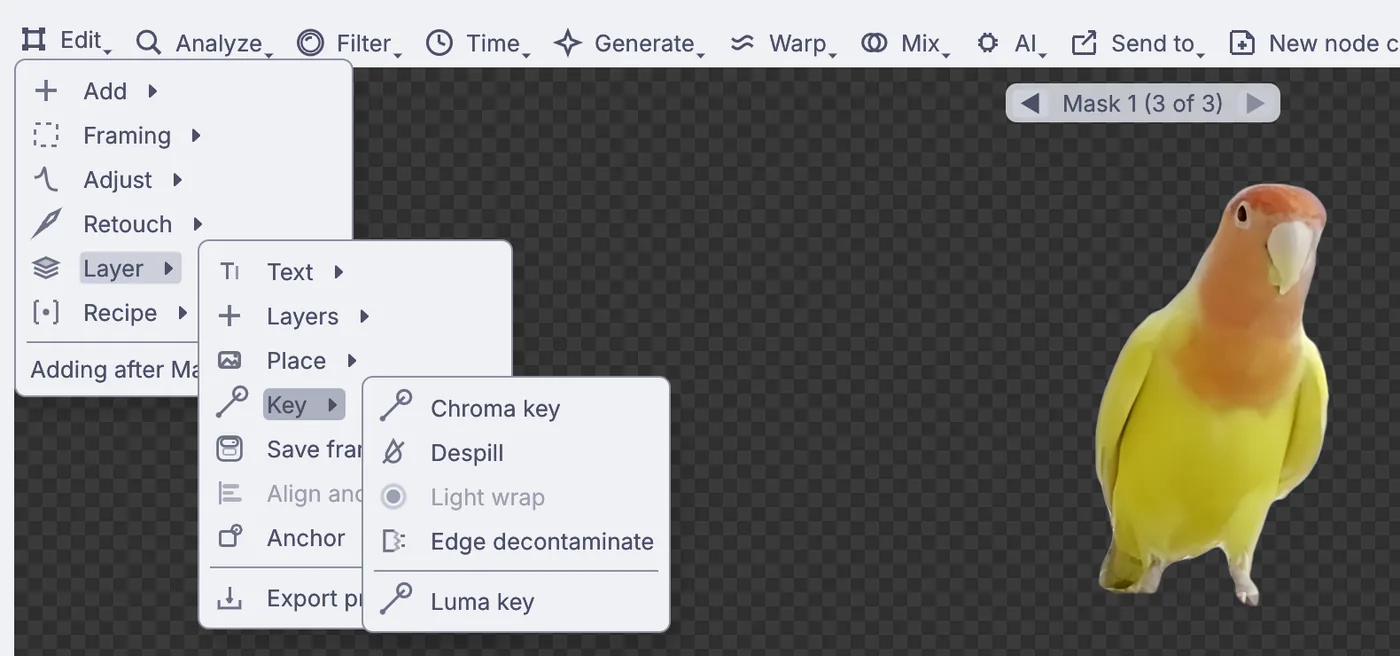
Edit > Layer > Key, with Edge decontaminate. Match the light. Choose Edit > Adjust > Tone > Develop. Change Exposure on its card and Temperature in the Properties panel until your subject suits the light of the new background. For the evening lights here, Exposure
-0.2and Temperature15did it. Do this before you place the background, so the Develop changes only your subject.Place the new background. Choose Edit > Layer > Place > Behind... and pick your background photo. It goes in underneath and shows through the clear parts.
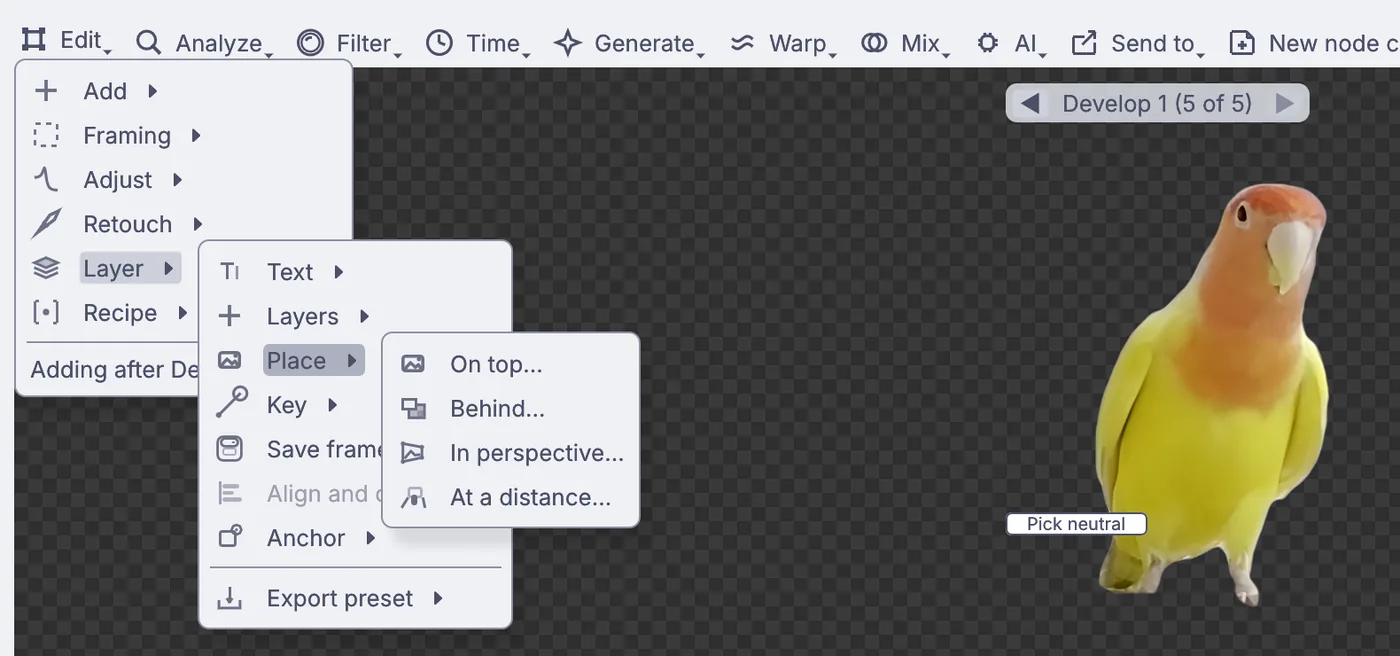
Edit > Layer > Place: On top, Behind, In perspective and At a distance. Open Window > Panels > Stack and press Compare on each edit to check the edge, then choose Edit > Layer > Save frame....
On the canvas
The Subject selection is LocalAIImageRemoveBackground with ImageMaskRefine, Cut out is ImageMask, the edge clean-up is ImageEdgeDecontaminate, and the light is an ImageDevelop. The new background is its own InputImageFile joined underneath by ImageAlphaOver.
Make it yours
- Before you place the background, try Edit > Adjust > Color > Match colors to a frame... and pick the background photo, so your subject borrows its colors.
- Use Edit > Layer > Place > In perspective... to pin a picture onto a sign or a screen instead.
- On a photo of friends or family, choose AI > People to select only the people.