Kinematic 0.5.0 is out. Modeling and sculpting in the viewport, a timeline on every graph, photo and sound editing. What's new
Kinematic / Coming from Maya

Model, rig and animate in Kinematic.

Tumble with Alt, move with W, E and R, open the tools with Space. Model, rig and animate in a free app where every step stays open to change, then put the same scene on a stage.

Free to useFBX, USD and Alembic both waysmacOS, Windows, Linux
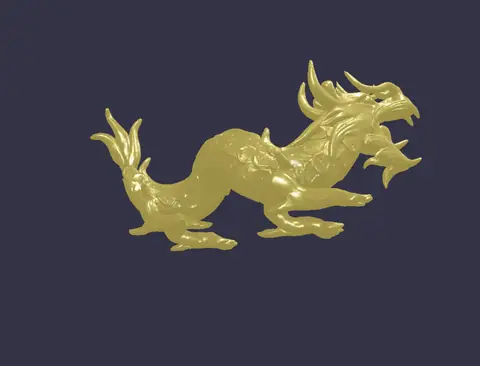
sculpta creature from a ball, then painted
modelan A-frame cabin
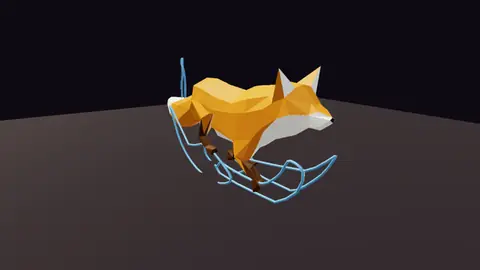
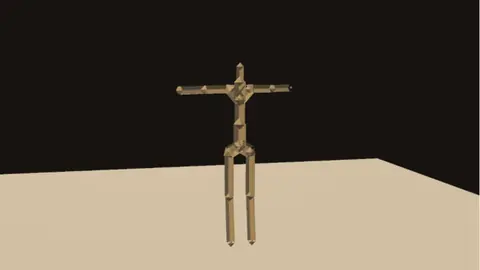
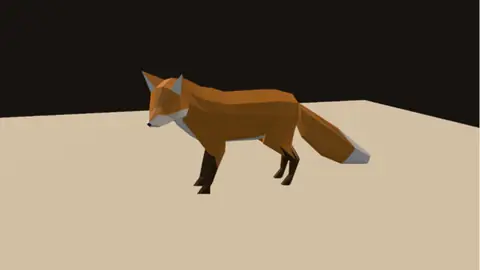
animatea rigged fox walking
Alt+drag

Tumble, track and dolly with the Maya navigation preset, on the same three buttons.

WER+F

Move, turn and scale what you picked, then frame it.

Space

The modeling tools at the pointer. Tap it, or hold it like the hotbox.

Shift+1234

Object, point, edge or face. Component picking, one key away.

You already know this

Maya terms in Kinematic.

Twelve things your hands do in Maya every day, and where each one lives here. Every picture is the Kinematic side.

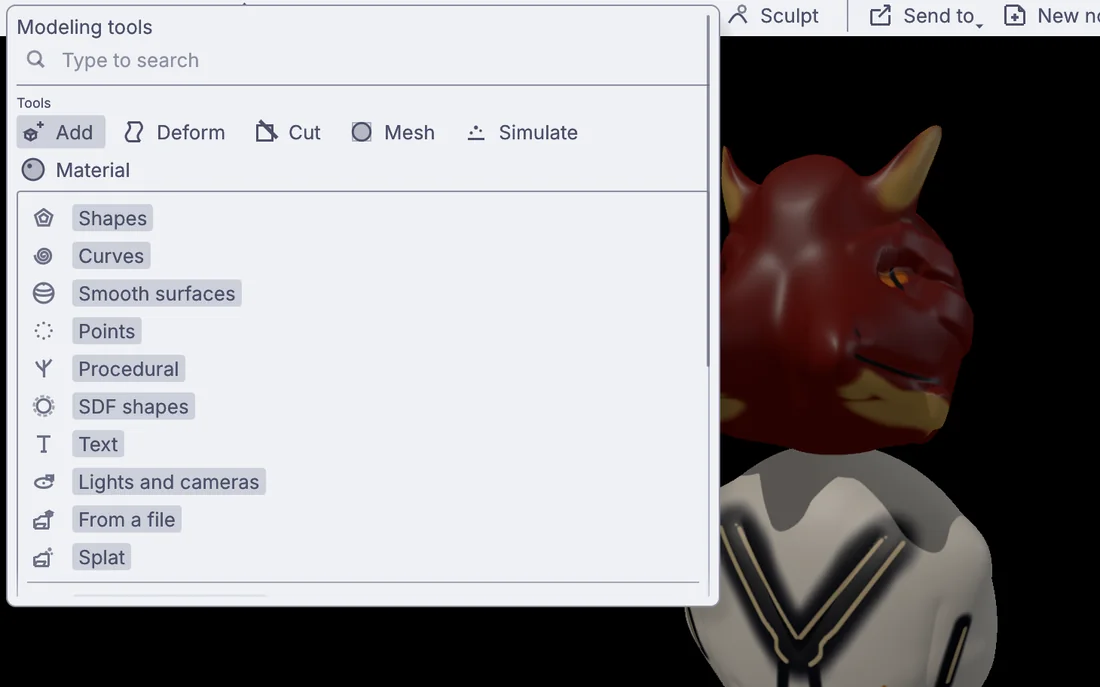
The Modeling tools menu open over a sculpted dragon bust

In MayaHotbox and marking menus →modeling

Space, at the pointer

Tap Space for the modeling tools where you are pointing, or hold it and let go. Start typing to find a tool by name. Right-click for what is under the pointer.
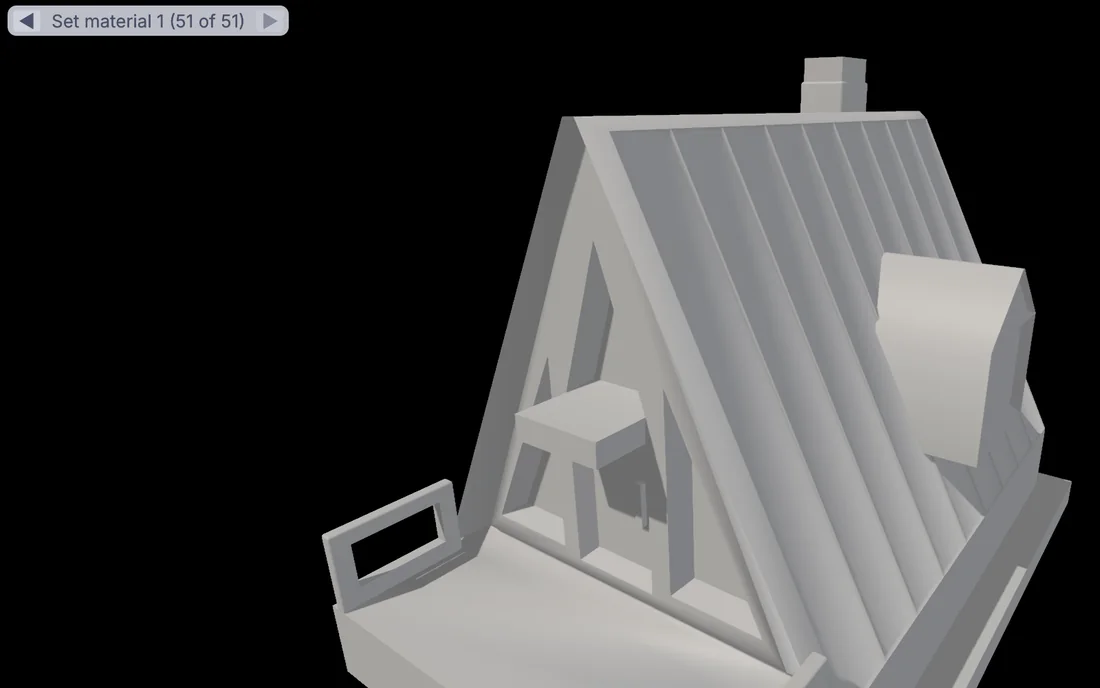
An A-frame cabin with the step arrows reading Set material 1, 51 of 51
51 steps, all still open

In MayaConstruction history →modeling

Every tool stays a step

A bevel or a loop cut lands as its own step, and any step can be opened and changed later. The arrows at the top left walk the list: this cabin has 51.
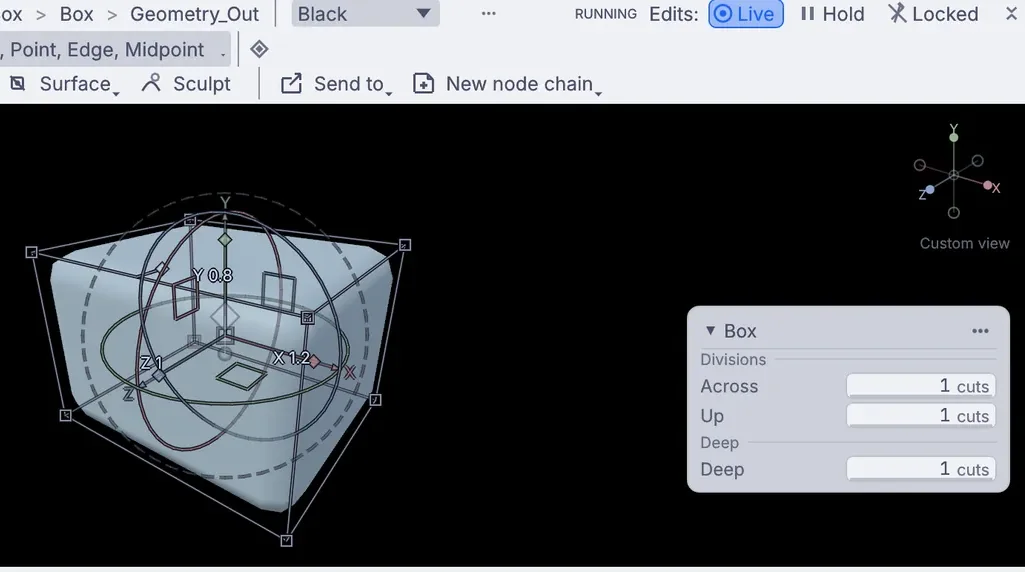
A box with move handles and its settings card showing divisions across, up and deep

In MayaChannel Box →modeling

The settings card

The step you are on lists its numbers beside the view. Drag a number or its name sideways, or click it and type 80mm or 2ft + 3in.
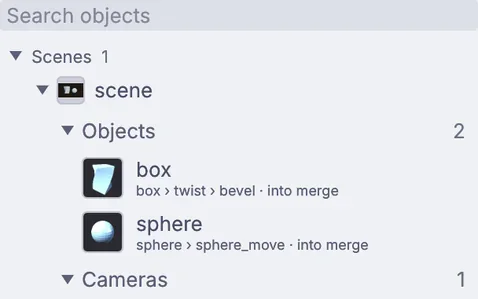
The Objects panel listing a scene with a box and a sphere

In MayaOutliner →scene

Objects

Everything you made or brought in, each with a small live picture and the steps that made it. Drop a file on it to bring it in.
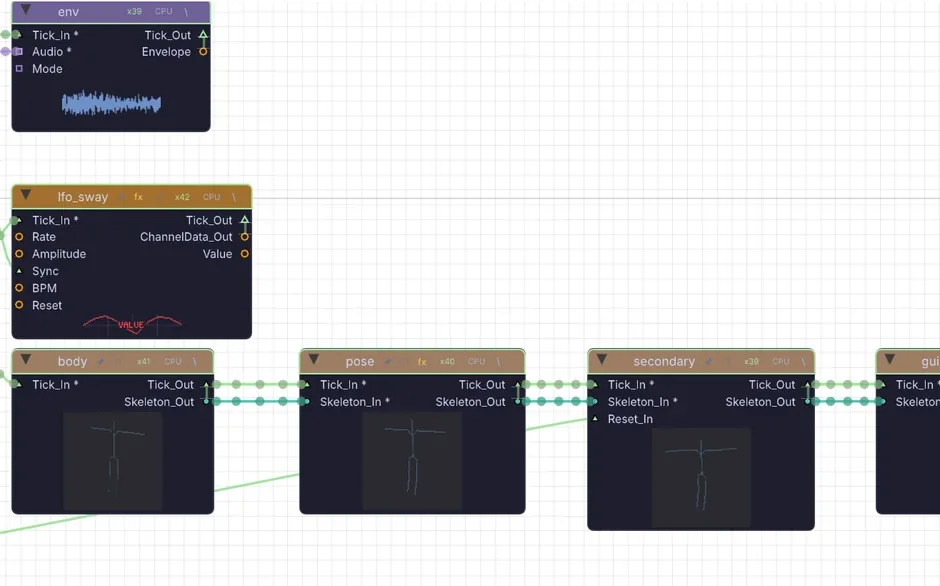
A rig on the node canvas: a skeleton, a pose, secondary motion and a sway
the Audio Dance rig

In MayaNode Editor →scene

The canvas

The same scene as nodes and wires. Every tool you use in the viewport adds a node here, so you can work either way and switch whenever you like.
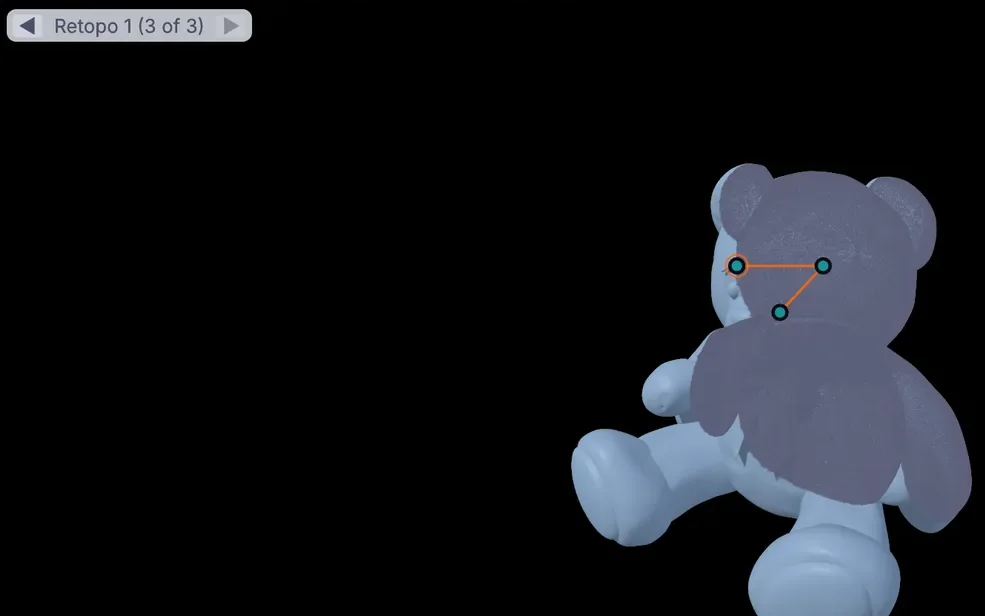
Retopo on a scanned teddy bear, three new points by the ear

In MayaQuad Draw →modeling

Retopo

Click points onto a dense scan or sculpt, drag a strip of quads off a border edge, then Relax and mirror with Symmetry X.
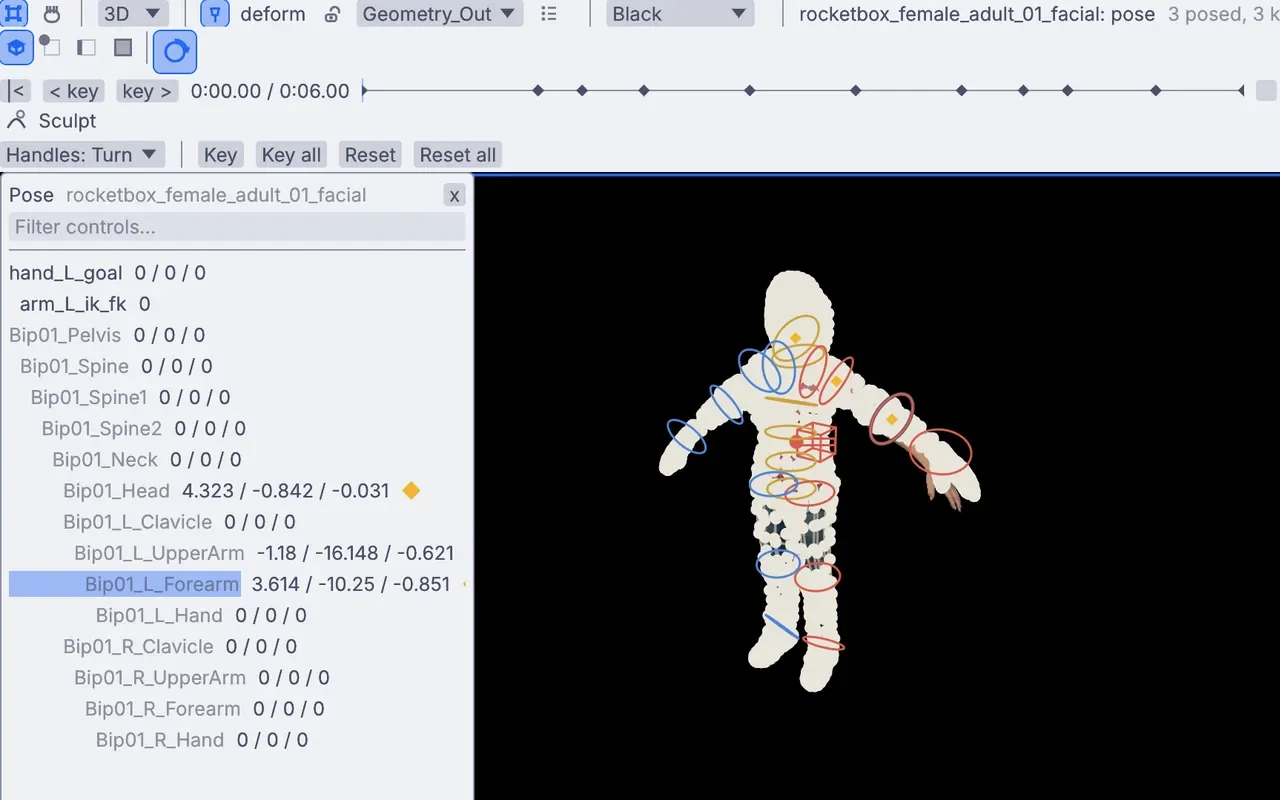
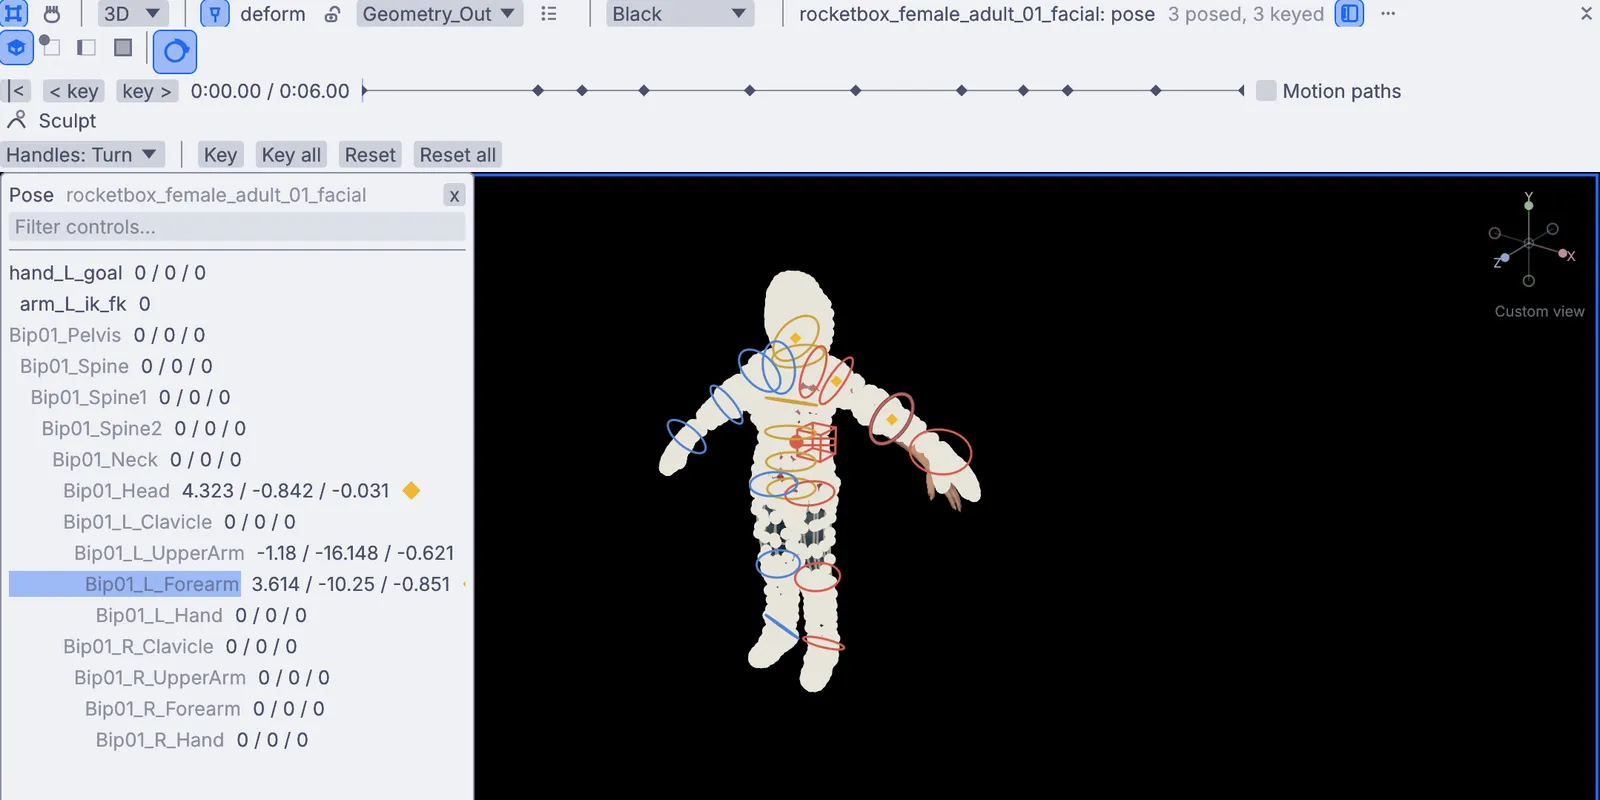
The Pose tool on a character: a list of controls with values, a time strip with keys, and Key and Key all buttons

In MayaSet Key and the time slider →animation

Key, and the time strip

Key stores a handle at the view time. Keyed controls get a diamond, and the strip under the header scrubs, jumps between keys and retimes them.
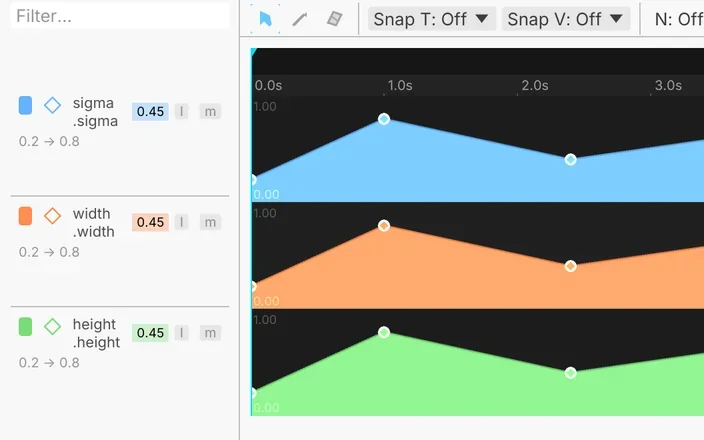
Three animation lanes in the keyframe editor, each with bezier keys

In MayaGraph Editor →animation

The keyframe editor

Bezier keys with tangents, a lane per value, snapping, and a Draw mode that turns a freehand stroke into a few clean keys.

the Motion Arcs demo

In MayaEditable motion trails →animation

Motion paths

Tick Motion paths to see where an animated handle travels, with a bead on every key. Drag a bead and that key moves.
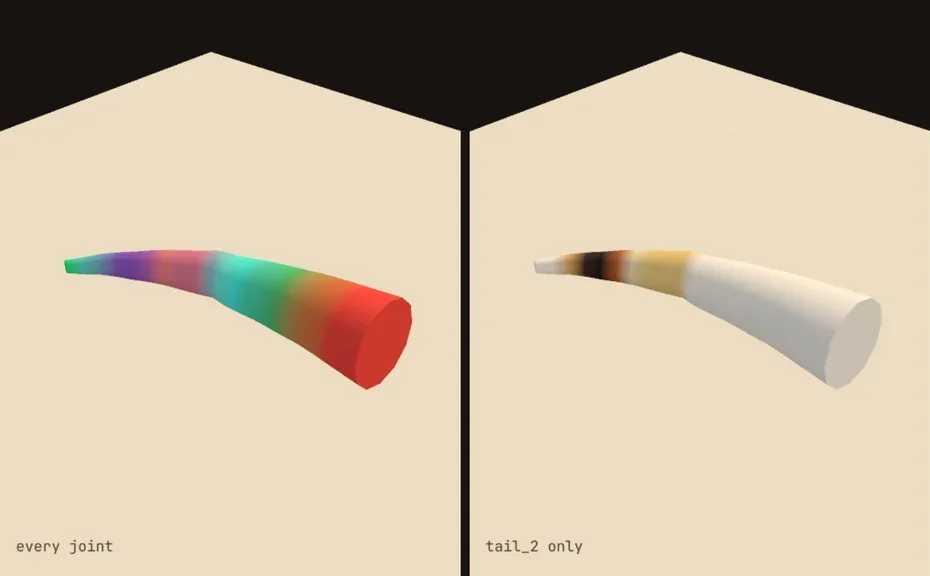
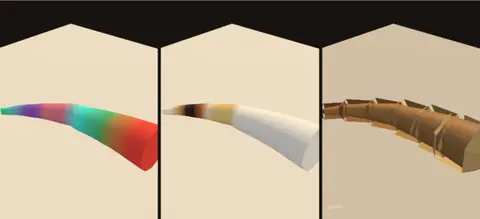
A tail with every joint weight in its own color, then one joint on its own

In MayaPaint Skin Weights →rigging

Weight paint

Bind by distance, then paint with pen pressure. Strokes are kept in the node, so clearing them takes you back to the bind. Mirror weights in one step.
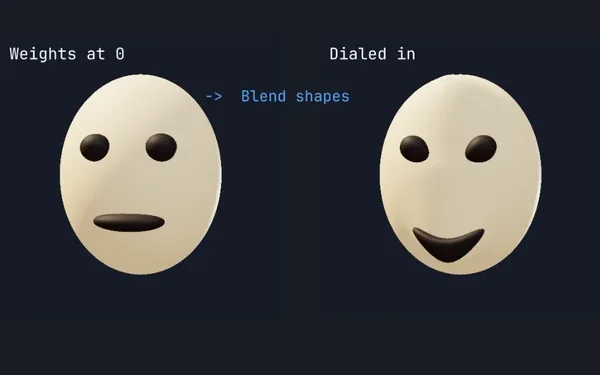
A plain face, and the same face with a smile dialed in by blend shapes

In MayaBlend Shape →rigging

Blend shapes

Targets ride with the mesh and mix by weight, combination shapes included. Sculpt a new shape right on the model and give it a name.
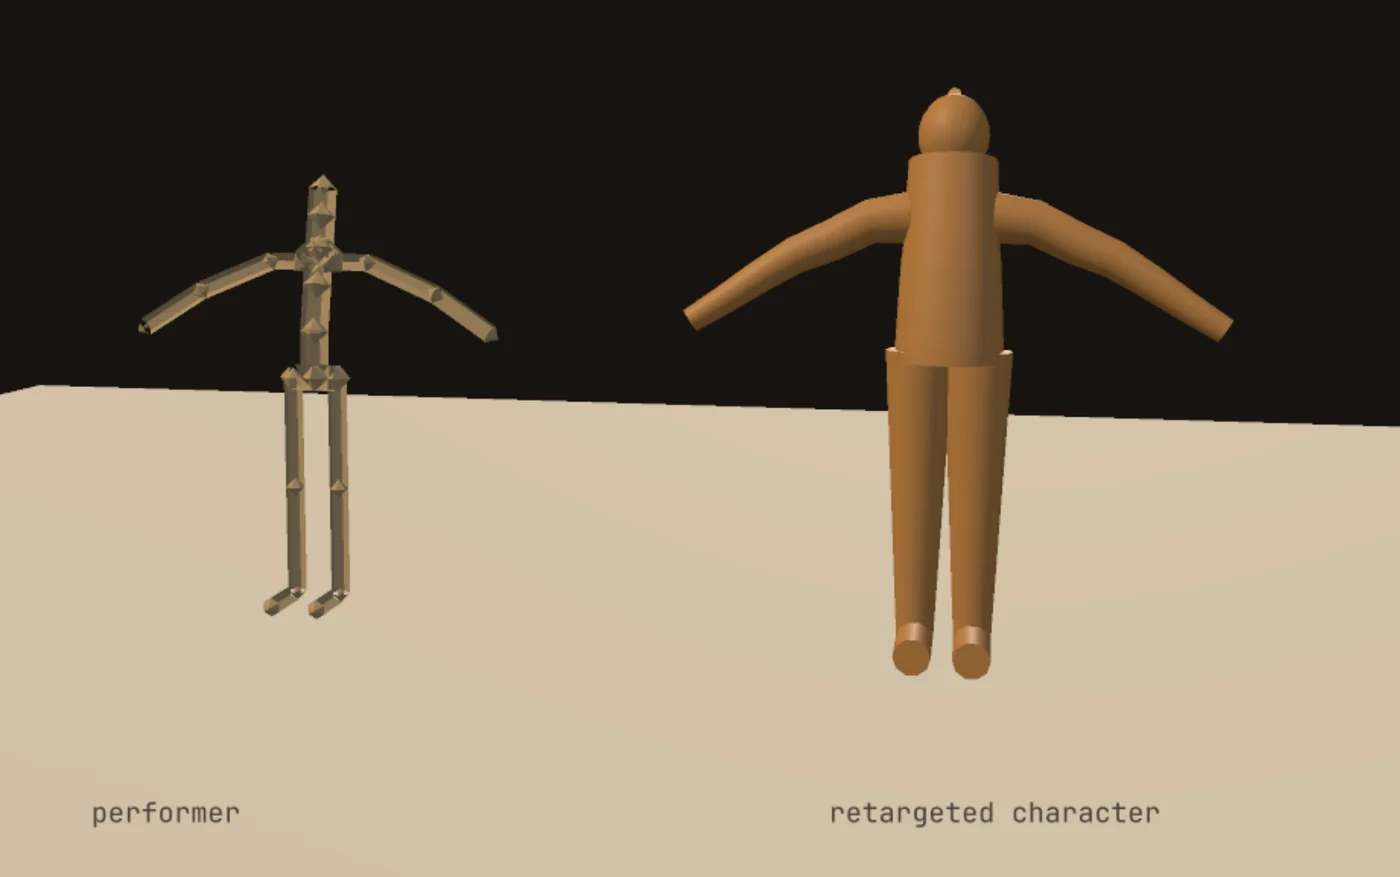
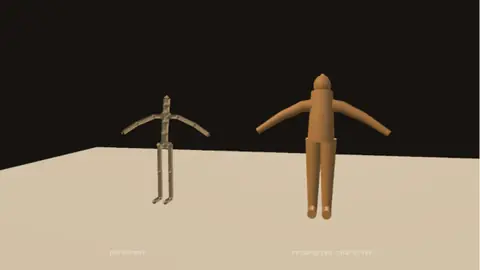
A performer skeleton beside the character its motion was retargeted onto

In MayaHumanIK →rigging

Map, match, retarget

Pair joints in the viewport, fit the two rest poses, and move a mocap take or a live webcam performance onto your character.

More lookups

Delete History→Freeze up to here. Thaw brings every step back, wired as before.
UV Editor→The UV view: 3D, UV or Split, with one selection across both.
Set Driven Key→3DGeoRigPoseDriver, an RBF blend of the poses you set.
IK Handle→3DGeoRigTwoBoneIK with a pole handle you drag, plus full body and spline IK.
Constraints→3DGeoRigConstraint and 3DGeoRigLookAt, applied in wire order.
Delta Mush→3DGeoDeltaMush, by the same name.
Hypershade→PbrMaterial on the canvas, or Surface, then Material, in the viewport.
nCloth and Bifrost→The Simulate menu: cloth, fire, smoke, liquid, rigid bodies.
Render View→A live render (3DGeoSceneRenderToImage), saved as EXR, PNG or video.
MEL and Python→Python: a console, a Python node in the graph, and scripts run from the command line.
Time Slider→The timeline bar: Space plays, the arrows step a frame, I and O set the loop.
Scene frame rate→File, Project, Frame rate: 23.976 to 60, and the time strip reads in frames.
Model and sculpt

Model the way you already do.

Start from a box. Loop cut, bevel, extrude, inset, knife and boolean are on the tool row and under Space. Pick points, edges or faces, grab them with W, E and R, and type an exact size while you drag. When the shape is right, switch to Sculpt on the same object.
  • Snapping to surface, point, edge and midpoint
  • Sculpt with pen pressure and tilt, masks, face sets and dynamic detail
  • UVs, baked maps and painting on the surface, in the same viewport
a temple modeled step by step in the viewport
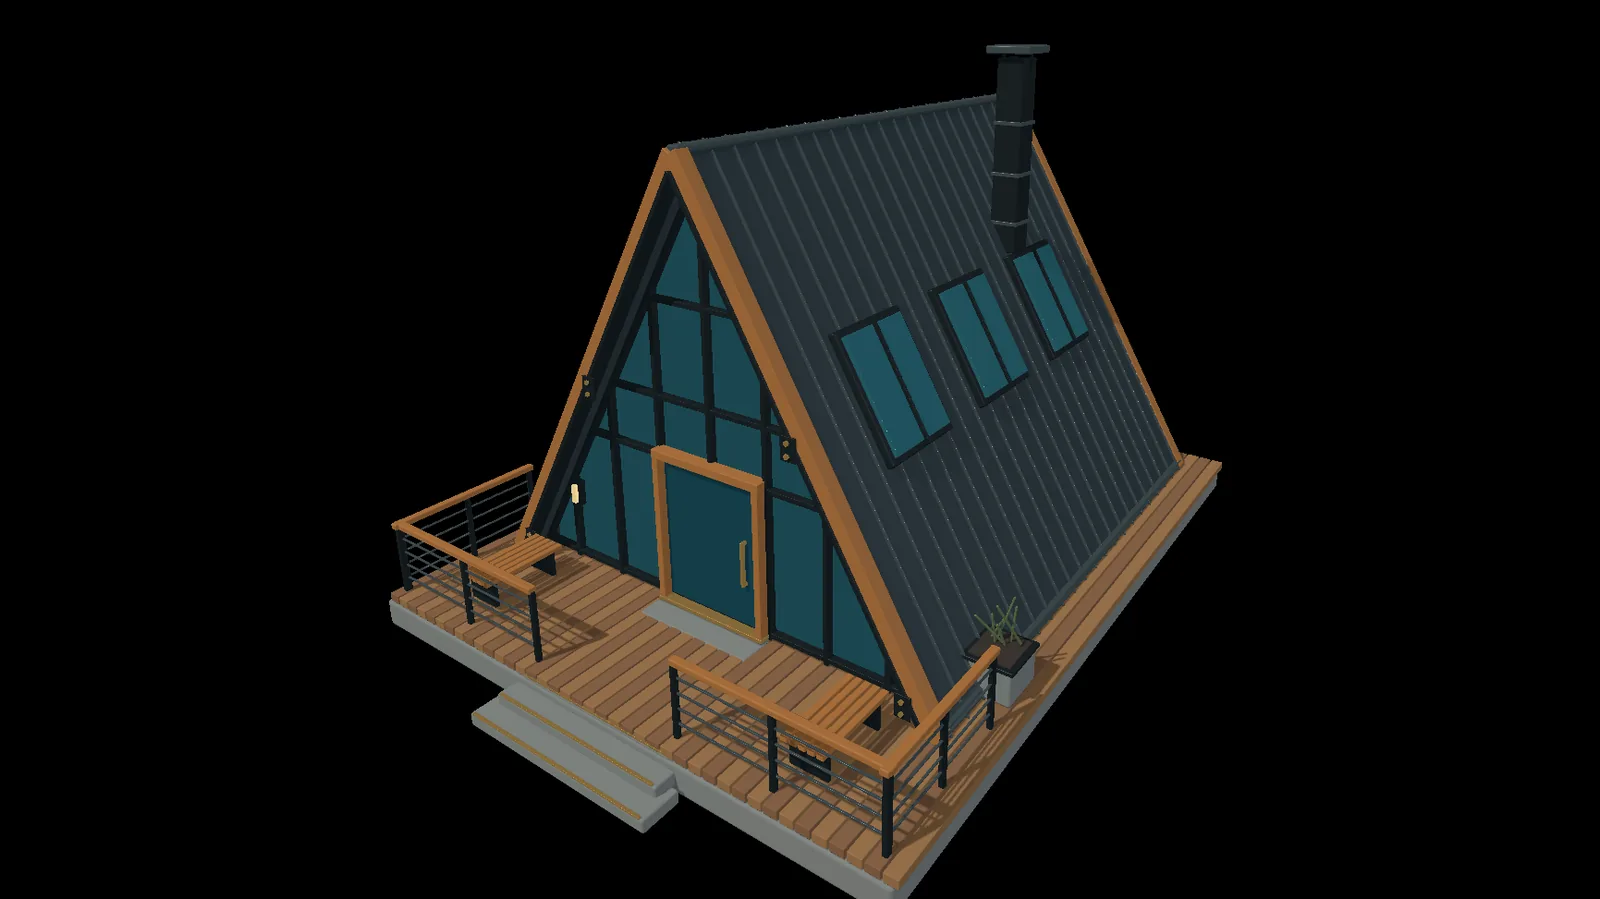
A finished A-frame house with a dark roof, glass front and a wooden deck
an A-frame house, modeled and dressed
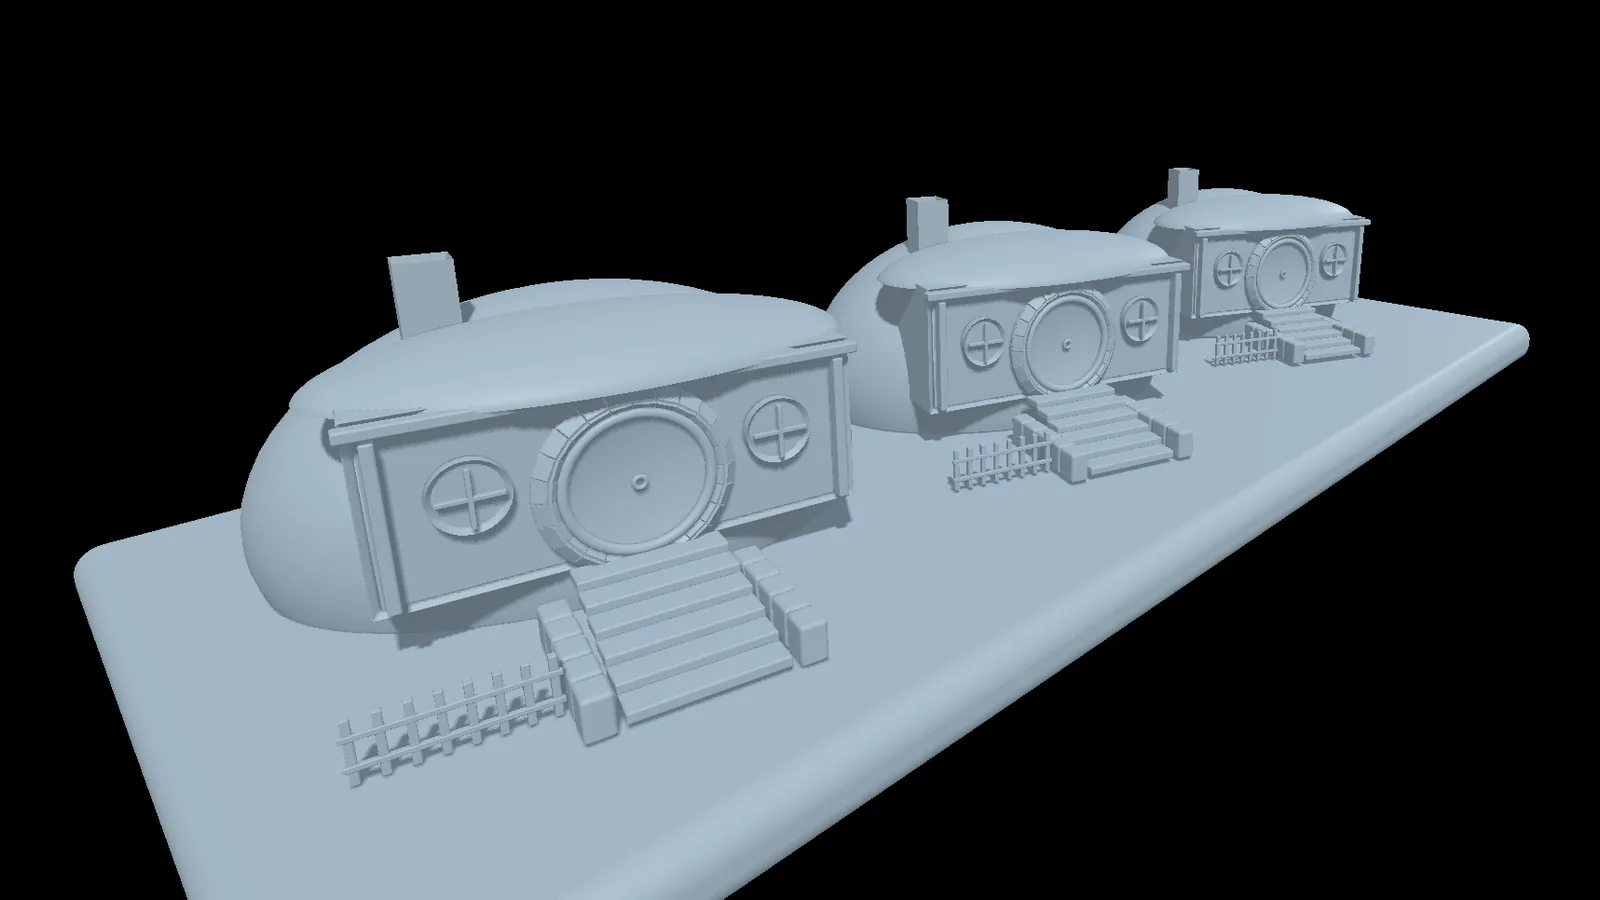
Three round hillside houses with steps and a fence
hillside houses
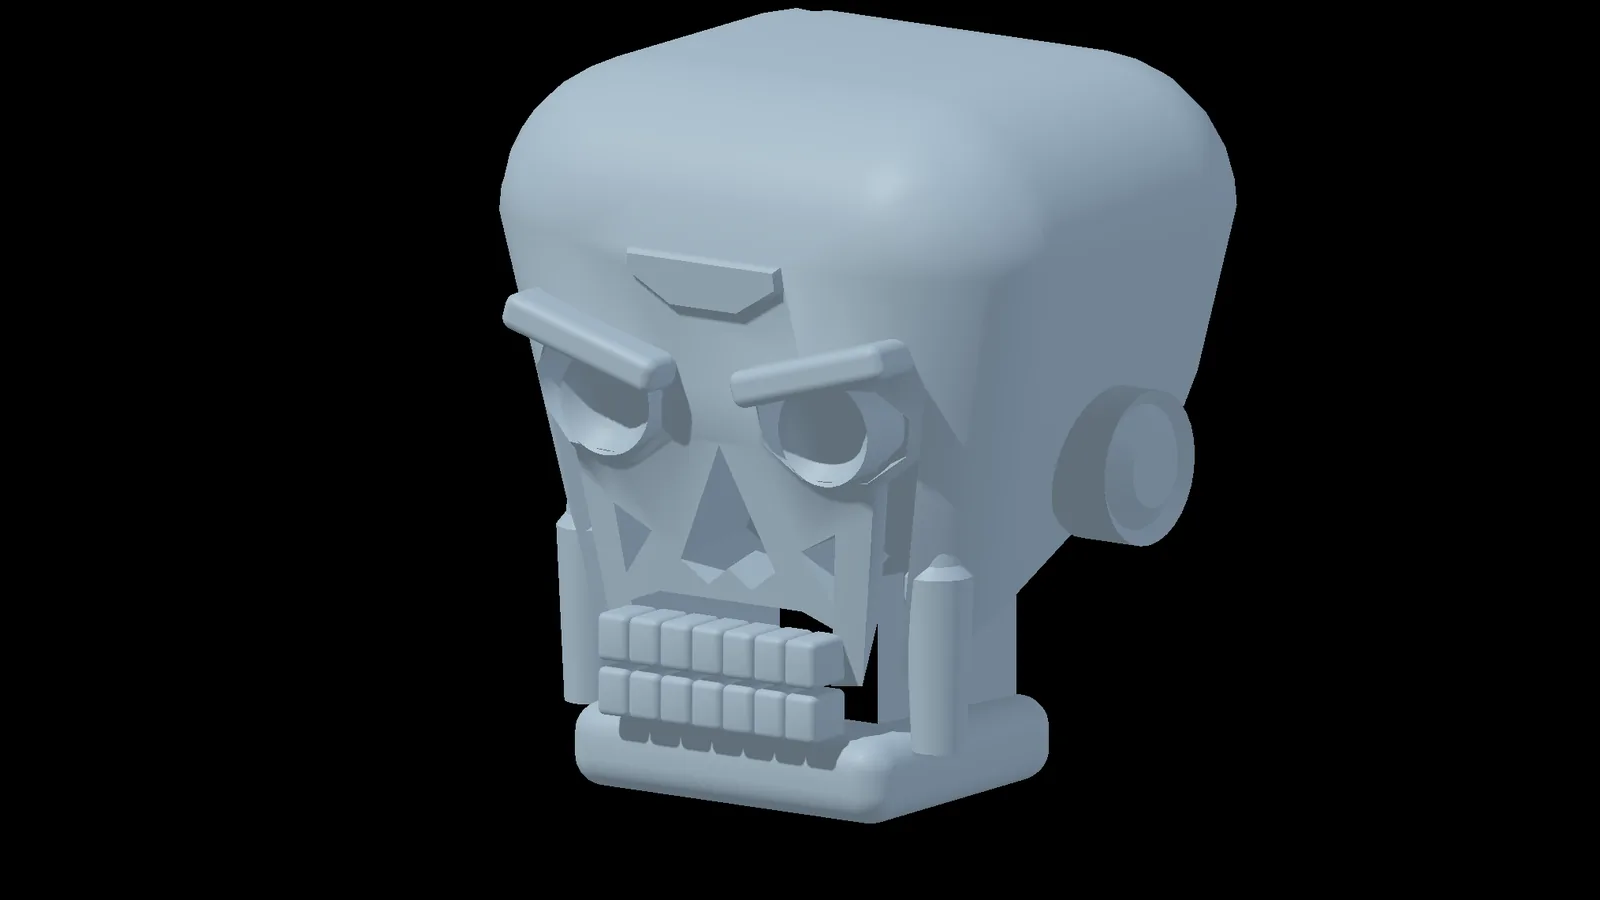
A blocky robot skull with a heavy brow and square teeth
a robot skull, hard surface
Rig and animate

Rig, pose and animate characters.

Bring a character in from FBX with its skeleton, skin weights, blend shapes and takes. Or build a skeleton by hand, or fit one to a scan. Add controls, pose with handles, key at the playhead and play it on the timeline.
  • Two-bone IK with a pole handle, full body IK, spline IK and look-at
  • Springs and jiggle on a group of joints, and smoothing for noisy mocap
  • Write it back as FBX with the Maya axis preset: joints, every weight and the bind pose come along
a scanned robot on a skeleton built by hand
a scan, then its fitted skeleton
The Pose tool: a list of controls with their values and a time strip of keys
the Pose tool, with keys
New for you: the stage

Show the same scene live on stage.

A character you rigged can dance on a wall, driven by a performer on an ordinary webcam. Projectors, DMX lights, LED walls and NDI video live in the same app, so the scene you built is the show. There is no export step in between.
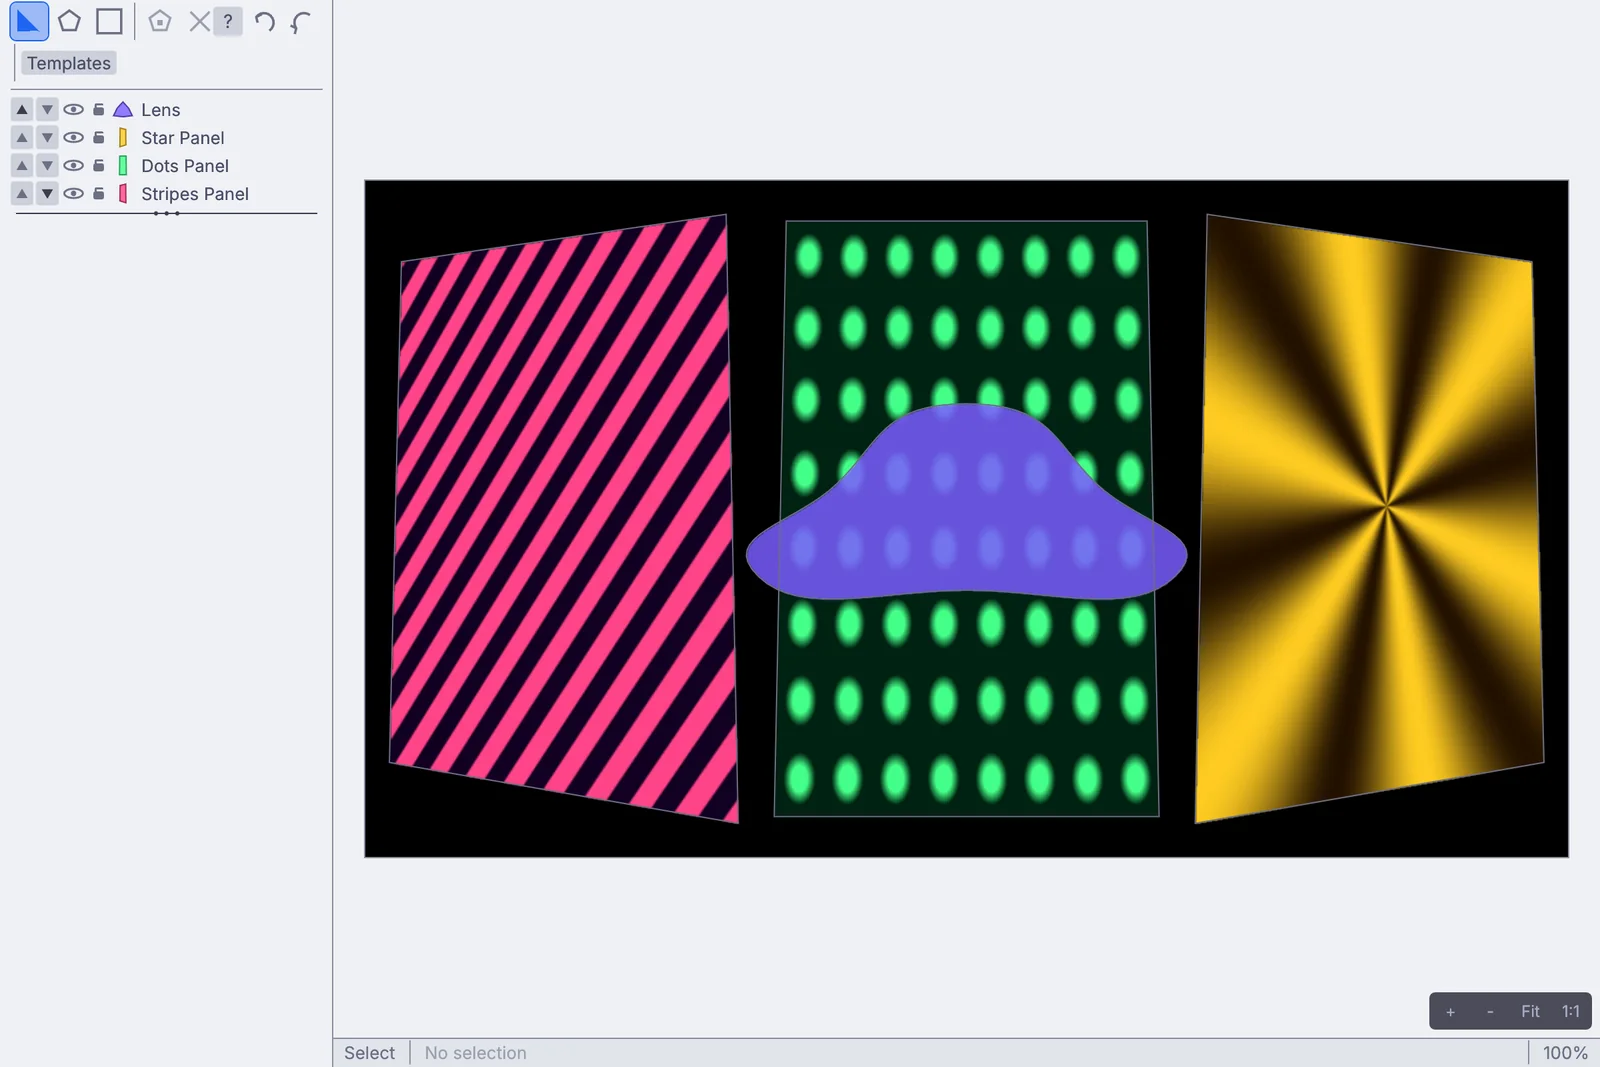
  • Projection mapping with corner pins, grid warps and edge blends
  • Body, hand and face tracking from a webcam, on your own machine
  • Press F1 for Perform Mode, and set edits to Hold or Locked while the show runs
a scanned avatar on the wall, moved live
The Projection Mapper window with three surfaces mapped side by side
the Projection Mapper window
a dancer on 2,560 pixels of a DMX grid
New for you: sims and sound

Cloth, fire, water and sound in the same scene.

Pick an object and choose Fire from this, Liquid from this, Cloth or Make dynamic. The sim sits beside your rig and your lights, and keeps running while you change it. Load a song, drag its level onto any number, and the scene moves with the music.

  • Liquids, fire and smoke, cloth, soft bodies, particles and rigid bodies
  • Synths, samplers, effects and MIDI next to the animation
  • Free on every machine in the room, even for commercial use
a soft teddy dropped on the floor
a ring catching fire
water breaking out of a dam
ground raised by a song
Moving over

Moving over from Maya.

What opens, what goes back to Maya, which keys do what, and a first hour to try it all.

Format
Into Kinematic
Back to Maya
FBX.fbx
Meshes, materials, cameras and lights. Rigged characters bring their bones, weights, blend shapes and takes.
Meshes, or whole characters with joints, every weight, the bind pose, shapes and takes. Pick the Maya axis preset and it stands up at the right size.
USD.usda .usdc .usdz
Meshes, materials, cameras, lights and point instancers.
Scenes as .usda text. Rigged characters also as .usdc, or one .usdz package.
Alembic.abc
Meshes and subdivision cages, as polygons. Animated caches play on the graph clock.
One frame or a whole animated cache, in the standard layout Maya reads.
OBJ.obj .mtl
Quads and n-gons stay whole, and the .mtl beside it comes along.
N-gons stay whole. No materials, so use FBX when you need them.
glTF and BVH.glb .gltf .bvh
Models with PBR materials, rigged characters, and plain motion capture.
glTF scenes and characters, and BVH takes every animation tool reads.
RendersEXR, PNG, video
HDR skies and images for lighting and textures.
Stills, layered EXR and image sequences, or MP4 and MOV video, ProRes included.

Maya scene files do not open here (these are proprietary). Save FBX, USD or Alembic from Maya first. Everything on this list opens straight away.

Working in centimeters? Set the import scale to 0.01 and a Maya scene comes in at meters. Every format

Navigate the Maya way.

Pick the Maya preset and the viewport uses Alt with the three mouse buttons.

Alt+ left dragTumble
Alt+ middle dragTrack
Alt+ right dragDolly
QNavigate
WMove
ETurn
RScale
FFrame what you picked
HomeFrame everything
17Front and top views
5Perspective or flat
SpaceModeling tools
?Every key, over the view

Give any tool a key of its own in the Hotkeys editor, or put it on a MIDI pad or a Stream Deck button.

Your first hour.

  1. Download itNo account and no license key. Get 0.5.0.
  2. Pick MayaThe first time a viewport opens, it asks how you like to move around. Pick Maya. Change it any time in Preferences.
  3. Open Rig PlaybackFrom the Demos browser in the app. A fox comes in from glTF with its weights and its walk.
  4. Model a little hutOne box becomes a hut with a pointed roof and a square window. Follow the lesson.
  5. Make a crate hopKey it, turn on Motion paths and drag the arc higher. See how.
  6. Send it backSave FBX with the Maya axis preset, or Alembic for a cache, and open it in Maya.
Fair is fair

Where Maya is still ahead.

Maya has been the industry's character tool for a long time, and it earned that. Here is where it still leads.

  • Character animation depthDecades of animator tools, and the studio rigs and scripts built around them.
  • Path-traced final framesArnold comes with Maya. Kinematic renders live, with PBR materials, HDR light and shadows, but it is not a path tracer.
  • Studio pipelinesFilm, TV and games pipelines, plugins and training are built around Maya.
  • Hand-tuned UV layoutsThe UV packer here is quick, not tight. For a hand-tuned atlas, even our own docs say to lay it out in Maya and bring it in.
  • Your scenes and scriptsMaya scene files stay in Maya (these are proprietary), and so do MEL scripts and Maya plugins. Python here talks to its own kinematic module.

Use both. Build a character in Maya and perform it here, or model here and finish in Maya. FBX, USD, Alembic and glTF go both ways.

The numbers
$0for every seat, every year. No account, no license key, no revenue cap.
Kinematic
Maya
Price for paid work
$0any use, any revenue
About $2,000 a year2
Small studios
$0no revenue cap
Maya Indie, about $300 a year, for revenue under $100K1
To try it
The whole appno time limit
A 30-day trial, free for students2
Runs on
macOS, Windows, Linuxand Raspberry Pi, experimental
macOS, Windows, Linux
Projection, DMX lighting, NDI
Built in
No
Path-traced final frames
No
Yes, with Arnold
1. Maya Indie2. Autodesk MayaMaya details from Autodesk's own pages, checked October 2026. Prices in US dollars.
Questions
Can I keep using Maya?

Yes. Model or animate in one and perform in the other. FBX, USD, Alembic and glTF go both ways.

Will my character come across?

From FBX, Rig character import brings the skeleton, the skin weights, the blend shapes and every take, and can drop the namespace on your joint names. Add controls on top and pose it with the Pose tool.

Is the renderer a path tracer?

No. Kinematic renders live with PBR materials, HDR light and shadows. For path-traced finals, take the scene back to Maya.

Is it really free?

Yes, even for commercial use, with no account and no license key.

Open these first

Demos to open first.

They come with the app. Open one from the demos browser, press play, then take it apart on the canvas.
Coming from somewhere else

Download Kinematic.

Free. No account, no license key. macOS, Windows, Linux and Raspberry Pi.

Download for macOS 0.5.0

Something from Maya you cannot find here? Reach out.