
You need one song on your computer: any MP3, WAV, FLAC, AAC or OGG file. No microphone and no extra gear.
Steps
Choose Help > Browse Demos..., type
bokehin the search box and open Drifting Bokeh Field. It plays at once: soft circles of light drift over a dark vignette.Find your song in Finder or File Explorer and drag it onto the canvas below the viewport. A sound node, Audio file 1, appears. Click it, and the viewport shows the song as it plays: the left channel in red, the right in green.
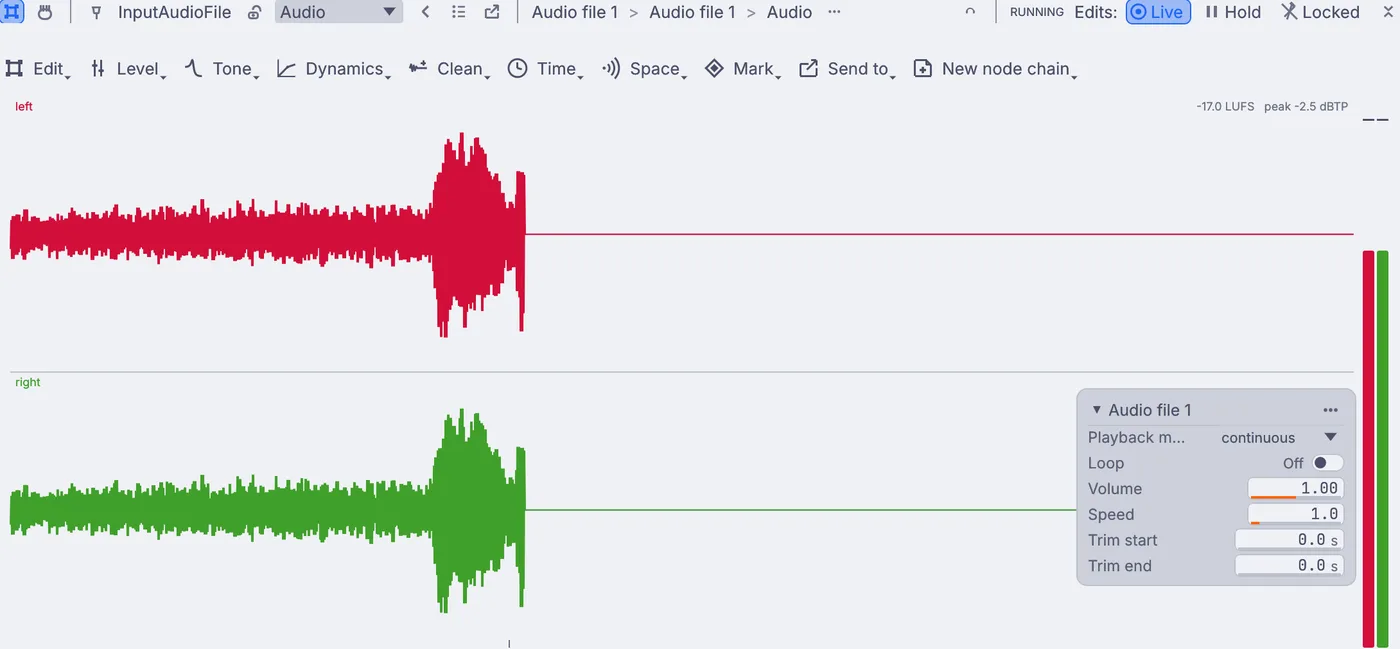
A song in the viewport, its left channel in red and its right in green, with the Send to menu along the top of the viewport. Along the top of the viewport, open Send to and choose Play on speakers, so you hear the song while you work.
Open Send to again, point at Values and choose Loudness. A node that follows how loud the song is joins the graph.
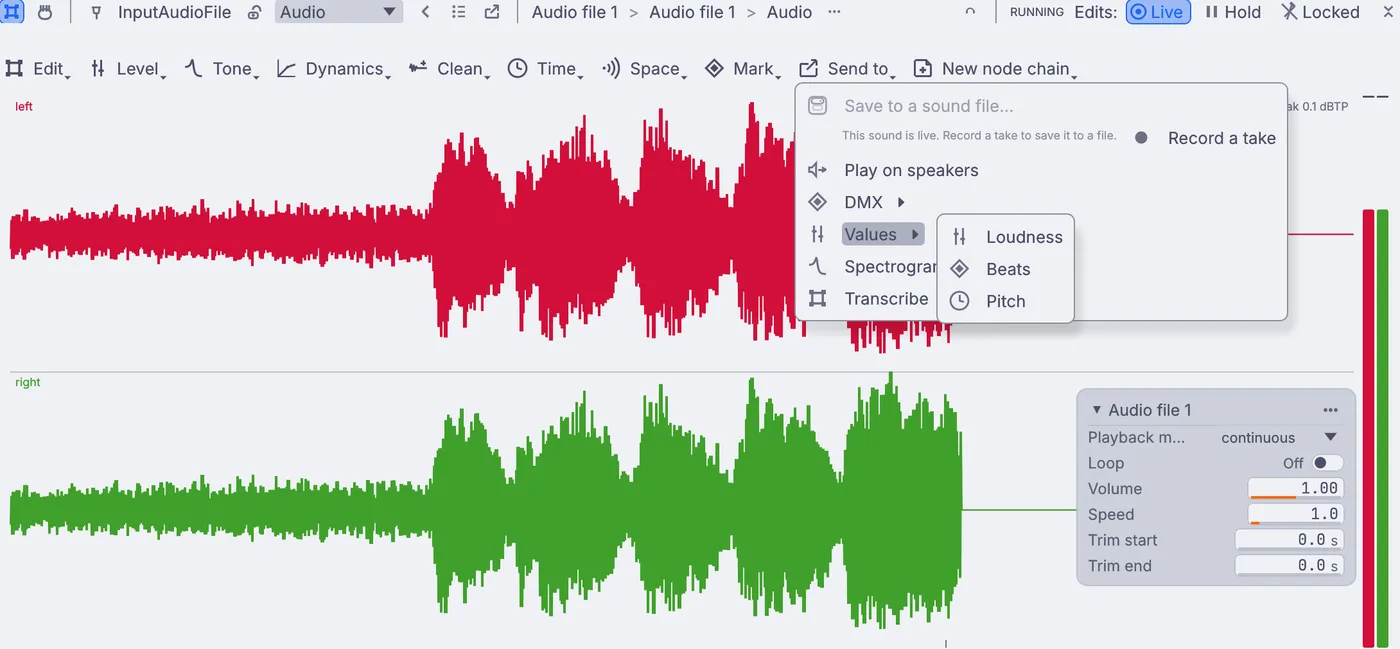
Send to open on the song, with Values pointed at and Loudness, Beats and Pitch in the submenu. Go back to the picture. In the Objects panel, click bokeh. The viewport shows the circles again, with a small stepper at the top: vig (4 of 4). Click its left arrow twice to step back to drift (2 of 4), the step that moves and zooms the picture.
In Properties, type
uniformin the filter box. Right-click Uniform scale and choose Drive from a port.... Typermsin the list's search box and click rms_linear under RMS_Linear. Uniform scale turns amber: it now follows the song.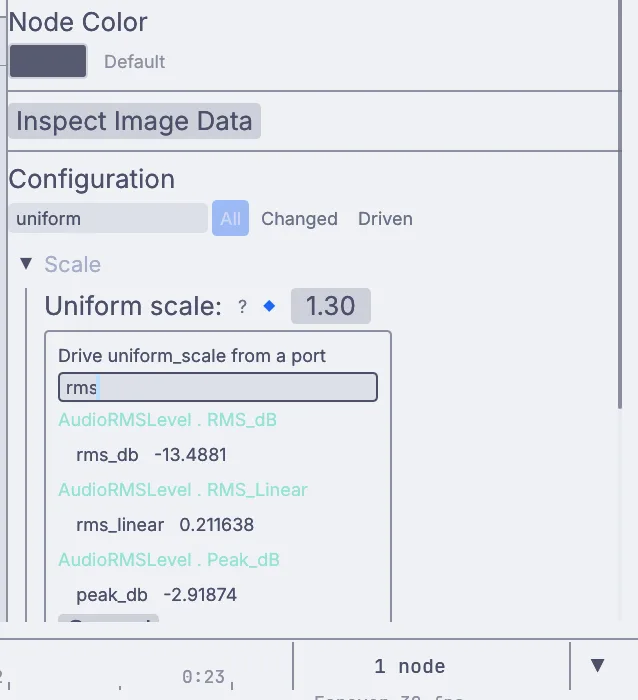
The Drive uniform_scale from a port list, filtered to the loudness node, with rms_linear reading about 0.21. A song's loudness is a small number, around
0.05to0.3, so the picture shrinks at first. Click the ... button on the chip beside the amber setting and choose Fit range.... Set From to0.05and0.3, set To to1.2and1.8, and click Apply. Now the field zooms in on every loud beat and eases back between them.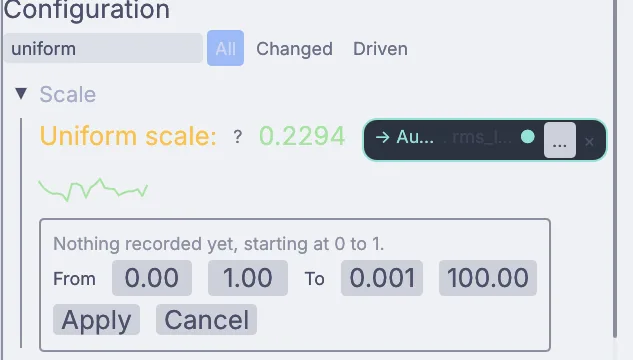
Uniform scale in amber, following the loudness, with the Fit range strip open under it: From, To, Apply and Cancel. Press
F1, or choose View > Perform Mode. The editor steps aside and the bokeh fills the window, pulsing with the music. On a Mac laptop, holdFnas you pressF1.Press
Escto come back to the editor. To show it on a projector or a second screen, choose Window > Outputs... and pick that screen under Display in the perform window settings, then pressF1again.
On the canvas
Dropping the song added an InputAudioFile. Play on speakers wired it to a speaker pair, AudioPlaybackOperation and AudioPlaybackInterface, and Loudness added an AudioRMSLevel. Its level reaches the ImageTransform named drift through the driver on Uniform scale, so no wire joins them.
Make it yours
- Step to bloom (3 of 4) and drive its Intensity from the same loudness, so the glow flares on the hits too.
- Fit Uniform scale wider,
1.0to2.5, for a harder punch. - Choose Send to > Values > Beats instead of Loudness to follow the beat and tempo of the song.
- Right-click the display node and choose Set as Perform Output when your graph has more than one picture, so Perform Mode always shows this one.