
Use any portrait you like. A light touch looks best, so keep every amount low and compare often.
Steps
Click New Project and drag your portrait onto the viewport.
Click the dotted rectangle above the viewport's Edit menu to switch to Selection. The retouch tools live there.
Heal spots. Choose Edit > Retouch > Repair > Spot heal and click each spot or mark. Each click heals one spot with clean skin from around it, and a drag along a thin line heals all of it.
Ctrl+Shiftdrag sizes the brush.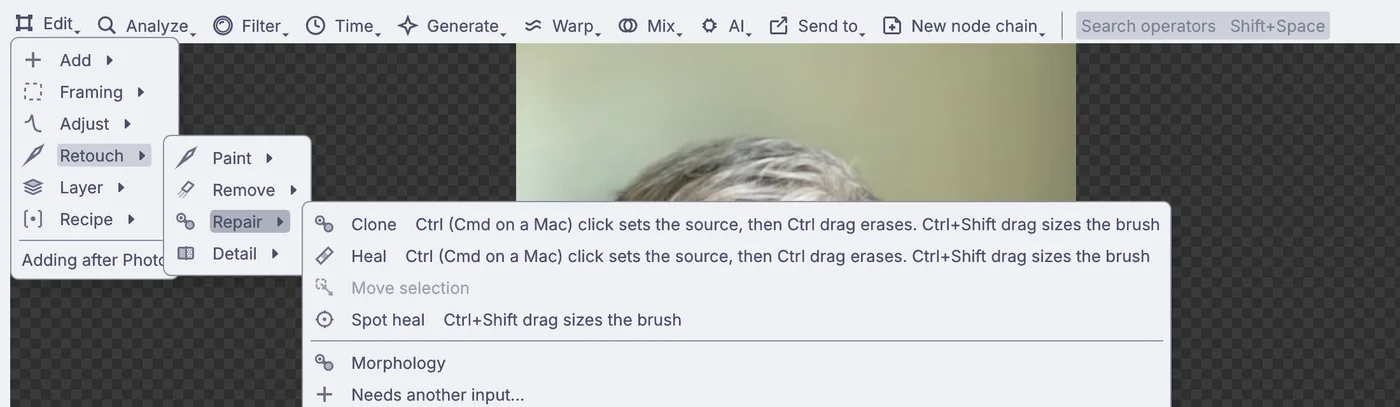
Edit > Retouch > Repair: Clone, Heal and Spot heal, each with its brush keys beside it. · Photo: Elizabeth MacKenzie, self-portrait, CC BY 4.0 Smooth the skin. Choose Edit > Recipe > Stock > Smooth skin. It finds skin tones and evens out blotches while the pores stay. In the Properties panel, under Parameters, keep Amount low, about
0.4, and raise Smoothing for a softer finish.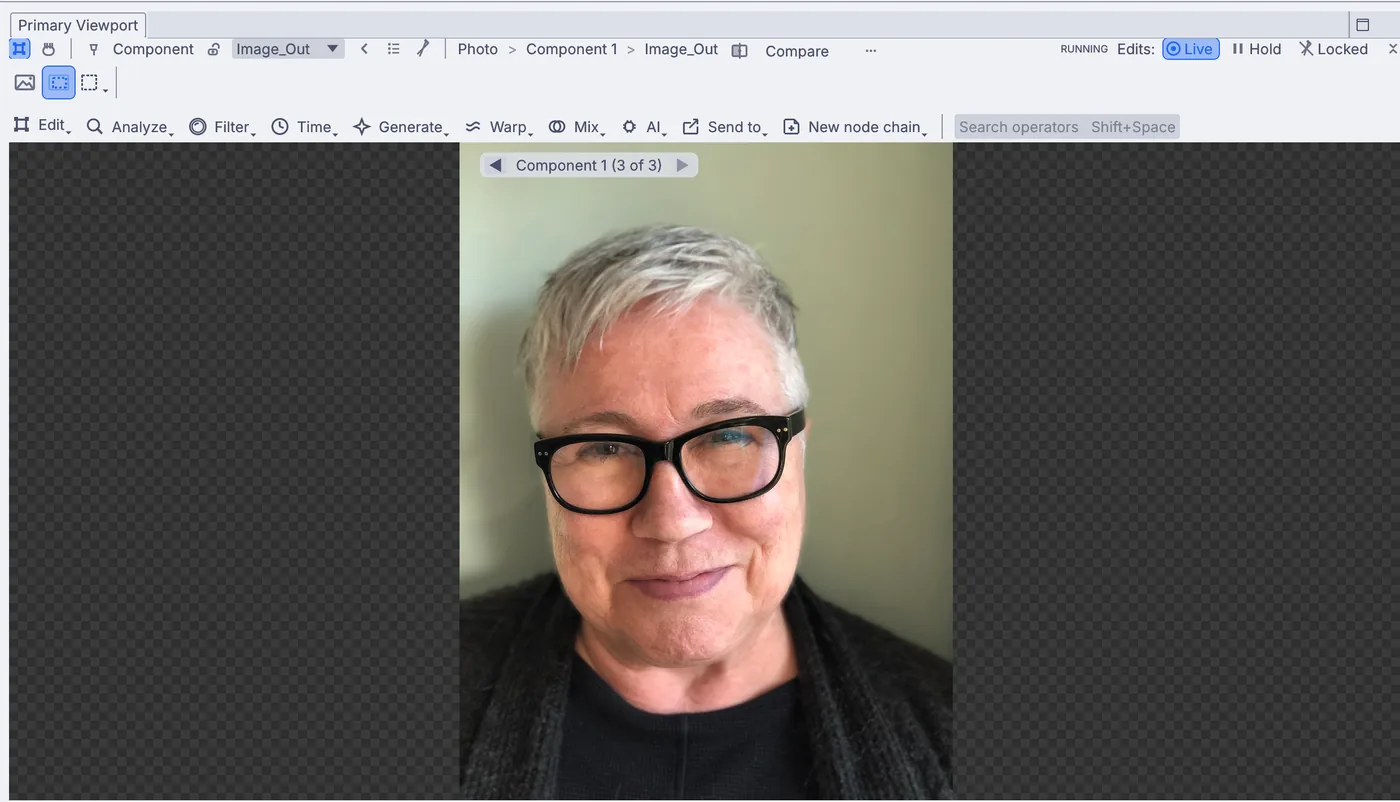
The Smooth skin recipe on the portrait. · Photo: Elizabeth MacKenzie, self-portrait, CC BY 4.0 (retouched in Kinematic) Shape the light. Choose Edit > Retouch > Paint > Dodge and burn. In the row above the picture, pick Dodge and paint faint strokes along the cheekbones, then pick Burn and paint under the jaw. Flow starts at
0.03, so each stroke is faint: build it up. HoldCtrlto erase a stroke that went too far.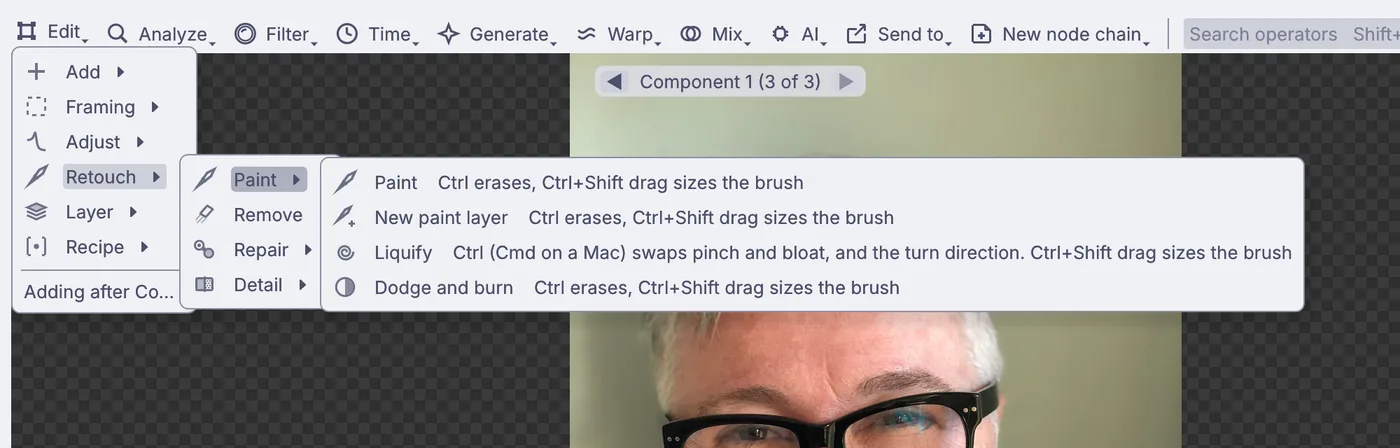
Edit > Retouch > Paint: Paint, New paint layer, Liquify and Dodge and burn. · Photo: Elizabeth MacKenzie, self-portrait, CC BY 4.0 (retouched in Kinematic) Brighten the eyes. Open the Select menu (the dotted rectangle with a small arrow) and choose AI > Face part > Eyes. Glasses are fine: it finds the eyes behind them. Then choose Edit > Adjust > Tone > Develop and raise Exposure a little. It changes only the eyes. Choose Select > Deselect when you are done.
Warm it. Add one more Develop with nothing selected and nudge Temperature in the Properties panel.
Crop. Choose Edit > Framing > Crop and size > Crop, pick 4:5 under Aspect and drag the box until the face sits well.
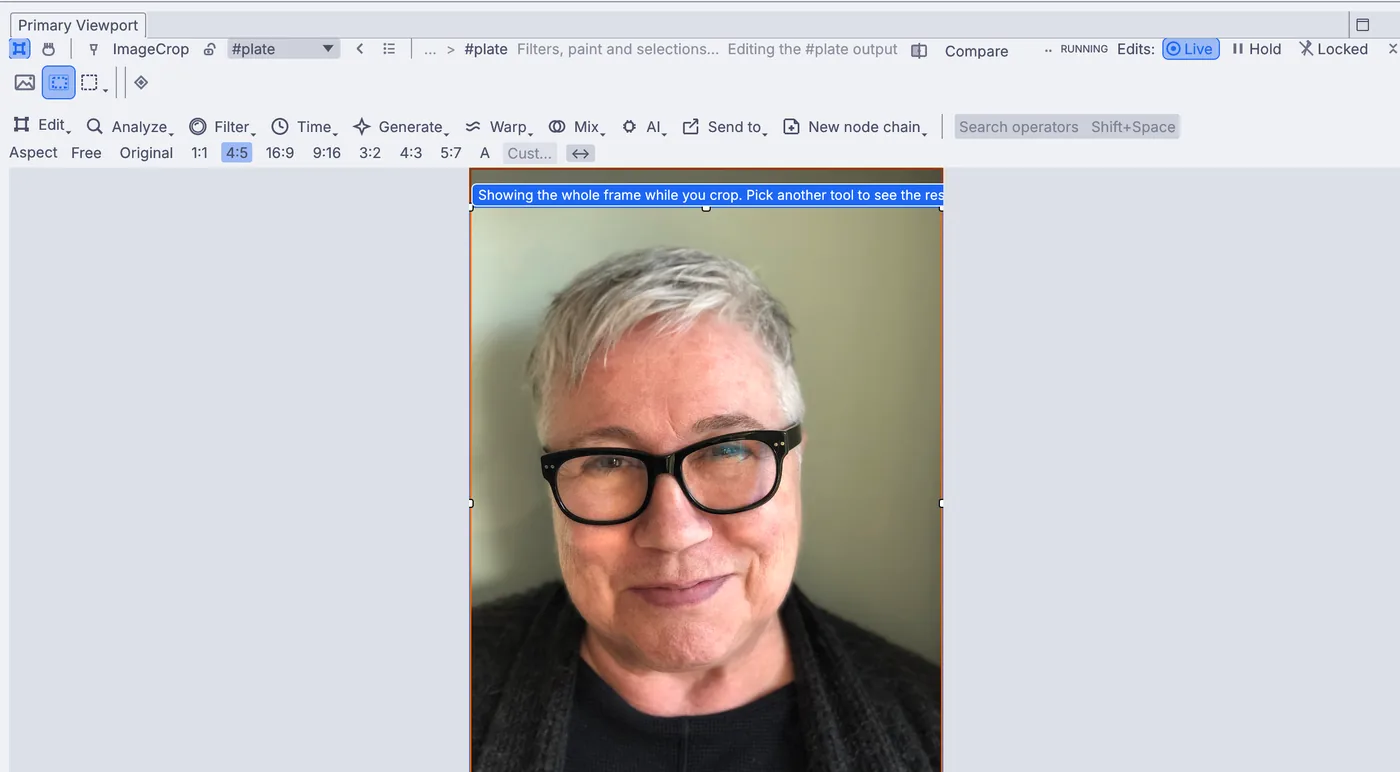
Crop with 4:5 picked and the box dragged down: the thin dimmed strip at the top is cut away. · Photo: Elizabeth MacKenzie, self-portrait, CC BY 4.0 (retouched in Kinematic) Open Window > Panels > Stack and press Compare on any edit to check you have not gone too far. Then choose Edit > Layer > Save frame....
On the canvas
Spot heal added an ImageHeal node and Dodge and burn an ImagePaint node. Smooth skin is one Component holding ImageChromaKey, ImageFrequencySeparation and ImageBlur, and the eye selection is LocalAIImageToFaceParsing with ImageMaskRefine before the ImageDevelop that uses it.
Make it yours
- Choose AI > Face part > Teeth and lower the yellow with Edit > Adjust > Color > Hue and saturation.
- Use Edit > Retouch > Paint > Liquify to tuck in a jawline, gently.
- Add Filter > Blur > Depth of field and click an eye to soften the background.
- Save your retouch as a recipe for the rest of a shoot with Edit > Recipe > Save as Recipe....