Kinematic 0.5.0 is out. Modeling and sculpting in the viewport, a timeline on every graph, photo and sound editing. What's new
Kinematic / Edit / Relight & depth

Relight photos using depth.

Relight a cut-out, blur a background like a wide-open lens and sink the far trees into mist, with the depth worked out from the photo itself.

focus pulled between the far shore and the branch up close, with depth worked out from one photo
01

Blur the background behind your subject

The background falls soft, more the further it sits from the chair.

  1. Pick Filter > Depth of field. The depth is worked out from the photo.
  2. Click the chair to focus there.
  3. Open up the aperture in the sidebar for more blur.
InputImageFile→ImageDepthOfField+LocalAIImageToDepth
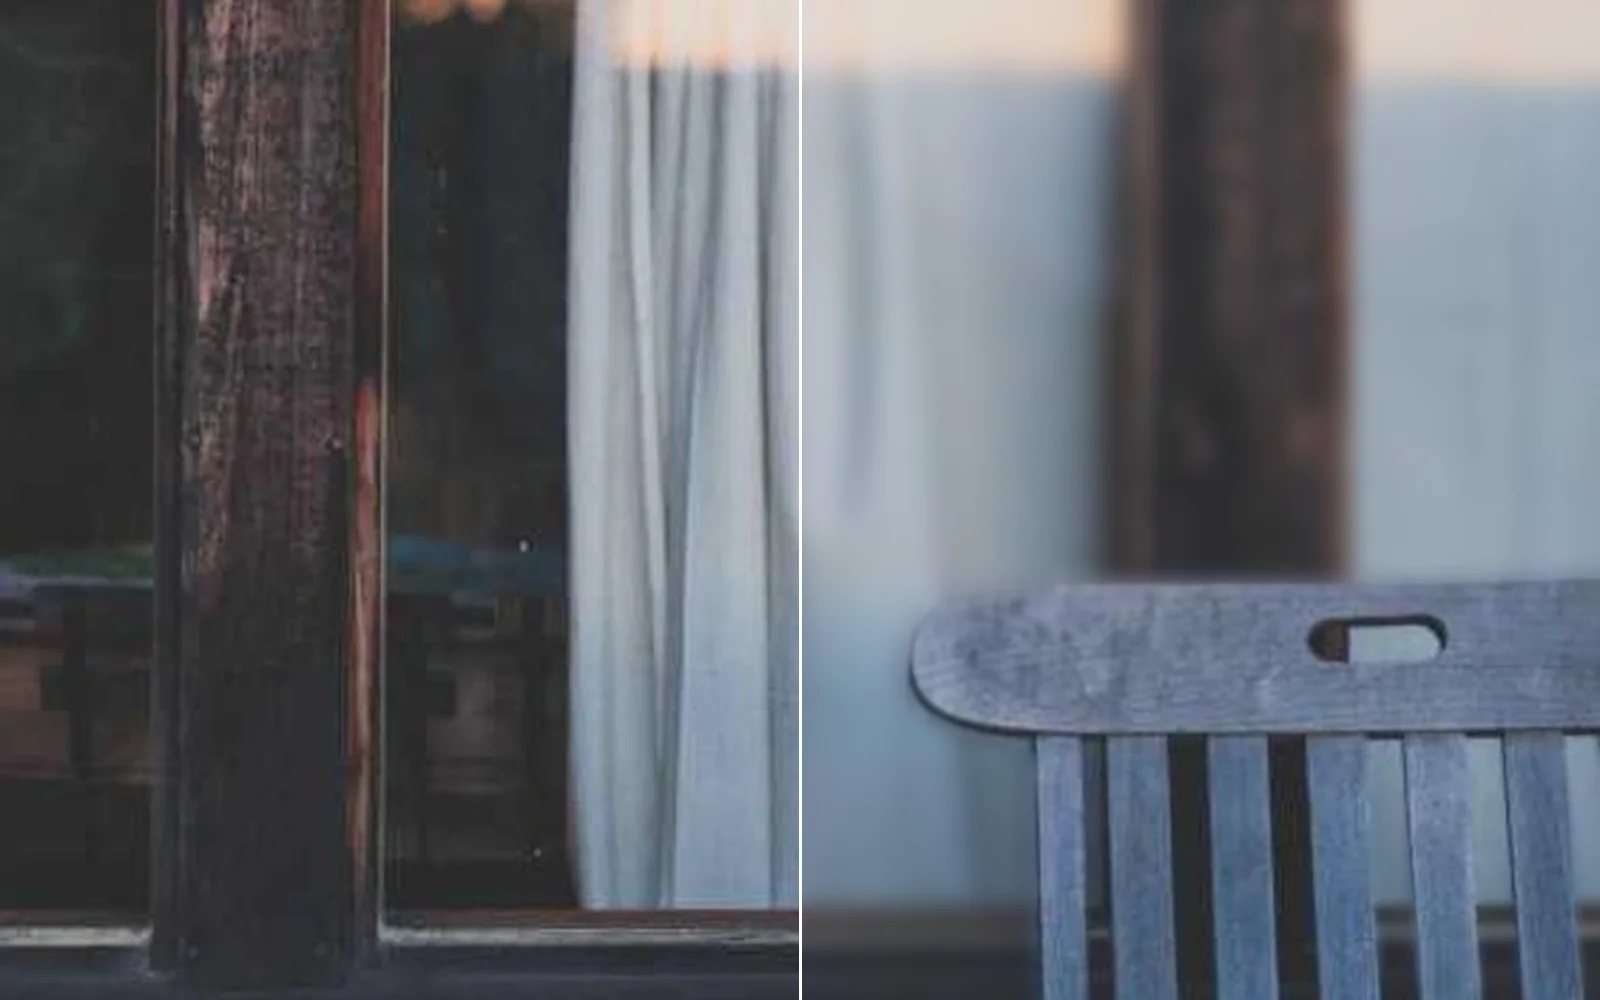
the window thrown soft behind a chair, depth worked out from the photo
02

Fade the far trees into mist

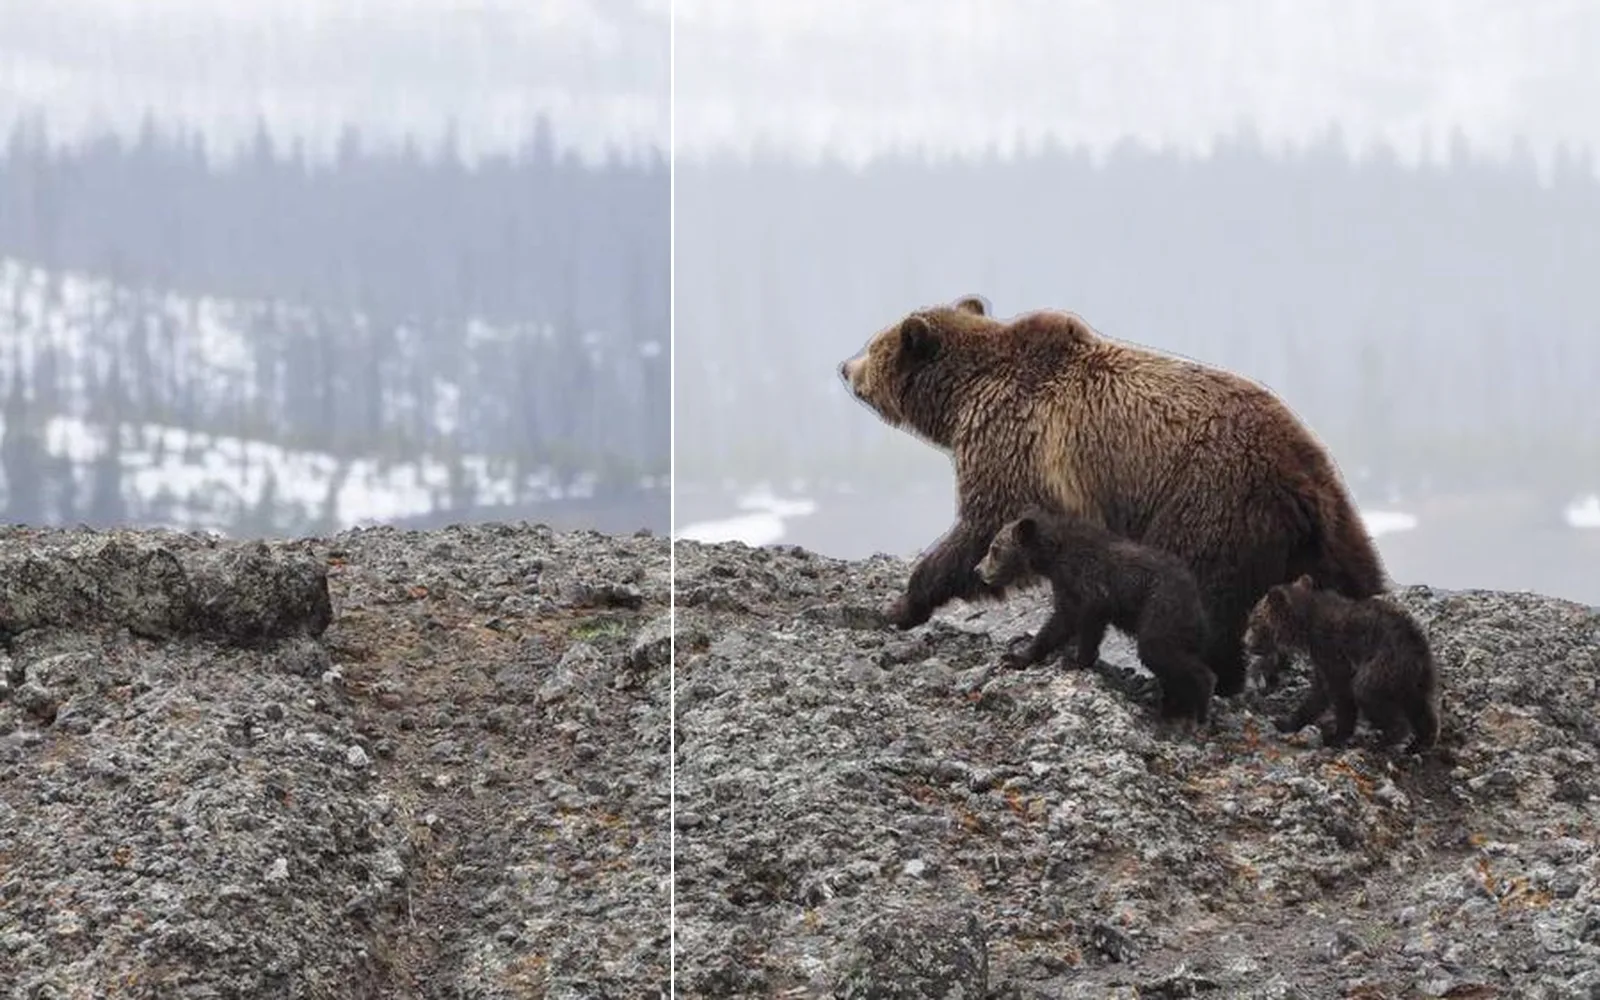
A bear on the rocks stays crisp while the forest behind it fades into haze.

  1. Pick Select > By distance and click the rocks. Everything nearer than 8 m is kept.
  2. Pick Select inverse to get the far part.
  3. Turn Dehaze down to -30 in Develop. Only the distance goes misty.
InputImageFile→ImageThreshold→ImageMaskRefine→ImageMaskRefine→ImageDevelop+LocalAIImageToMetricDepth
the far forest sunk further into mist while the bear stays crisp
03

Relight a cut-out to match a sunset

A cup shot under flat studio light, lit again from low on the left, where the sun is.

  1. Pick Adjust > Relight. The shape of the cup is worked out from the photo.
  2. Drag the light handle toward the sun in the background photo.
  3. Place the cup into the sunset.
InputImageFile→ImageRelighting→ImageComposite+LocalAIImageToNormals+InputImageFile
a surface lit again from a new direction
04

Pour sun rays through a sunset

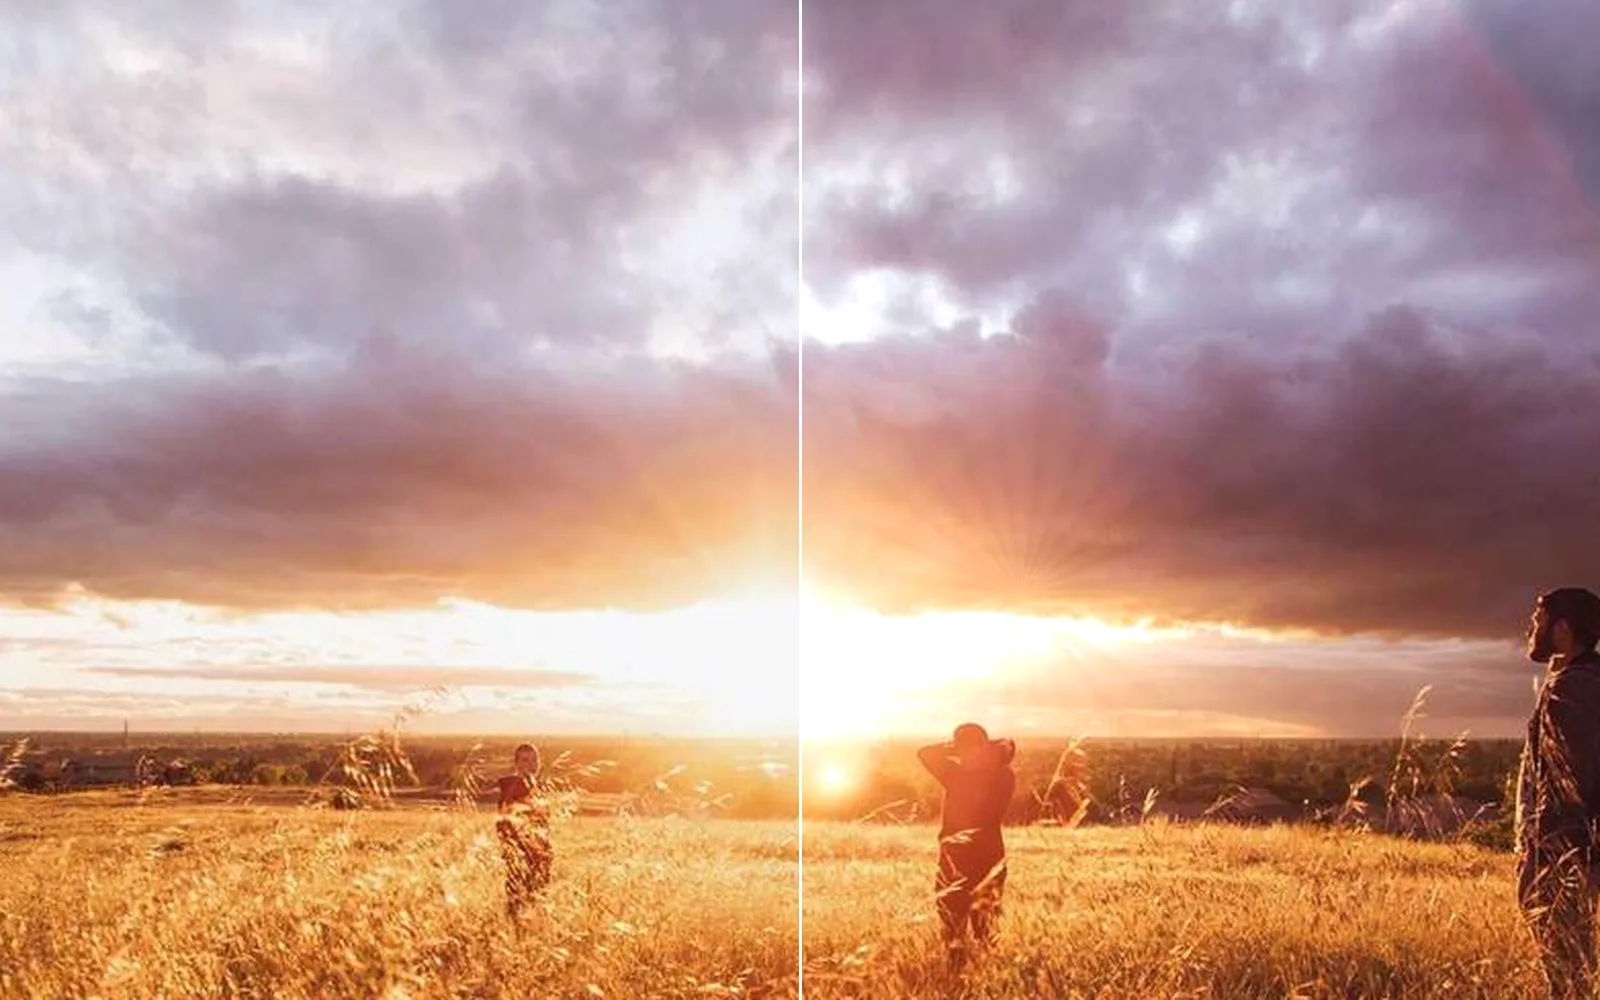
Shafts of light out of the bright sky, with the glints a lens throws.

  1. Pick Filter > Light rays. Beams stream out of the bright parts.
  2. Add Lens flare for the ghosts and the starburst.
  3. Fade each one with its Strength setting.
InputImageFile→ImageGodRays→ImageLensFlare
a sunset before and after light rays and a lens flare
05

Stand a sign behind a lamp post

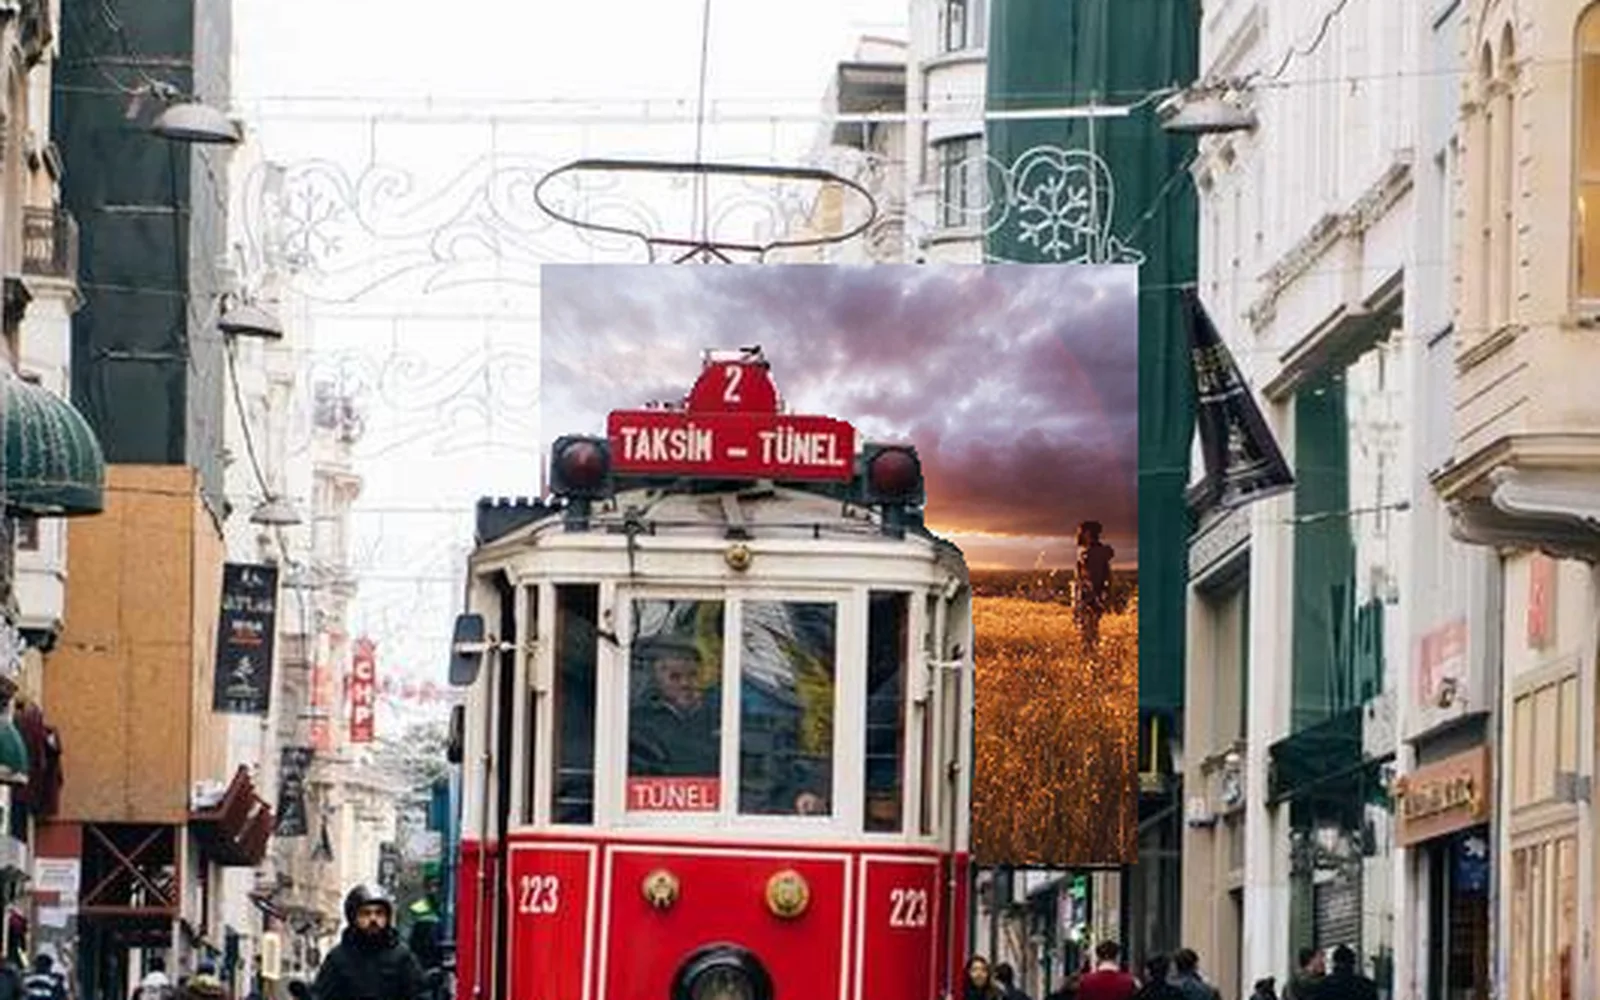
Placed at a distance, so the post and the people nearer the camera stay in front of it.

  1. Pick Layer > Place frame at a distance and choose the picture.
  2. Click the post it should stand beside. Anything nearer stays in front.
  3. Move and scale it with its own handles.
InputImageFile→ImageComposite→ImageZComposite+InputImageFile+LocalAIImageToMetricDepth
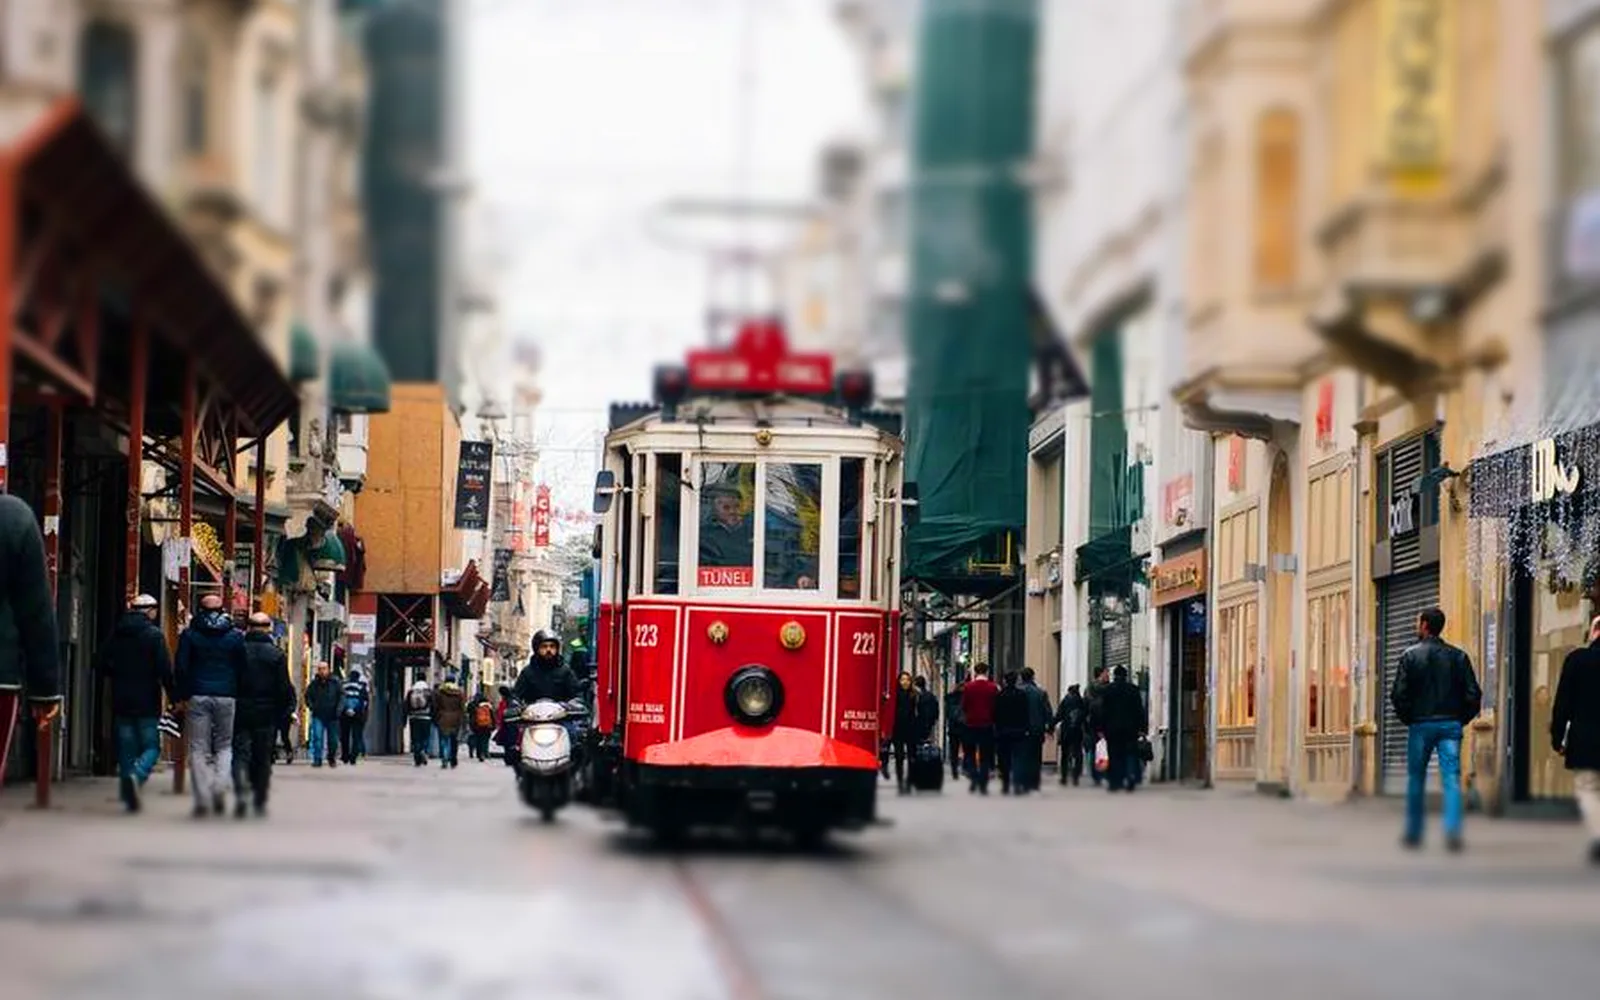
a print placed down the street, the tram nearer the camera in front of it
06

Turn a street into a toy town

A sharp band across the middle, soft above and below, like a model on a table.

  1. Pick Filter > Tilt-shift.
  2. Drag the band onto the part of the street you want sharp.
  3. Push the saturation up a little so it reads as a model.
InputImageFile→ImageTiltShift→ImageHueSaturation
a street turned toy town: a sharp band across the tram, soft above and below
Take it further

It all connects.

Every part of Kinematic works with the others. Wire one into the next.

Keep going

Free and open. Yours, forever.

No account, no license key. macOS, Windows, Linux and Raspberry Pi.

Download Kinematic 0.5.0