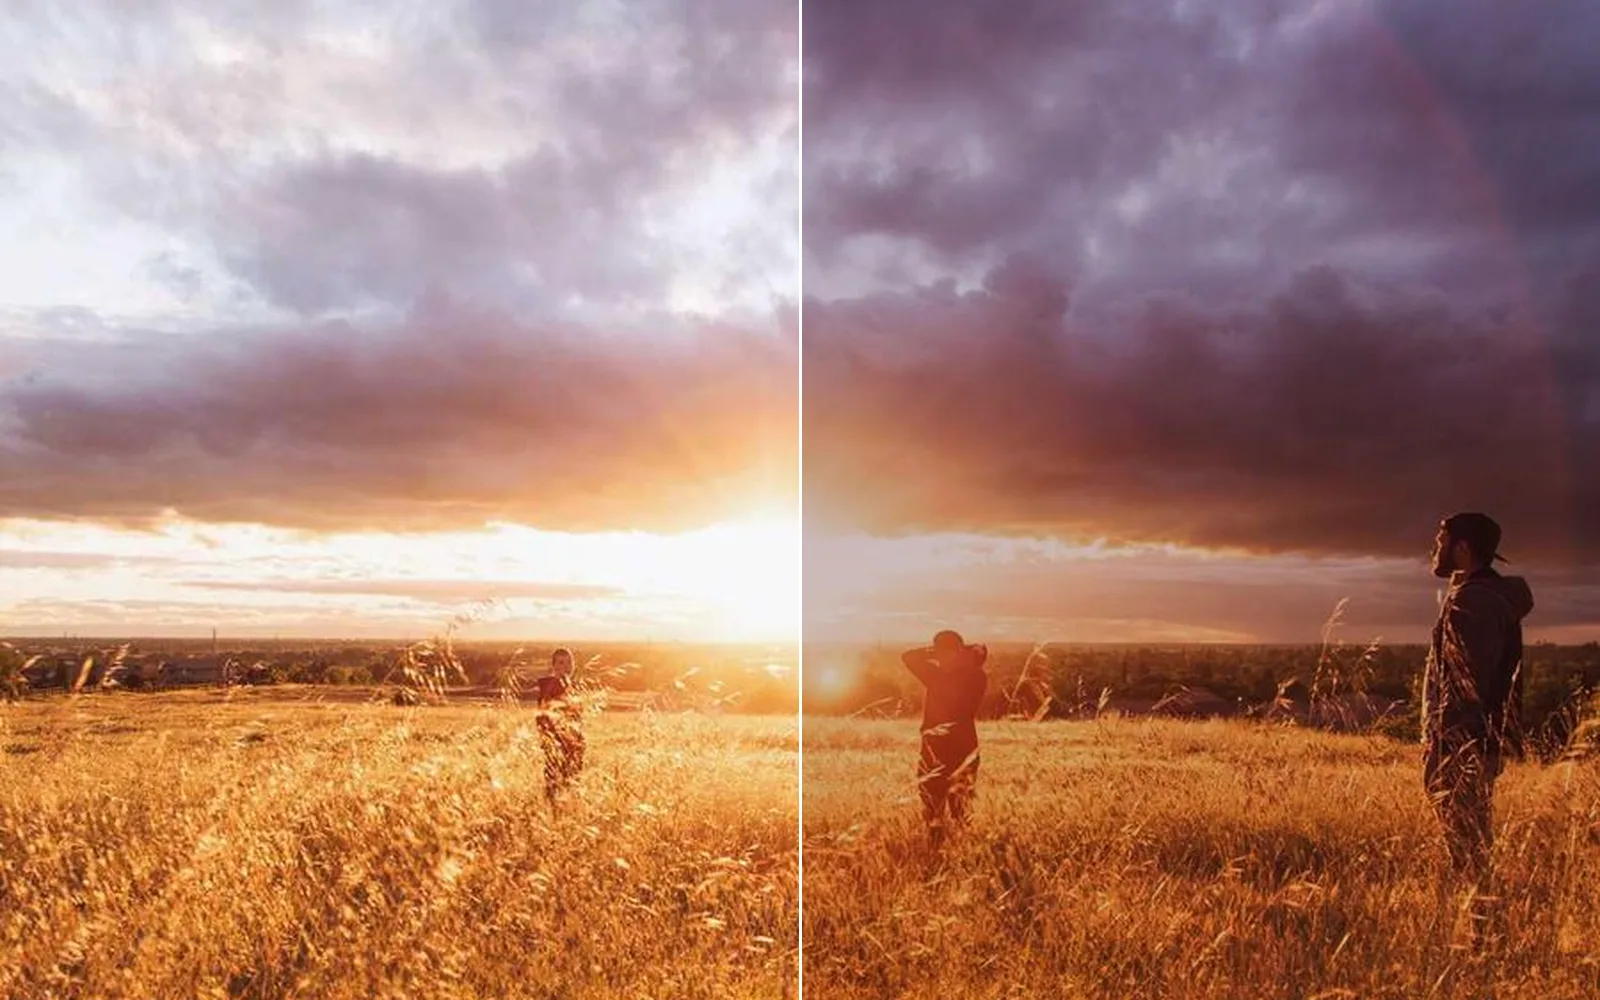
Kinematic 0.5.0 is out. Modeling and sculpting in the viewport, a timeline on every graph, photo and sound editing. What's new
Kinematic / Edit / Composite

Composite images.

Cut-outs that sit in the shot, with clean edges, light that wraps, matched grain, keys, blend modes and layers.

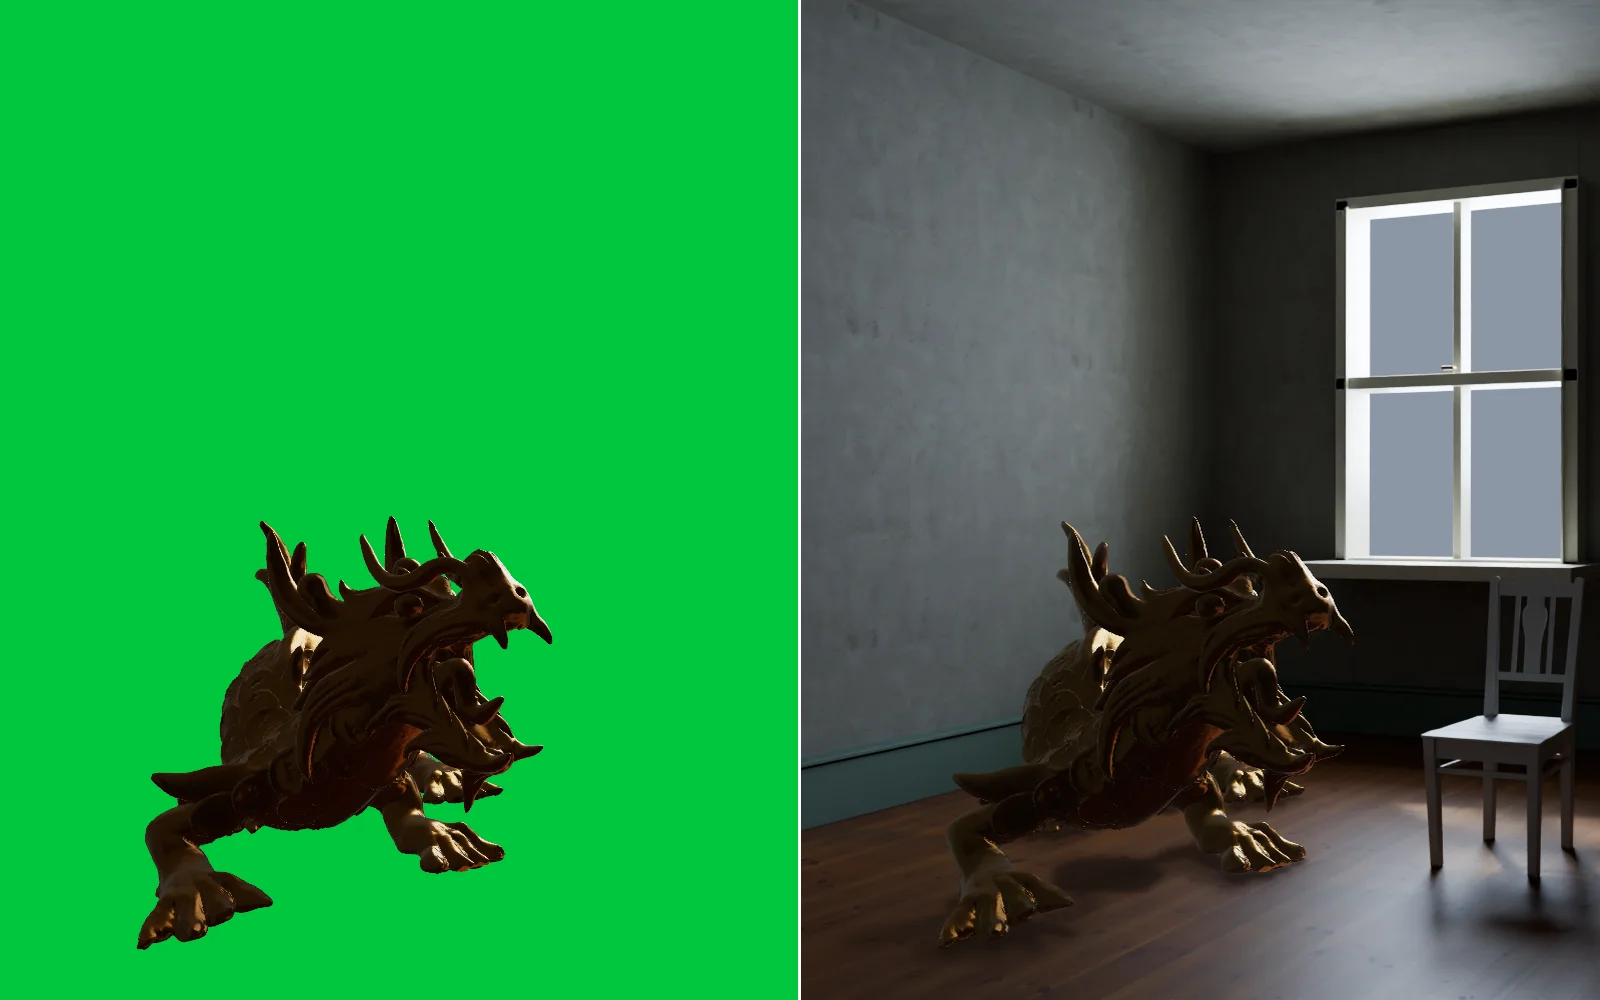
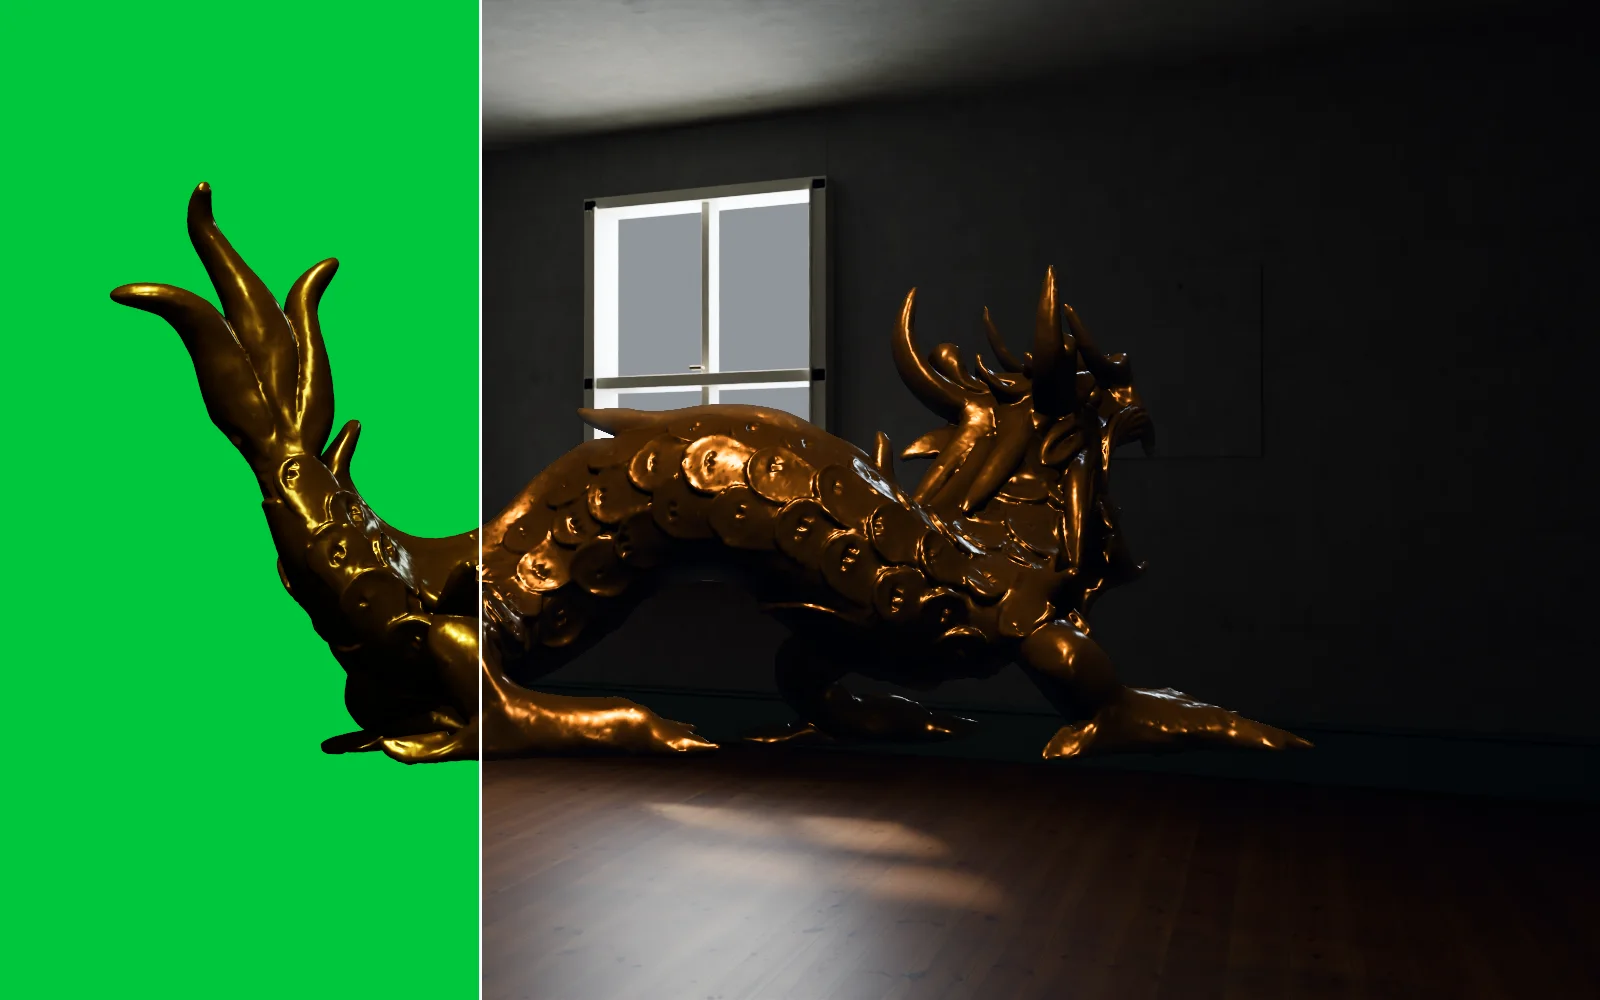
a gold CG dragon keyed off green and set into an empty room
01

Set a cut-out on a windowsill

A cup that looks like it was there all along.

  1. Place the cup with Layer > Place frame and drag it onto the sill.
  2. Add Clean edges, then Light wrap so the window light spills around its rim.
  3. Add Grain match. It copies the photo's grain onto the cup.
InputImageFile→ImageEdgeDecontaminate→ImageLightWrap→ImageGrainMatch→ImageComposite+InputImageFile
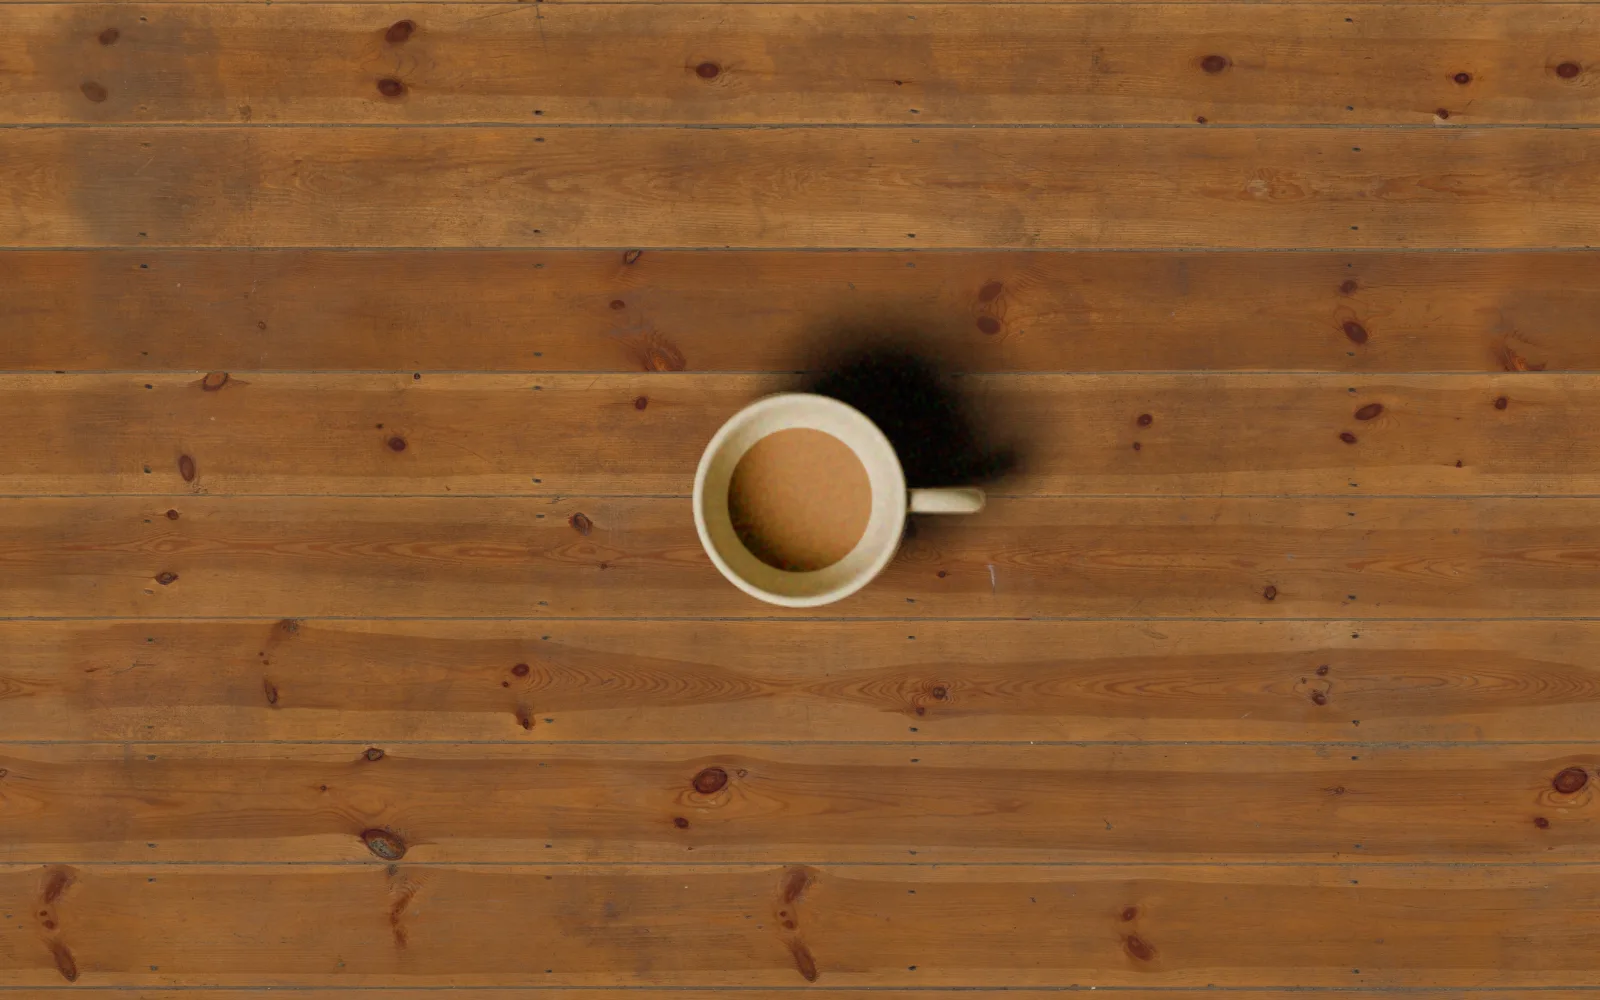
a cut-out cup set onto wooden boards, rim cleaned and grain matched
02

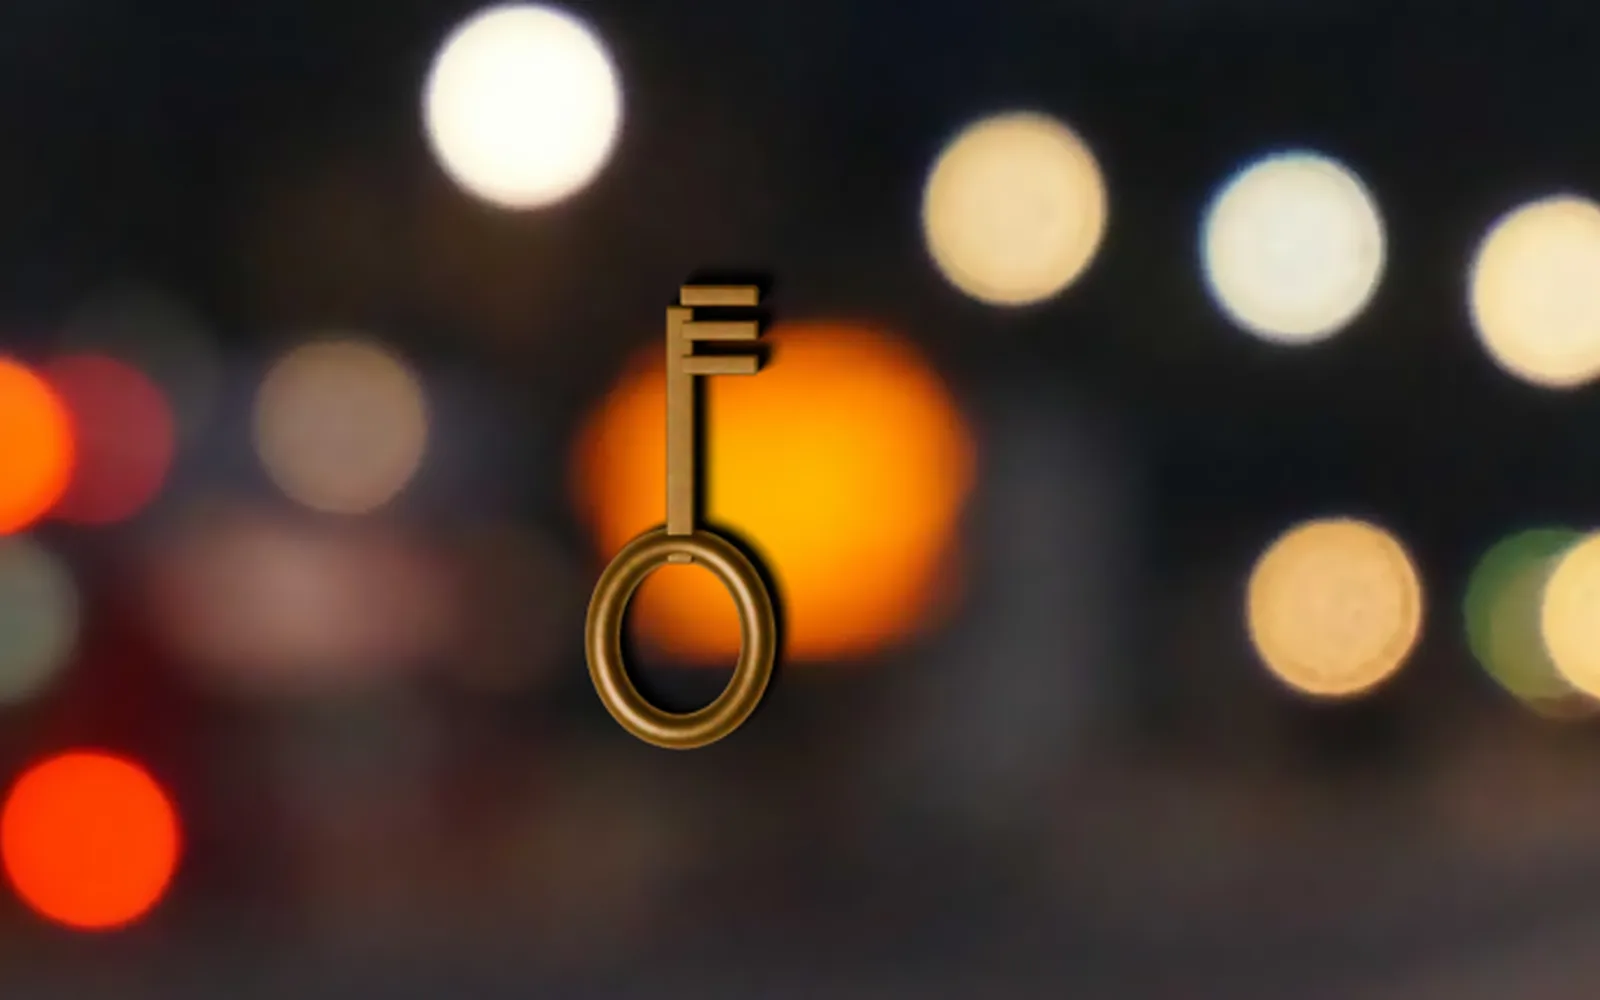
Drop a brass key into a grainy night shot

The street cleaned with Denoise, and a brass key that carries the grain the camera made.

  1. Denoise the night street.
  2. Place the key and add Grain match.
  3. In Match to, pick the photo before Denoise, then drag the region onto a dark patch of road.
InputImageFile→ImageBilateralFilter→ImageComposite+ImageGrainMatch
a brass key placed into the denoised night street, carrying the photo's grain
03

Key a green screen onto a set

The green gone, the spill cleaned off the edges and a room placed behind.

  1. Pick Layer > Chroma key and click the green.
  2. Add Despill, then draw a polygon garbage matte and pick Cut out.
  3. Pick Place frame behind and choose the room.
ImageAlphaOver→ImageChromaKey→ImageDespill→ImageMaskRefine→ImageMask→ImageAlphaOver+InputImageFile
a CG dragon shot on green, then keyed with a room placed behind
04

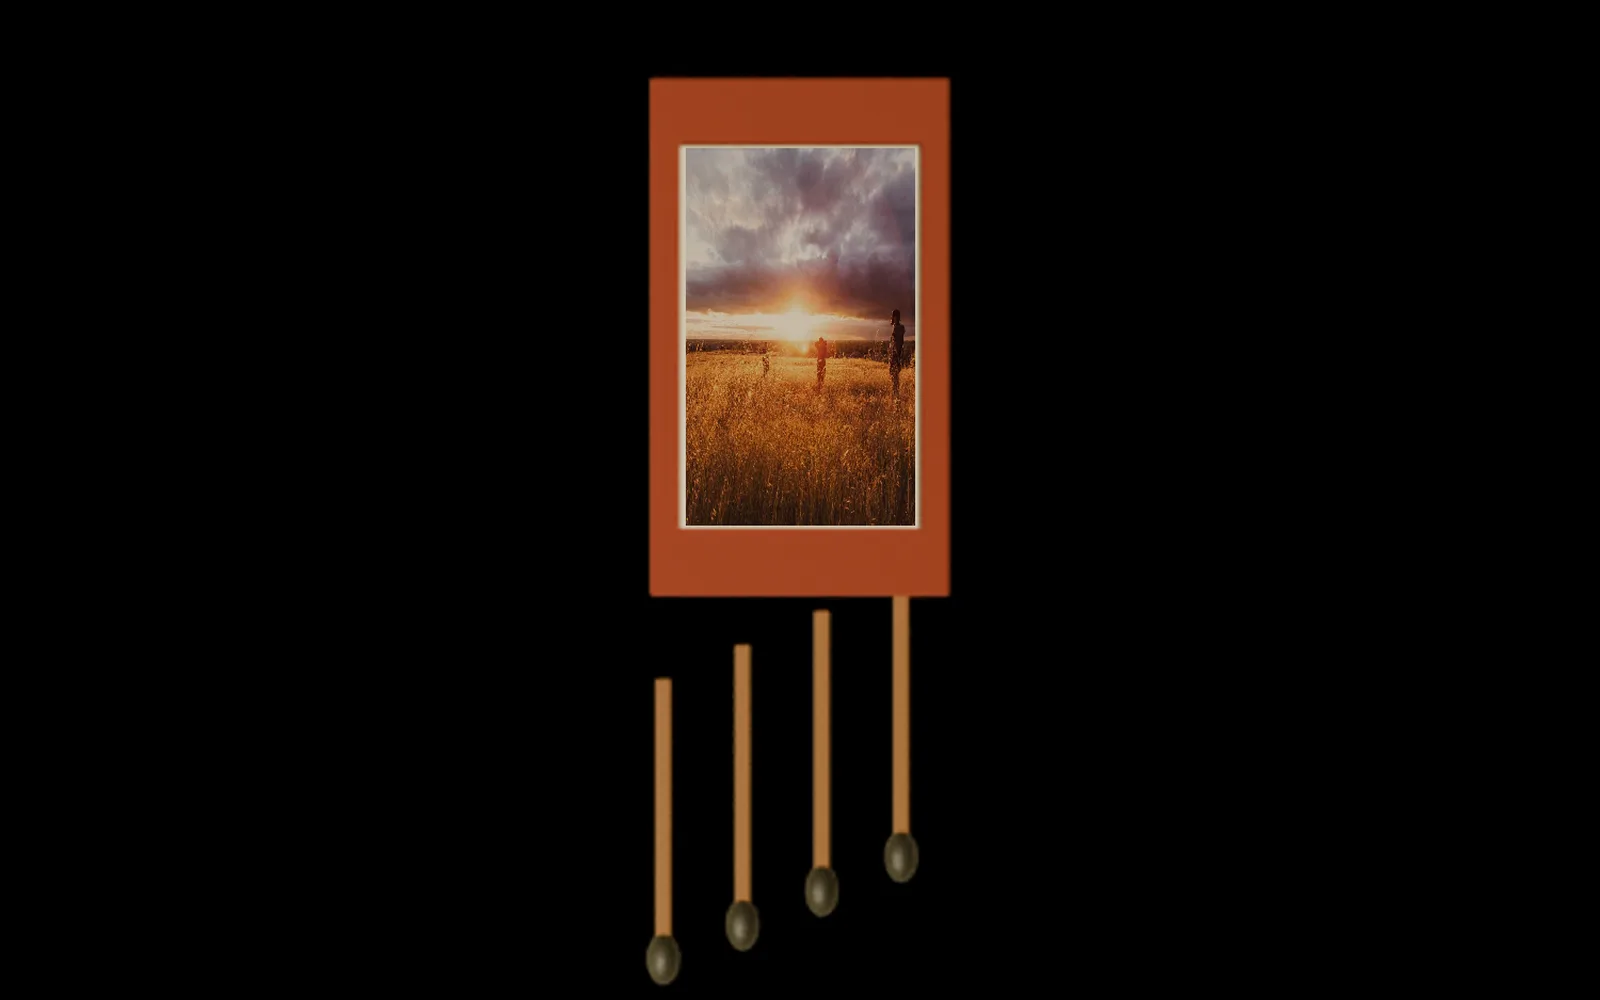
Mock up a matchbox label

A printed label pinned to the face of a box, with the box's shading showing through.

  1. Pick Layer > Place in perspective and drag its four corners onto the box face.
  2. Drag a box around the face with Select > Object so the label stays on it.
  3. Set the blend to Multiply.
InputImageFile→ImageMaskRefine→ImageComposite+LocalAIImageToTrackedMask+ImageCornerPin
a photo print pinned to the face of a matchbox, the box's shading showing through
05

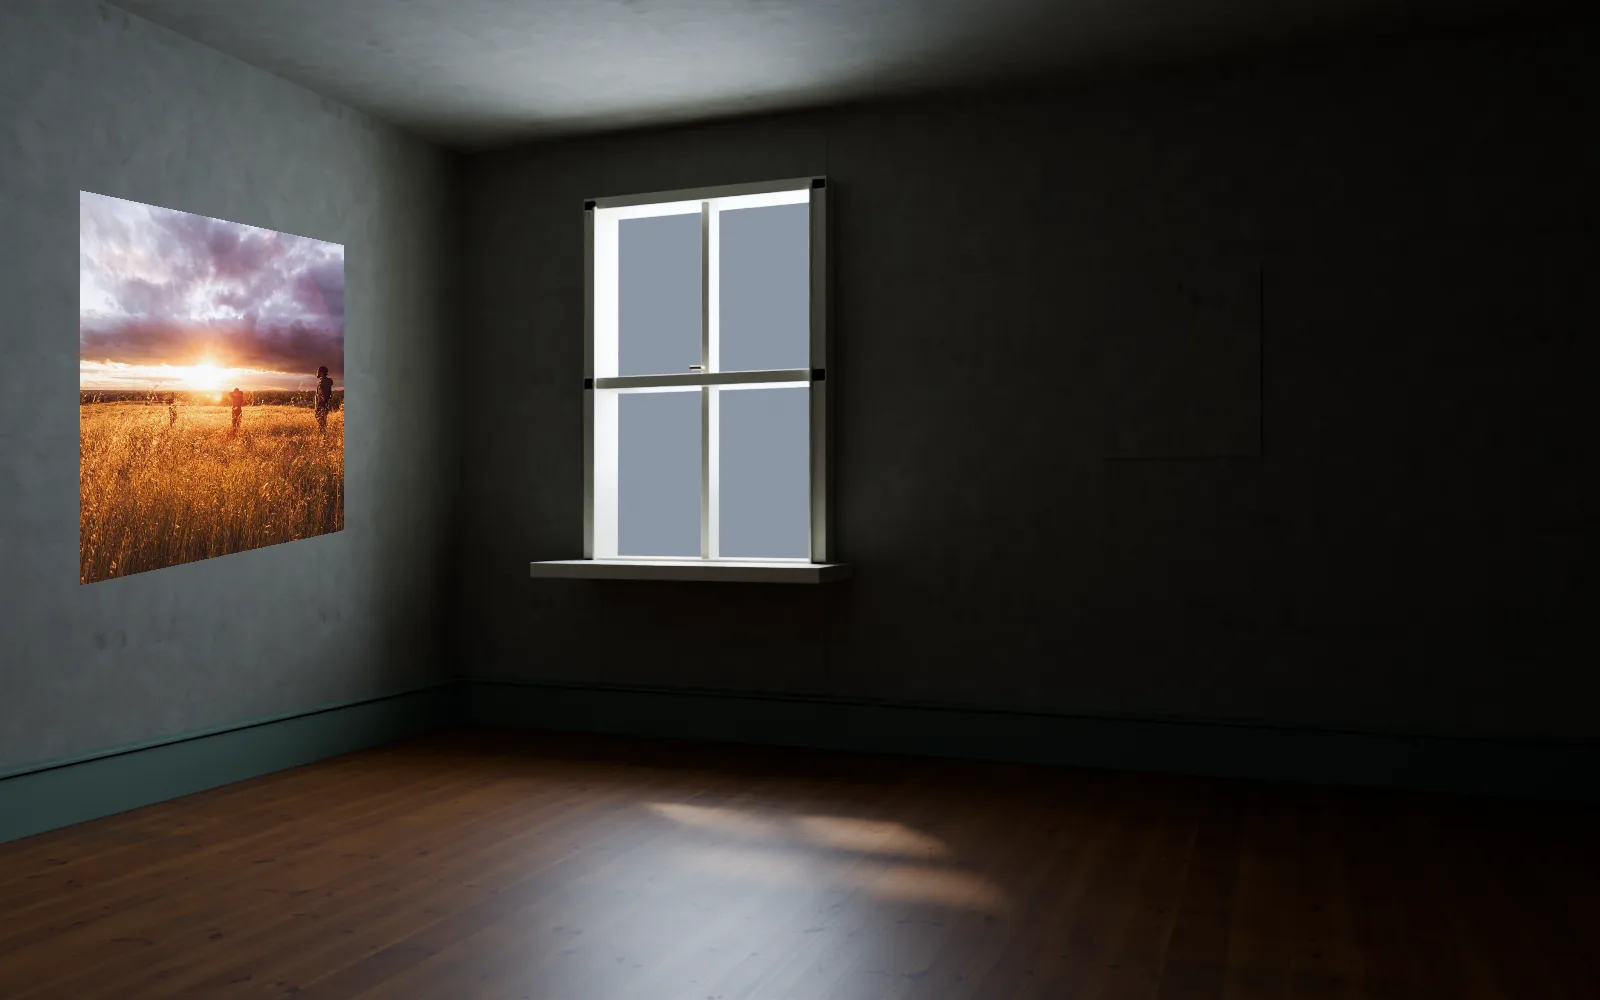
Hang a photo on a living room wall

A sunset print that takes the angle of the wall it hangs on.

  1. Pick Layer > Place in perspective and choose the photo.
  2. Drag its four corners onto the wall.
  3. The canvas keeps the size of the room photo.
InputImageFile→ImageCornerPin→ImageComposite+InputImageFile
a sunset print hung on the angled wall of an empty room
06

Wash a photo in a gradient

Deep violet at the top to warm amber at the bottom, tinting the photo without hiding it.

  1. Add a gradient layer from violet to amber.
  2. Set its blend to Multiply.
  3. Bring its opacity down to 40 percent.
InputImageFile→ImageComposite+ImageGradient
a violet to amber gradient in Multiply at 40 percent, before and after
Take it further

It all connects.

Every part of Kinematic works with the others. Wire one into the next.

Keep going

Free and open. Yours, forever.

No account, no license key. macOS, Windows, Linux and Raspberry Pi.

Download Kinematic 0.5.0