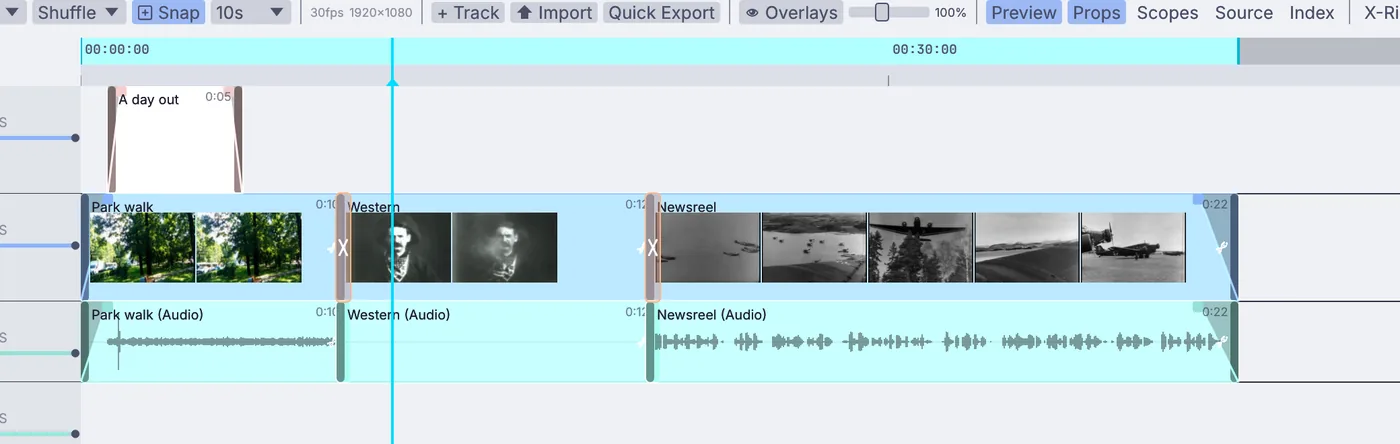
Gather three or four short clips from your phone or camera. You cut them on the video timeline, a window of its own with tracks, a ruler and a picture of the frame under the playhead.
Steps
Click New Project. Right-click the empty canvas, the lower half of the window, and choose Add Node. Type
Clip timelineand click Clip timeline in the list. The node lands on the canvas.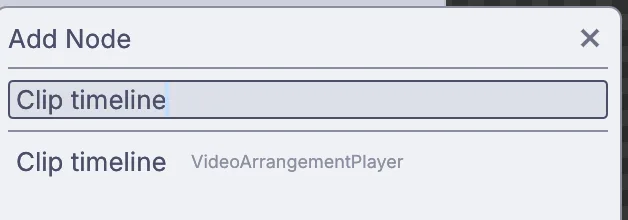
The Add Node search, with Clip timeline found. With the Clip timeline selected, press
E, or right-click it and choose Open the video timeline (E). The video timeline opens with the tracks V1, V2, A1 and A2.Bring in your clips. Click Import on the timeline's toolbar and pick your clips, or drag them from your desktop onto the V1 track.
Put them in order. Drag a clip left or right along the track. Drag it onto another track to lay one clip over another.
Trim. Drag the start or end edge of a clip inward to lose a slow beginning or ending. Trimming only hides frames, so you can drag the edge back out later.
Cut out the middle. Move the playhead to the frame where the cut goes, select the clip and press
Ctrl+B(Cmd+Bon a Mac) to split it in two. Select the piece you do not want and press Delete.Fades. Select a clip and press
Ffor a short fade in and out, or drag the small triangle at the start or end of the clip inward for a longer one.Dissolves. Right-click a clip and choose Add Transition (
Ctrl+T). The clip now dissolves into the one after it.A title. Right-click an empty spot on the V2 track and choose Add > Text. Type your words in the clip's properties on the right, then drag the clip's edges to set when the title shows.
Watch and export. Press Space to play it through. When you like it, click Quick Export. The Render / Export dialog opens set to H.264, 1080p and MP4. Set Output File, click Render and wait for the file.
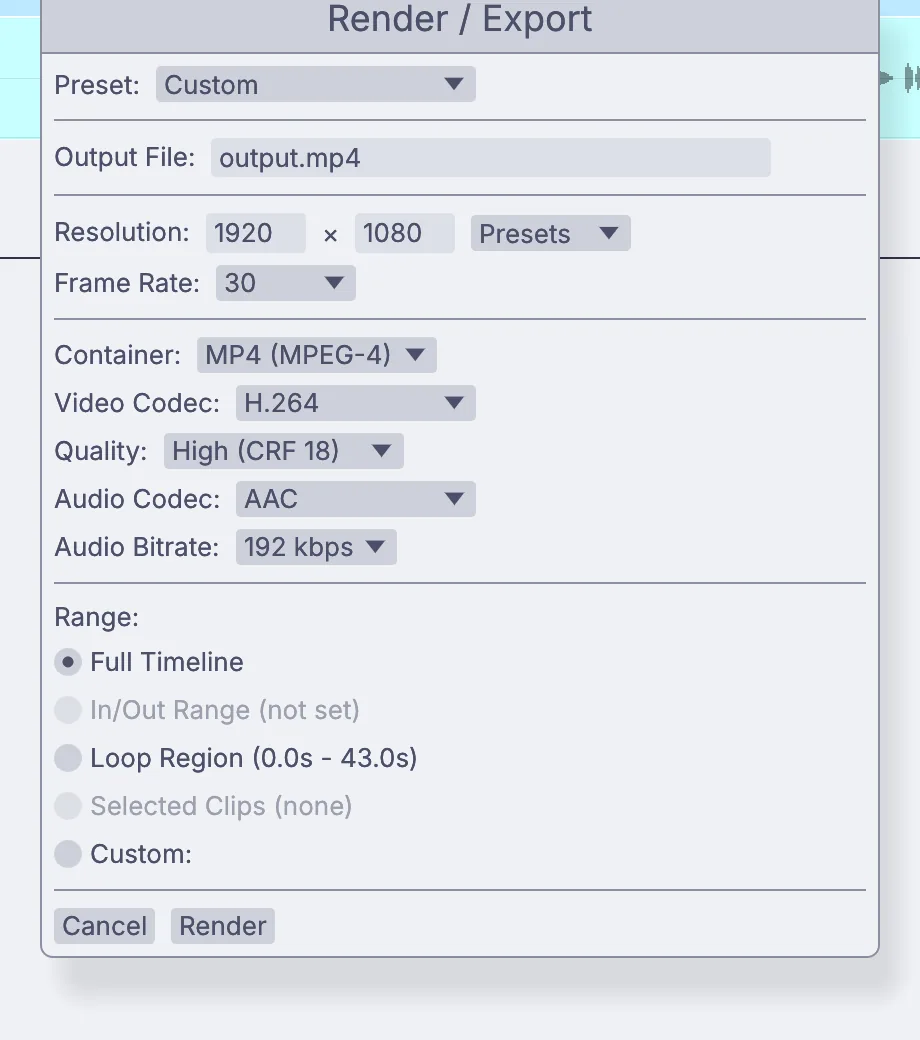
The Render / Export dialog: output file, resolution, codec, quality and the range to render.
On the canvas
The whole edit lives inside one node, the VideoArrangementPlayer you added as Clip timeline. Clips are not nodes of their own; they are saved inside it, and its picture plays in the viewport when you select it.
Make it yours
- Right-click a clip and choose Set Speed... for slow motion at 0.5x.
- Right-click empty track space and choose Add > Solid Color for a colored card behind your title.
- Right-click a clip and choose Retiming... > Add Freeze at Playhead to hold a moment.
- Open Help > Browse Demos... and look at Video Arrangement Player for another timeline to take apart.
If it goes wrong
Eopens nothing: click the Clip timeline node on the canvas first, so it is selected.