
An LED panel is a grid of lights, and each light is one pixel of the picture. You can watch the panel play in the app before you own one.
Steps
On the start screen, click New Project. Drag a video onto the viewport, where the card says Drop a file here. It plays in the viewport. Clips with bold shapes and strong colors read best on a panel of lights.
Along the top of the viewport, open Send to, point at DMX and choose Shrink to an LED matrix. The viewport now shows the video as a grid of colored squares, one square for each light on the panel.
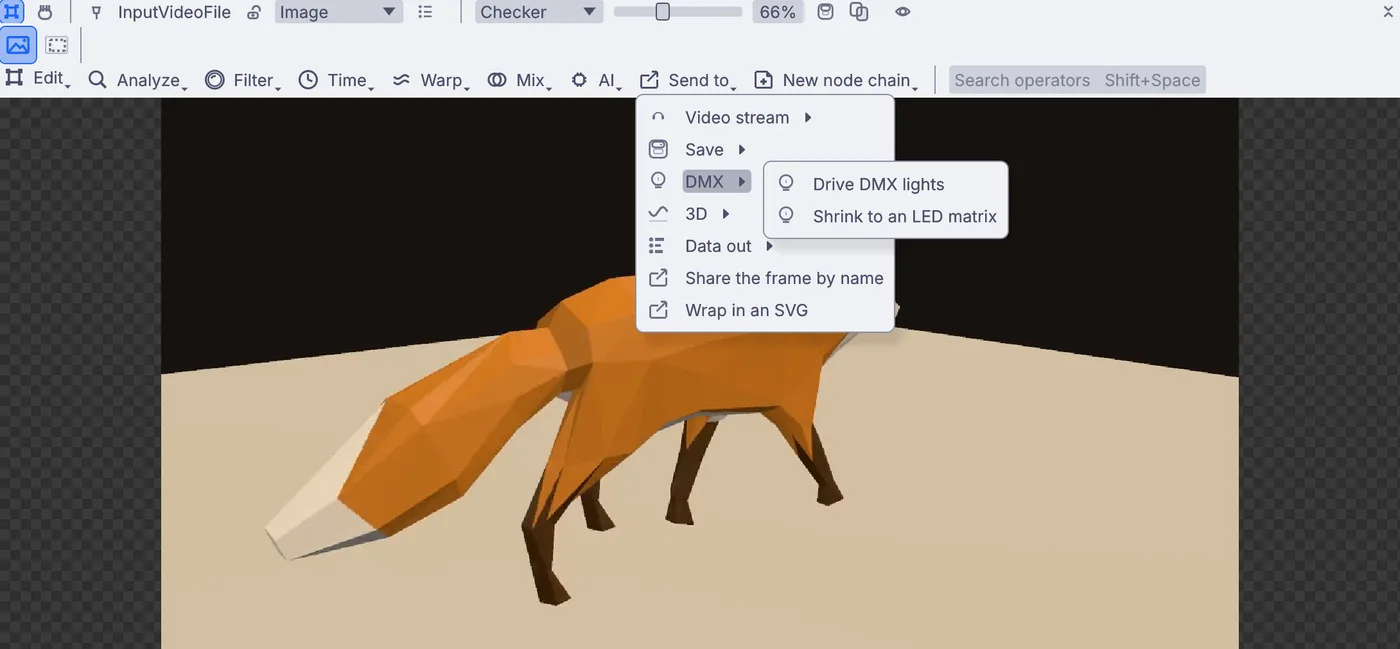
Send to open on the video, with DMX pointed at and Drive DMX lights and Shrink to an LED matrix in the submenu. On the card at the right of the view, set Width to
32and Height to18. That is the same shape as a widescreen video, so nothing gets squashed, and you can tell what is playing at a glance.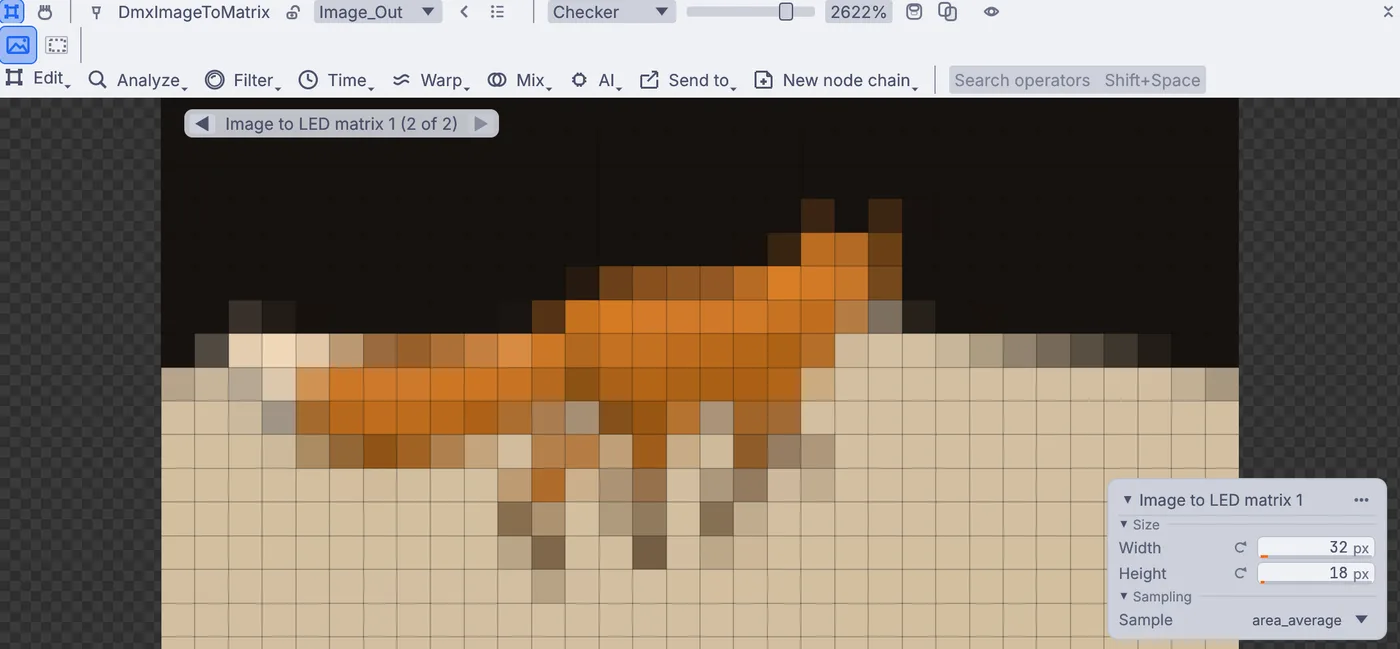
The video on a 32 by 18 grid of lights, with Width and Height on the card. Try Width
16and Height9to see how a smaller panel loses the picture, then go back to32by18.Set Sample on the card to
nearestfor hard, crisp squares, or leave it onarea_average, which blends each square from every pixel under it.When a real panel arrives: one DMX universe carries 170 lights and this panel has 576, so it is wired as four 16 by 9 tiles, each on its own universe. For each tile, crop its quarter of the panel picture with Edit > Framing > Crop and size > Crop, then add a Matrix to DMX (hover over the viewport, press
Shift+Space, typematrix to, pressEnter) and set it to16by9on that tile's Universe. Wire each one's Dmx_Out into anArtNetSendInterfacefor a network lighting gateway.
On the canvas
Dropping the file added an InputVideoFile, and Shrink to an LED matrix added a DmxImageToMatrix after it, which shrinks the picture to one pixel per light. For a real panel, each tile adds an ImageCrop and a MatrixToDmx, which lays its lights into DMX channels, three per light.
Make it yours
- Try a clip of a dancer on a black background: bold shapes read best on lights.
- Set Width
64and Height36to see how a big LED wall would look. - Lower Brightness on each Matrix to DMX so the panel does not blind the front row.
- Set Channel order on Matrix to DMX to
grbif reds come out green on your panel.