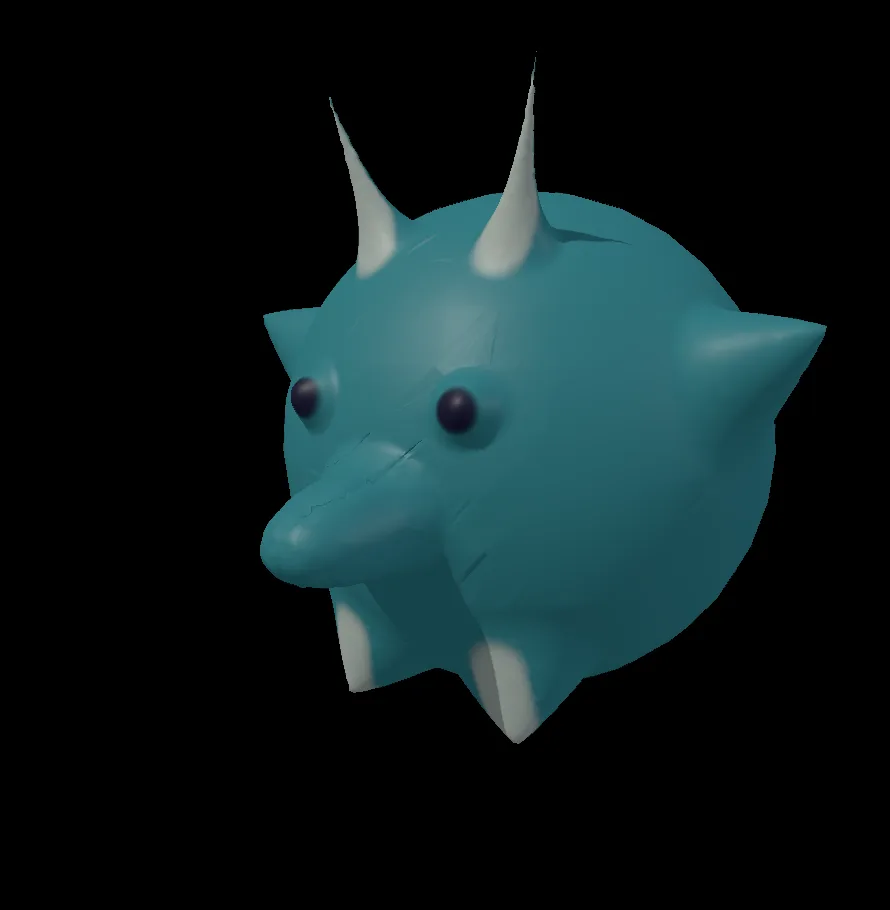
You start with a plain ball and end with a creature you can turn around and admire. Everything happens in the viewport, with brushes, the way you would shape clay.
Steps
Click New Project on the start screen. The viewport shows a card of ways to start.
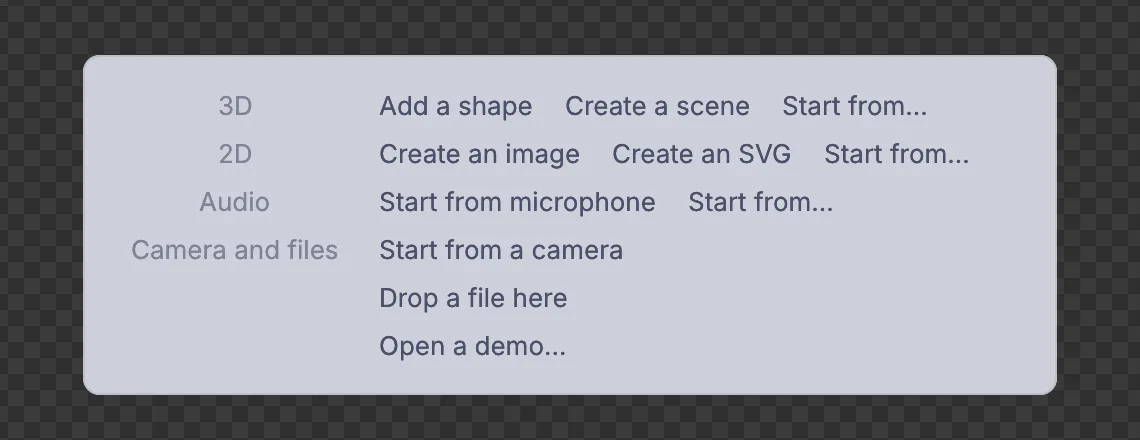
The start card on an empty viewport. Click Add a shape and pick Sphere. A ball lands in the middle of the view with its handles showing, and a small card of its settings sits on the right.
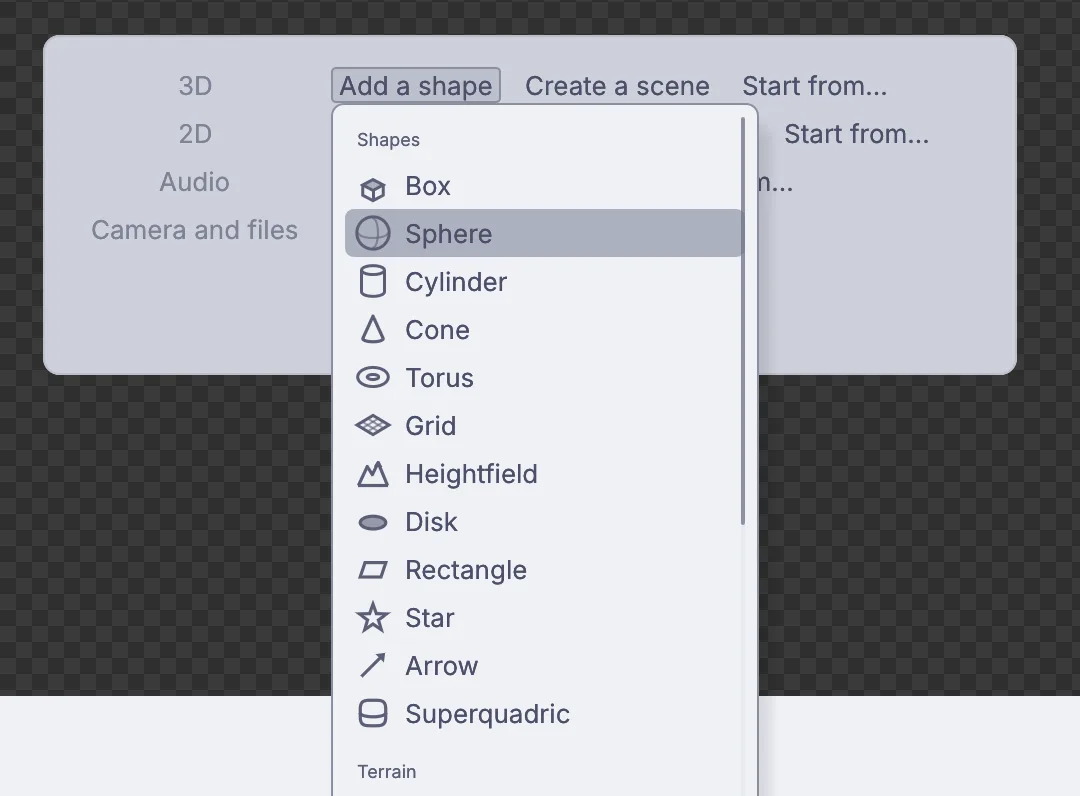
Add a shape lists every shape you can start from. Click Sculpt in the tools along the top of the viewport. The sculpt tools take their place: the brush, Size, Strength and Symmetry: X. Symmetry is already on, so every stroke on one side lands on the other side too.
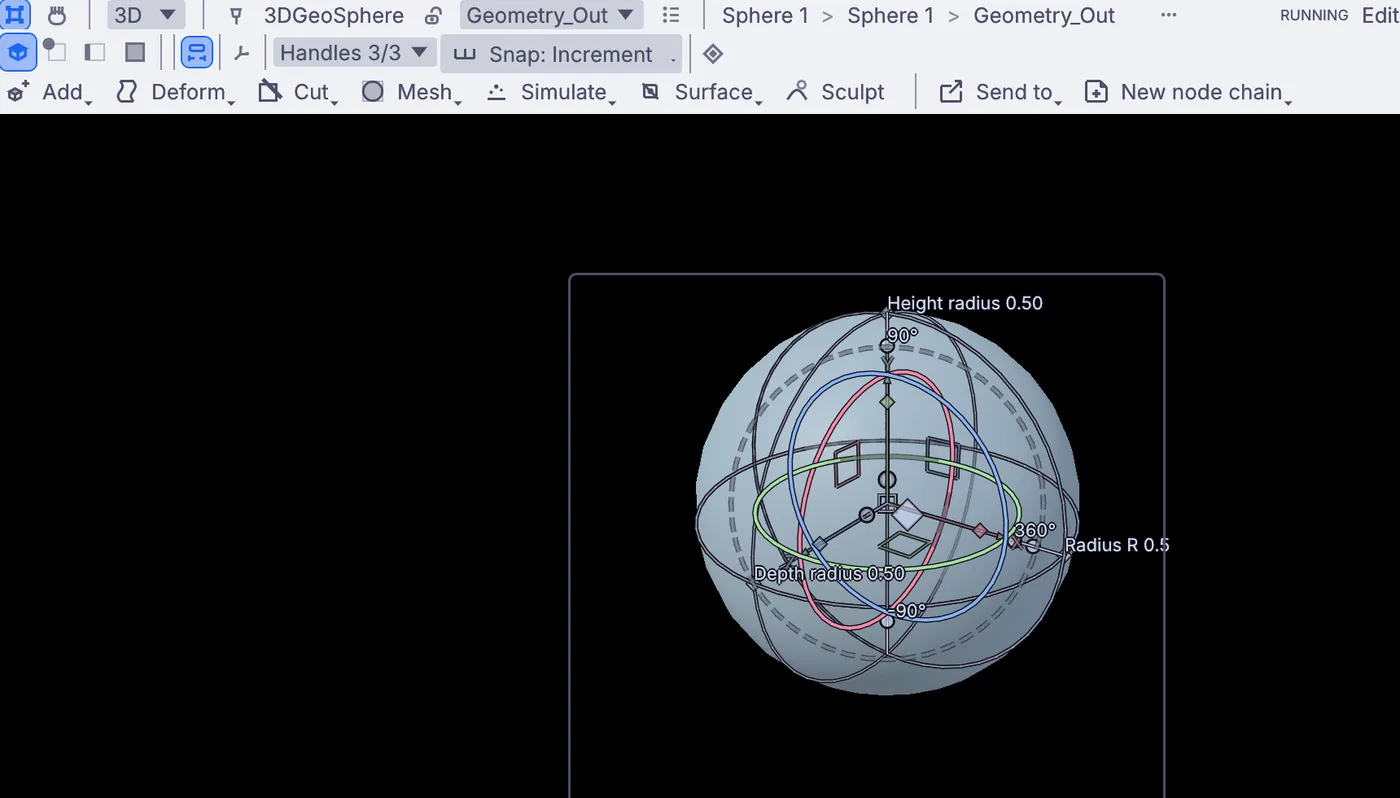
The new sphere, with Sculpt among the tools at the top. Give the brush room for small detail: open Mesh in the sculpt tools and choose Dynamic detail. From now on the surface adds fine triangles under the brush wherever you work.
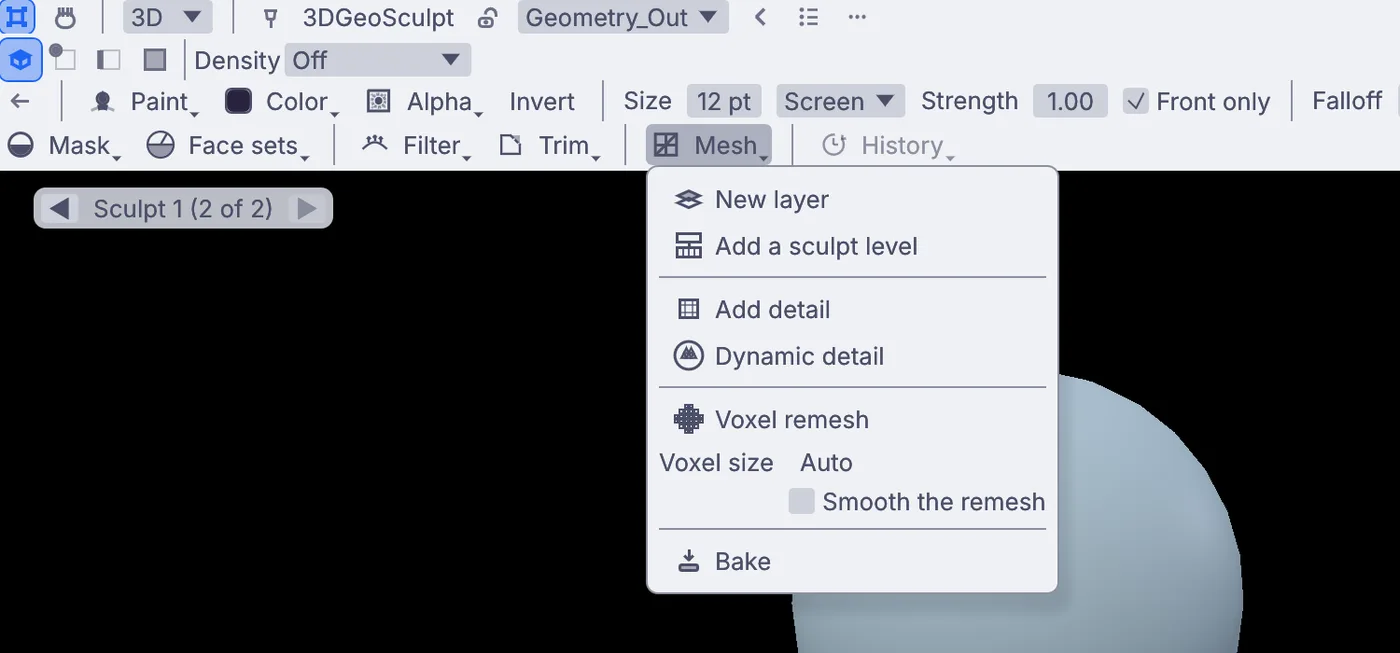
The Mesh menu, with Dynamic detail. Horns. Open the brush list (the first button in the sculpt tools, named after the brush in hand) and pick Snake hook. Click Size and type
24. Press on top of the head, a little left of the middle, and drag up and slightly out. A horn follows your stroke, and its twin grows on the other side.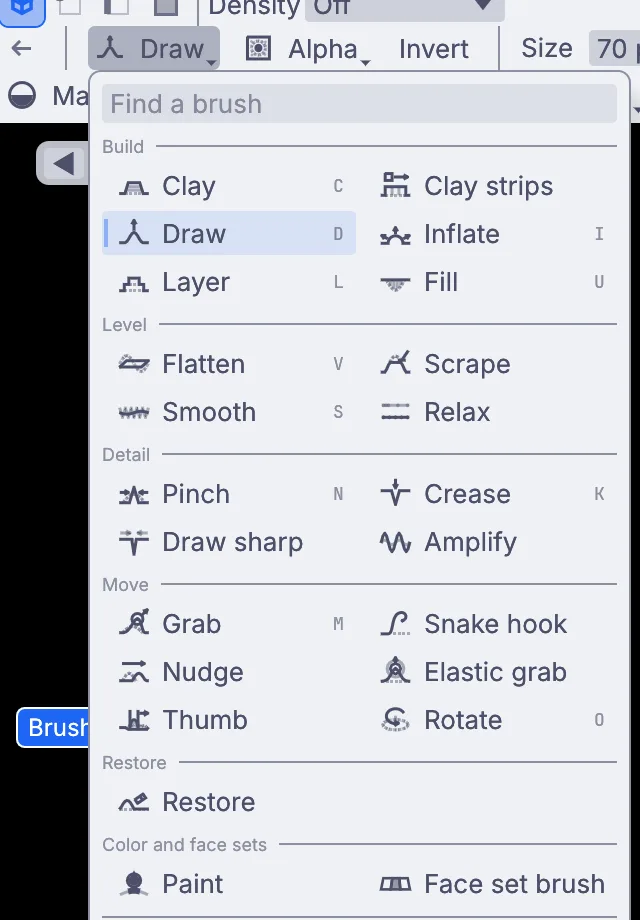
The brush list. Snake hook sits under Move; Paint is at the bottom. Ears and feet. Keep Snake hook, set Size to about
40, and pull a short spike out of each side of the head for ears. Then press low on the front and drag down a little for two stubby feet. To see another side, drag in the empty space around the creature and the view turns.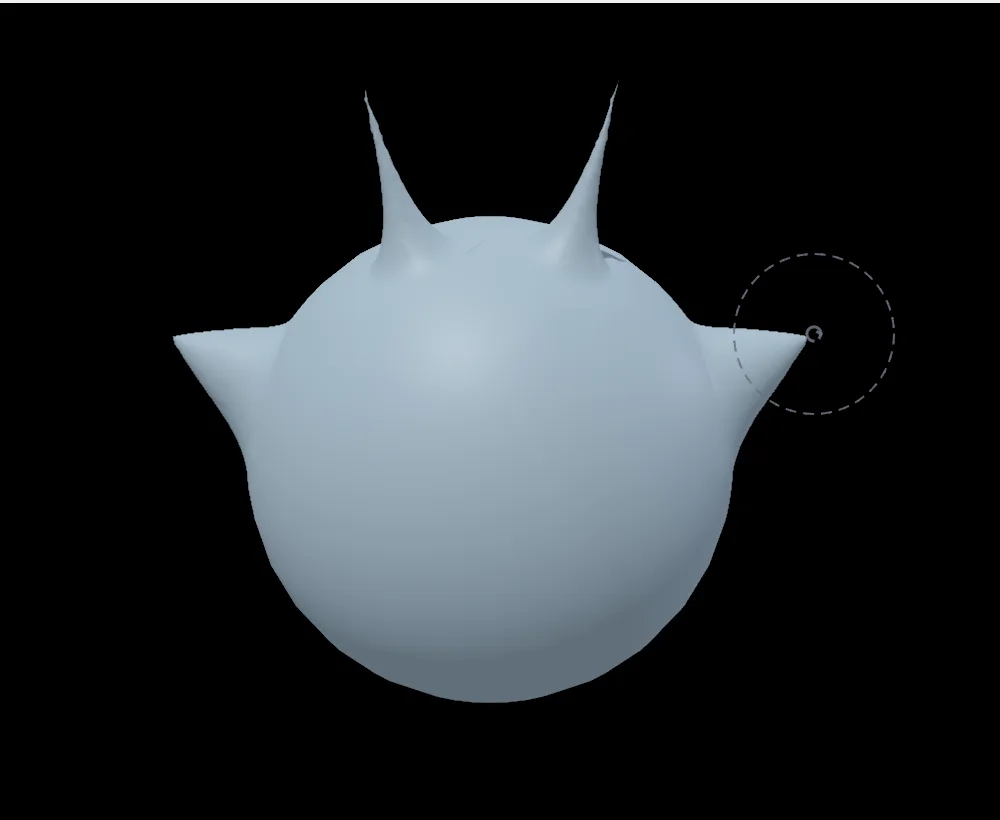
Horns on top and an ear on each side, one stroke each. The face. Press
Iwith the pointer over the view to pick Inflate. With Size at about20, dab once where an eye goes. Set Size to about40and dab once in the middle, below the eyes, for a snout. Hold Shift and brush over any lump to soften it.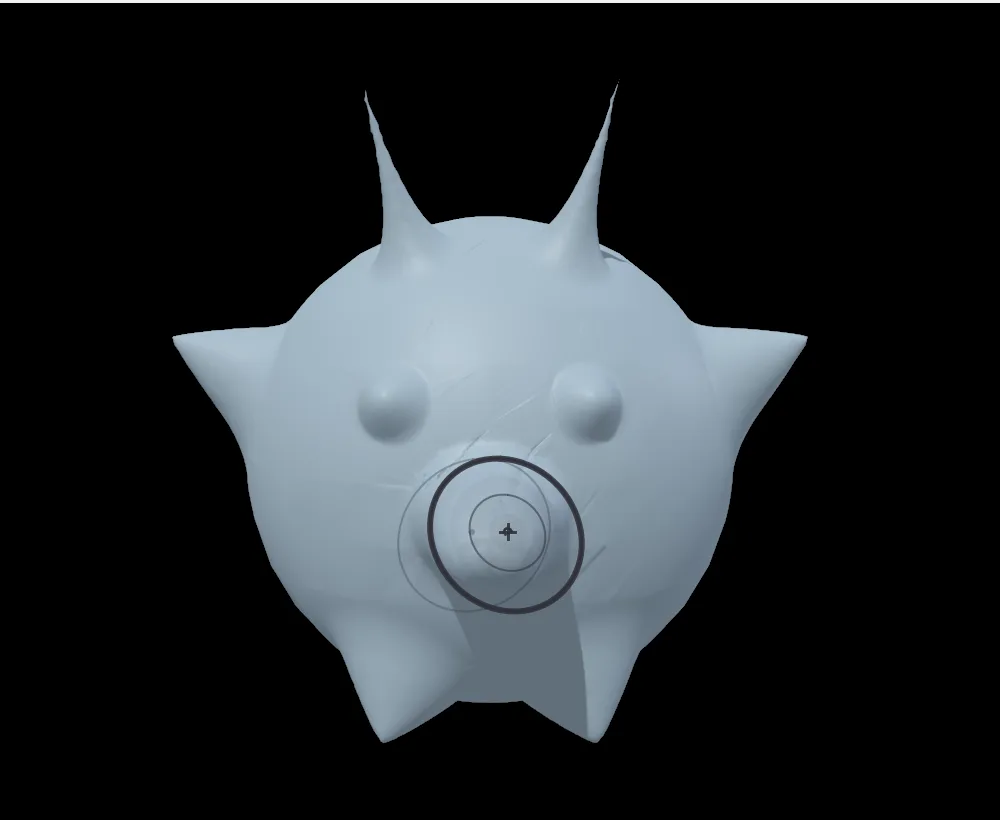
Two eyes and a snout, puffed up with Inflate. Color. Pick Paint from the brush list (it sits under Color and face sets). At the bottom of the same list, click the hex box beside Color, type
#4BA3A0and press Enter, then click Fill with color. The whole creature turns teal.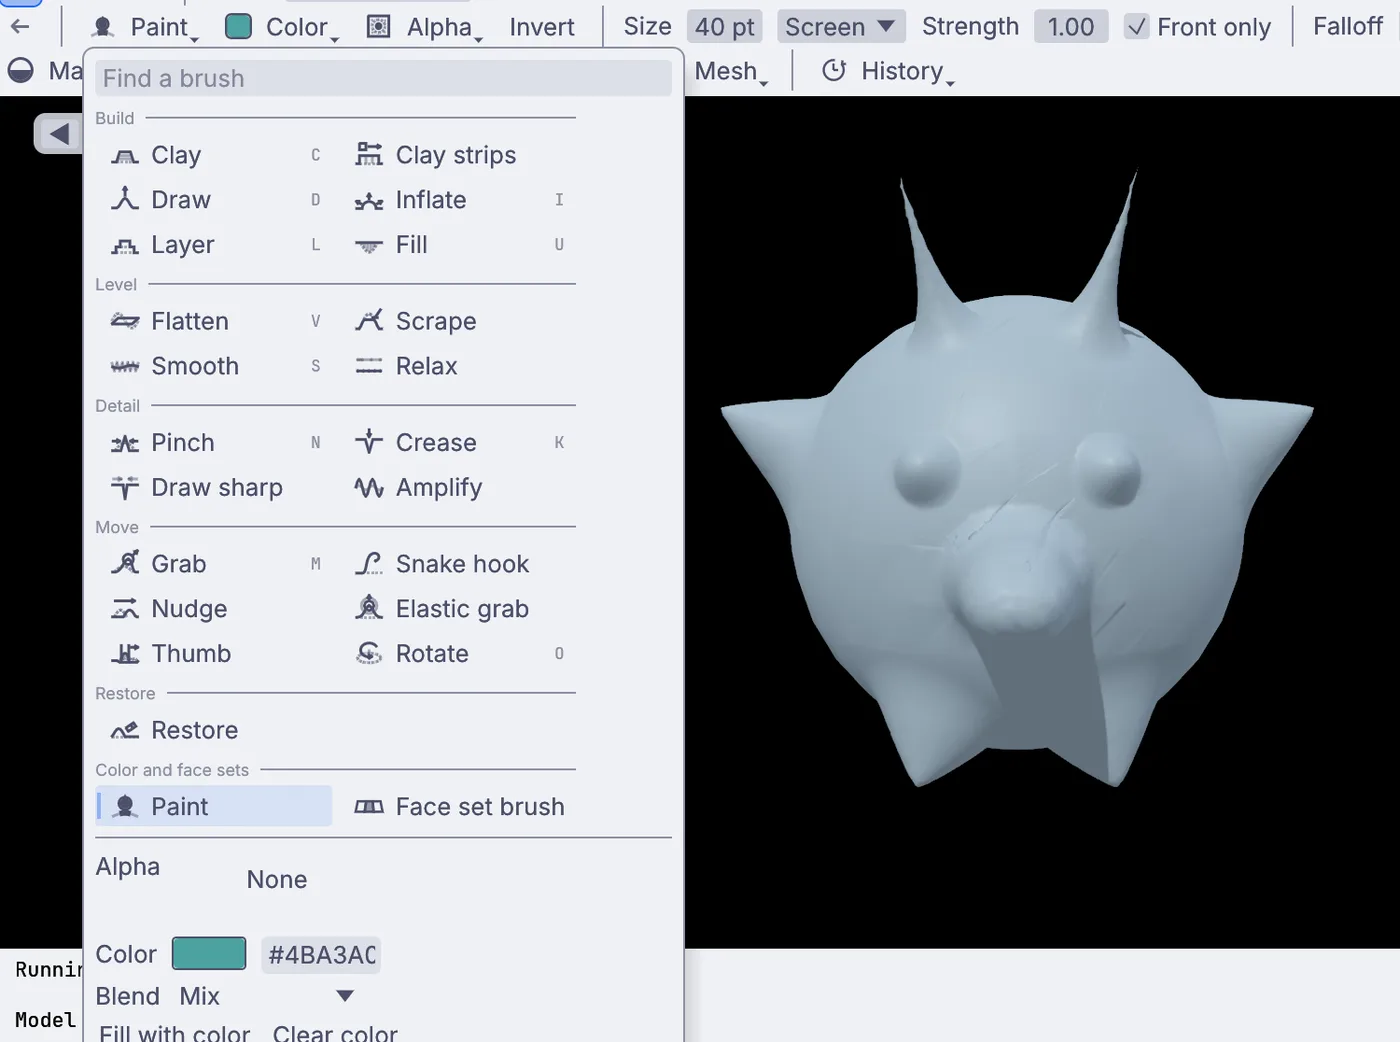
Paint picked, with its color, Blend and Fill with color at the bottom of the list. Details. Type
#F3E6CCinto the hex box, set Size to about16, and paint over the horns and feet. Then type#2B2440and dab the eyes.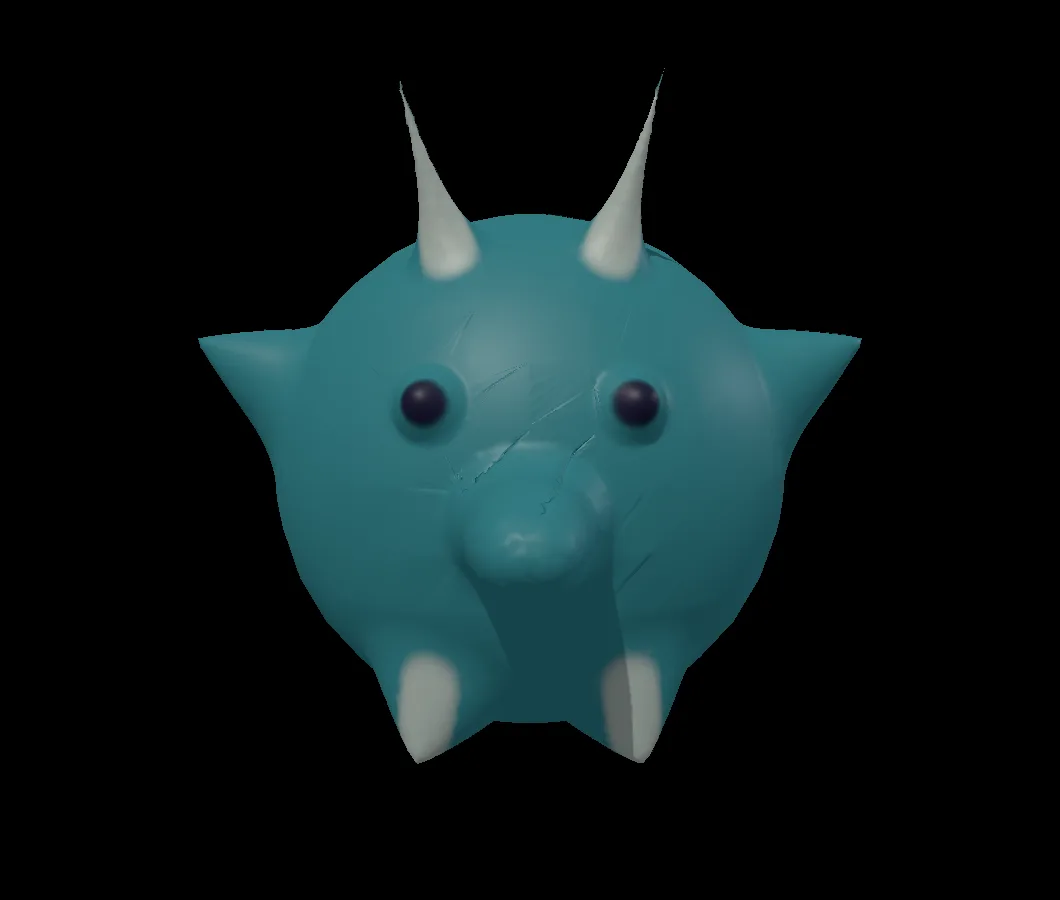
Cream horns and feet, dark eyes. Press Esc to put the brushes away, then turn the view around your creature. Save it with File > Save.
On the canvas
Your steps added three nodes in a line. 3DGeoSphere makes the ball, 3DGeoSculpt is the first sculpt layer, and 3DGeoDynamicSculpt holds every stroke and every dab of paint you made after you chose Dynamic detail.
Make it yours
- Pull a curly tail out of the back with Snake hook.
- Press
Kfor Crease and use a tiny brush to cut a smile under the snout. - Turn Symmetry: X off for one bent horn or a lopsided grin.
- Open Mesh > Add a sculpt level when you want finer detail like scales or wrinkles.
If it goes wrong
- A stroke turned the whole view instead of sculpting: it started off the creature. Start every stroke on the surface.
- Undo takes back one stroke at a time.