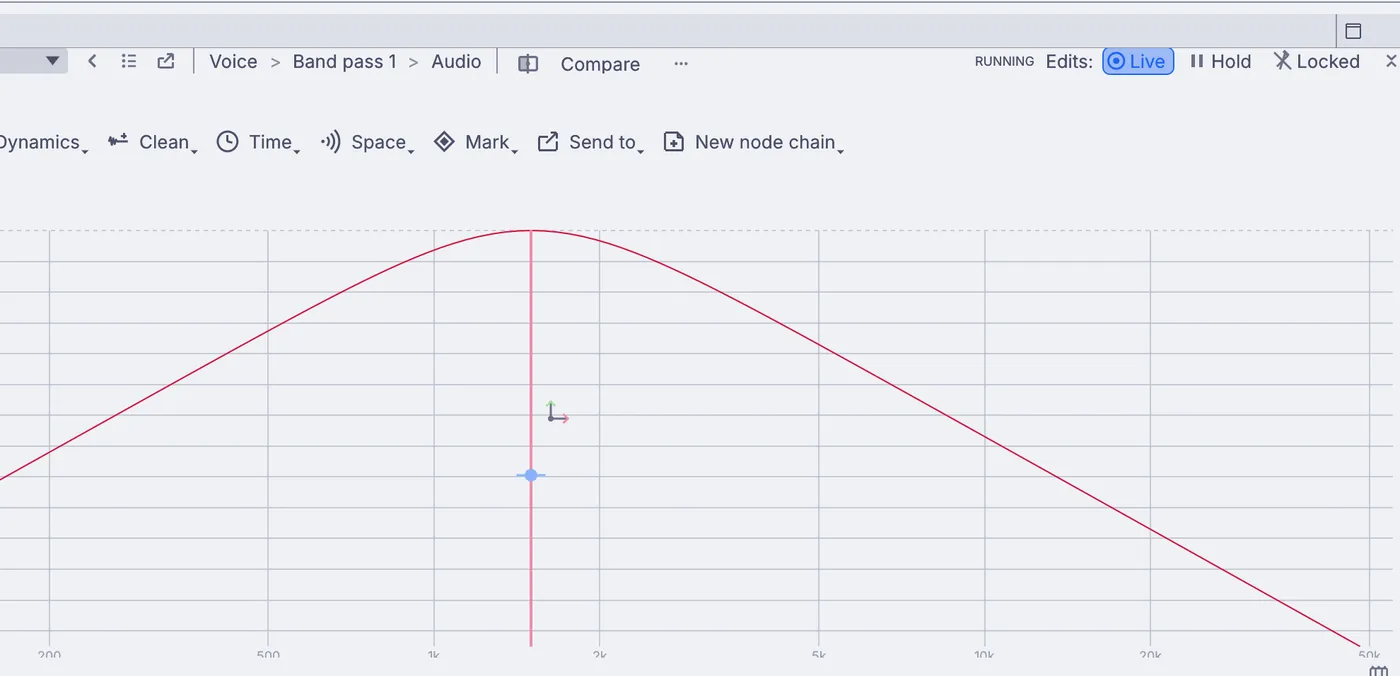
Four effects from the Tone and Dynamics menus do it all. Each one shows its curve in the viewport while you work.
Steps
Click New Project and drag a voice recording onto the viewport. If the viewport shows Edit as a clip, press it.
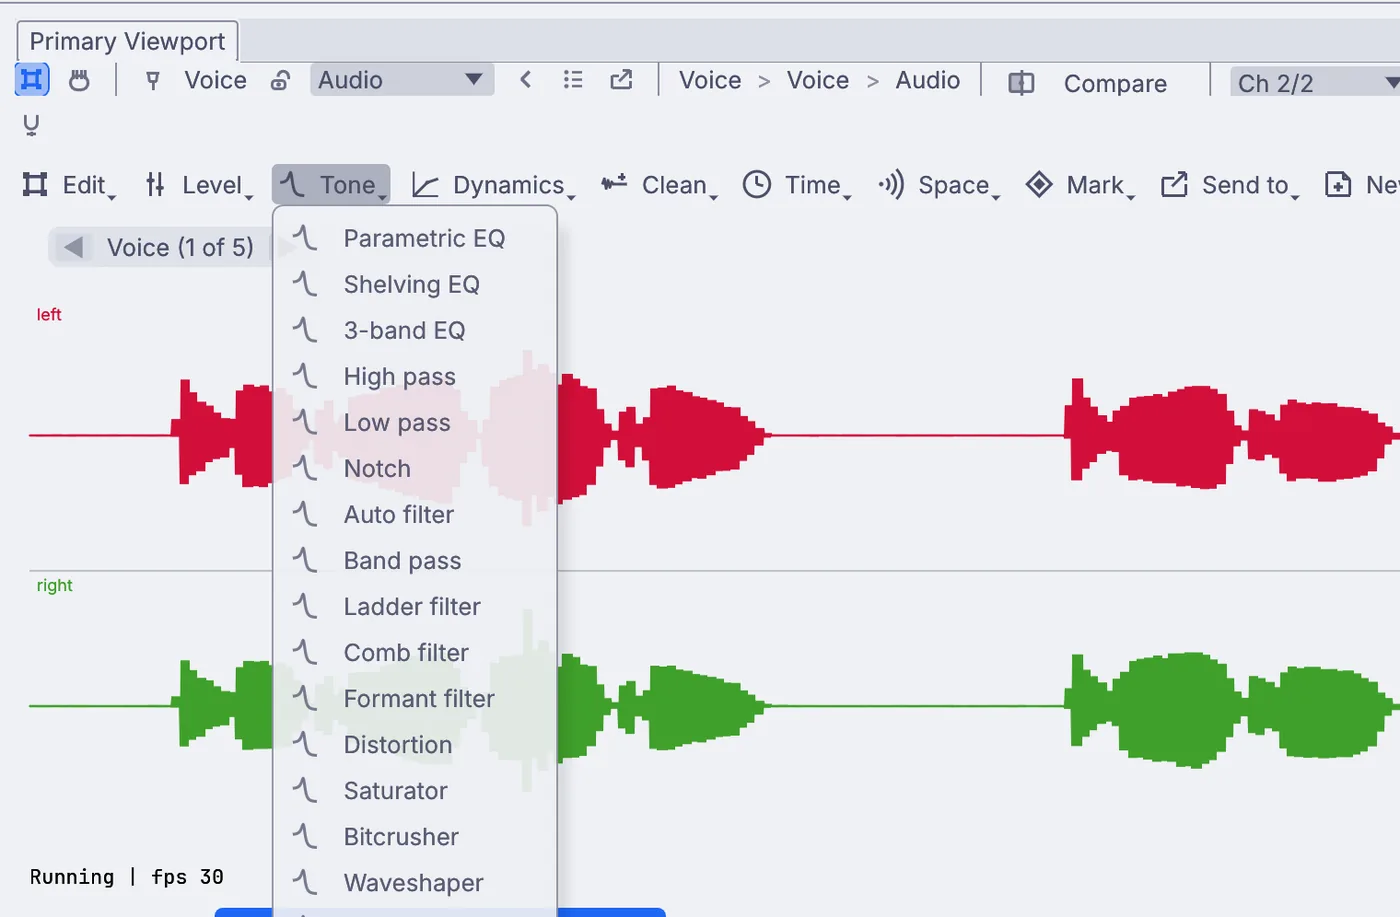
The Tone menu: EQs, filters, Distortion, Saturator, Cabinet simulator and more. Choose Tone > Band pass. It keeps a band in the middle and cuts the deep lows and the bright highs. In the Properties panel set Center hz to about
1500and Q to0.7.Choose Tone > Saturator. On its card set Mode to
tubeand Drive to about6for a warm crunch.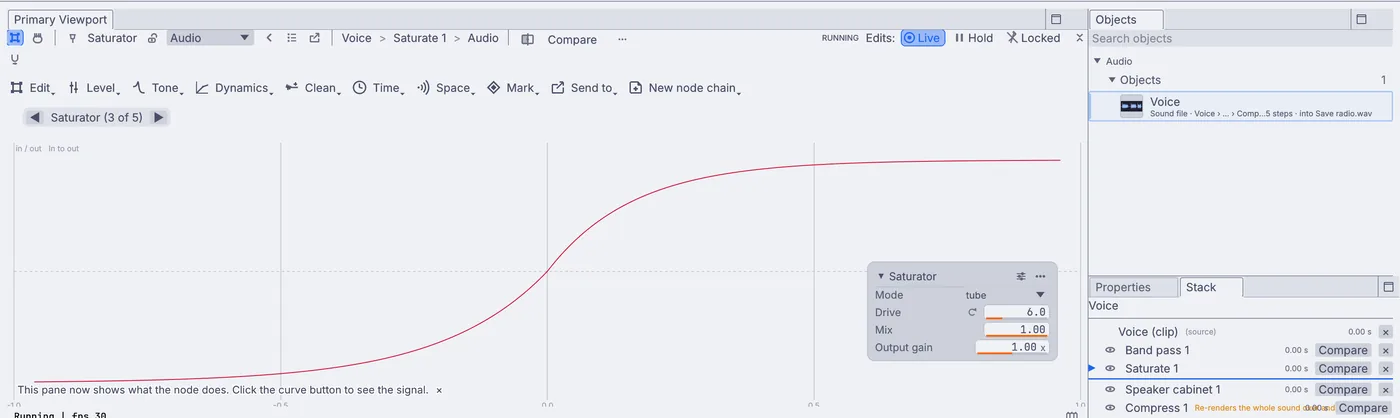
The saturator's curve, which rounds off the loud parts. Choose Tone > Cabinet simulator and set Cabinet type to
1x8_vintage, a small speaker in a box.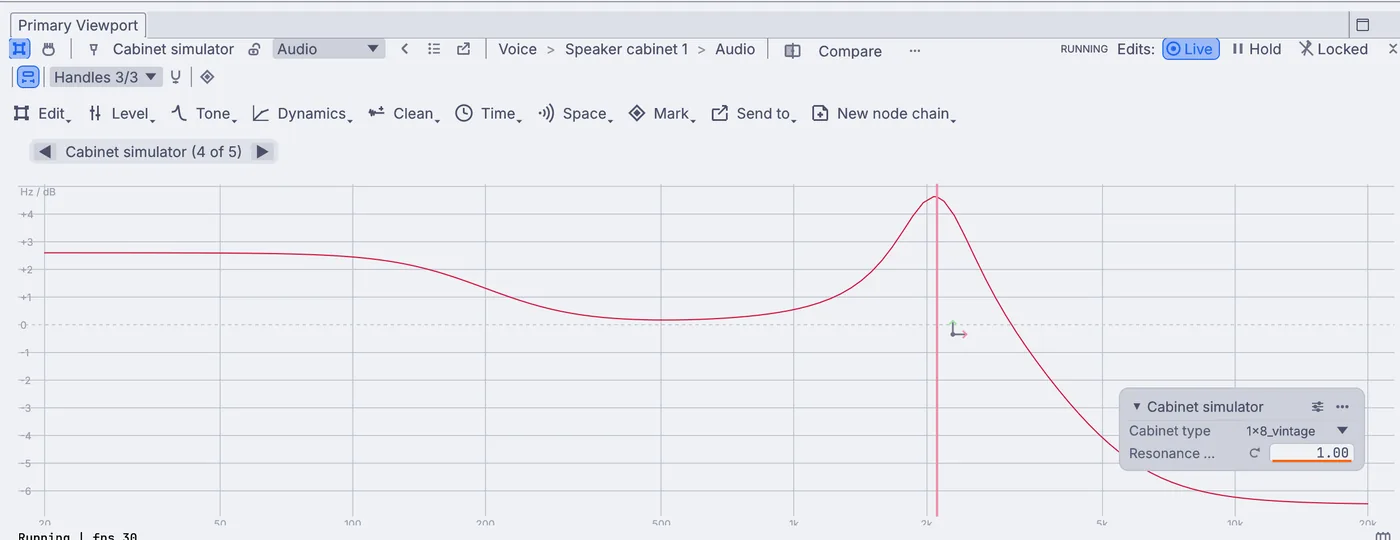
The cabinet simulator's curve: a small speaker with a strong bump and no deep lows. Choose Dynamics > Compressor. Set Ratio to about
6and raise Makeup gain db in the Properties panel to bring the level back up.With the graph stopped, press Listen. Open Window > Panels > Stack and press Compare on any edit to hear what it adds.
Choose Send to > Save to a sound file... and press Play on the transport bar to write it.
On the canvas
Your voice is an InputAudioFile node followed by AudioBandPass, AudioSaturator, AudioCabinetSim, AudioCompressor and OutputAudioFile, one node for each pick.
Make it yours
- Add Tone > Bitcrusher for a cheap phone line.
- Add Space > Room simulator to put the radio in a room.
- Add Level > Gain and fades > Tremolo for a signal that comes and goes.
- Narrow it further with a Q of
1.5for a walkie-talkie.