Wind, a fan, a fridge, traffic far away: a steady noise under your sounds can be turned down without touching the sounds themselves.
Steps
Click New Project and drag your recording onto the viewport. If the viewport shows Edit as a clip, press it so the whole file loads. The waveform fills the view.
With the graph stopped, press Listen to hear it, or right-click the waveform and choose Listen from here.
Find a second or two with nothing but the noise, before the first sound or between two sounds. Drag across it to draw a range.
Choose Clean > Denoise. The range becomes its noise sample, and that noise is turned down across the whole recording. On its card, set Reduction db to about
12. Go higher until it starts to sound watery, then back off.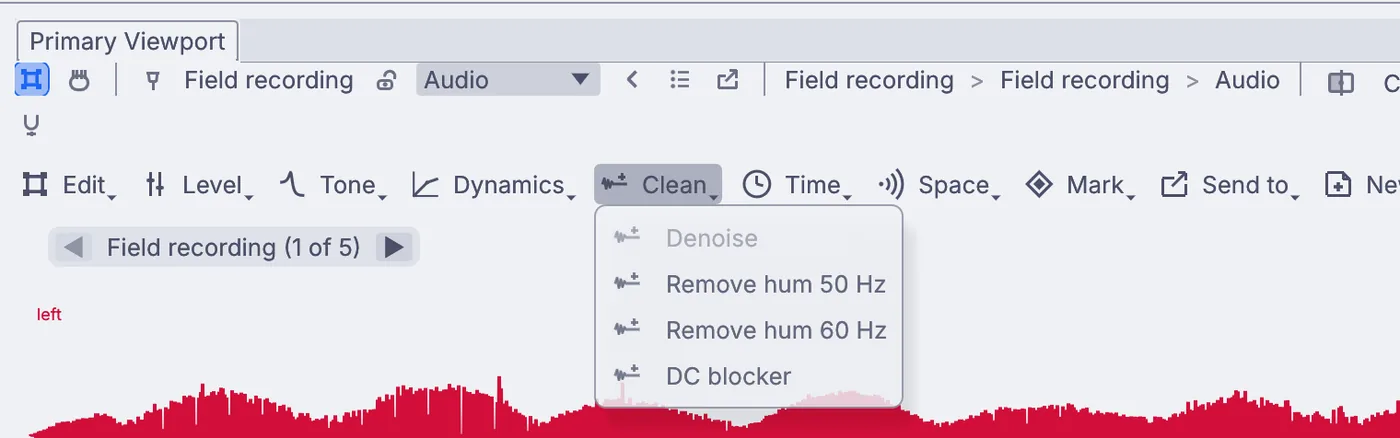
The Clean menu. Denoise waits until you have drawn a range over a stretch of noise. Click outside the range to clear it. Choose Tone > High pass to take out rumble and handling noise, and set Cutoff hz to
80in the Properties panel.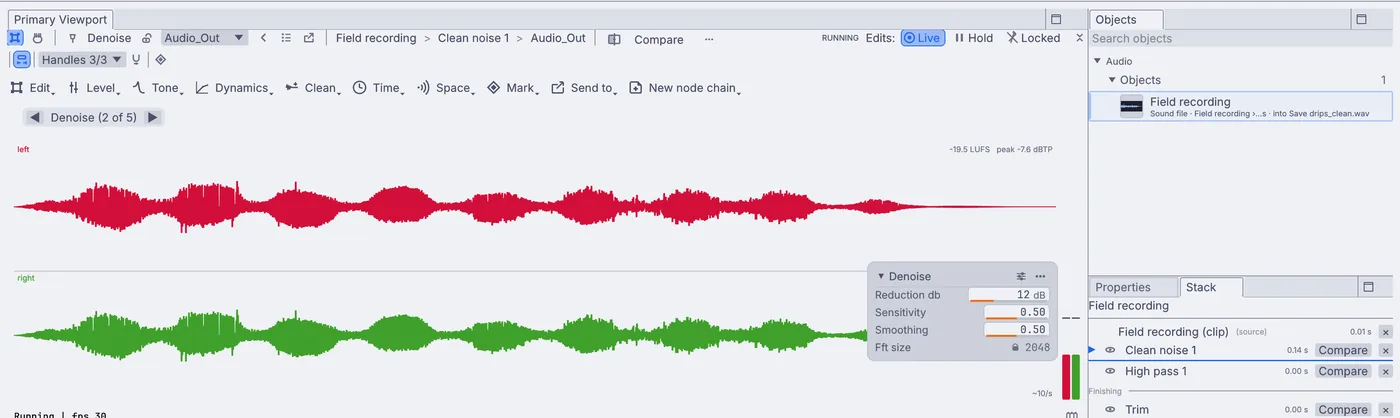
Denoise's card: Reduction db, Sensitivity, Smoothing and Fft size. Drag a range from the first clean moment after the bumps at the start to the very end, and choose Edit > Trim > Trim to range.
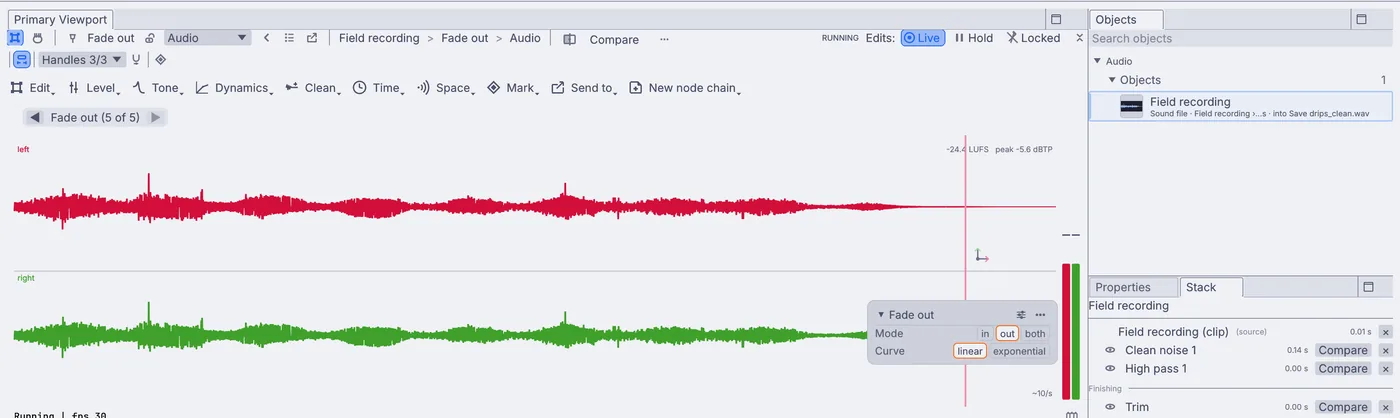
Choose Level > Gain and fades > Fade out. With no range drawn, it fades the last second.
Open Window > Panels > Stack. Click any edit and press Compare to hear the sound before and after it.
Choose Send to > Save to a sound file... and give it a name. The file is written when you press Play on the transport bar, and again whenever the sound changes.

Send to: Save to a sound file, Play on speakers and more.
On the canvas
Your recording is an InputAudioFile node, and each edit added one node after it: AudioDenoise, AudioHighPass, AudioClip for the trim, AudioFade, and OutputAudioFile for the save.
Make it yours
- A low buzz from the mains? Choose Clean > Remove hum 50 Hz (or 60 Hz in the Americas).
- Set broadcast loudness with Level > Loudness > Normalize to LUFS > -23 LUFS.
- Mark > Onset list finds the start of every drip, step or knock, ready for cutting.
- Dynamics > Noise gate silences the quiet gaps between sounds.