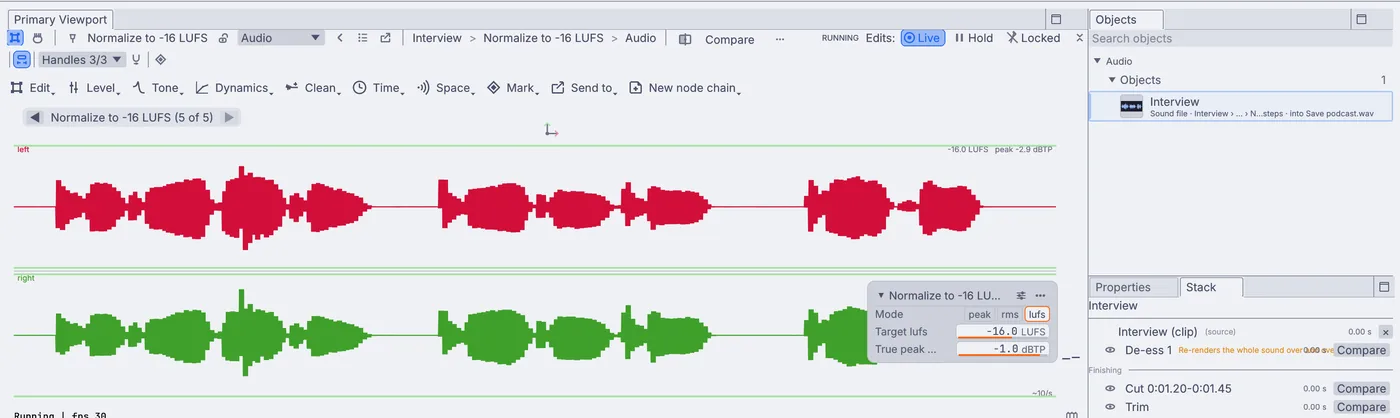
A clip can be up to 30 minutes of stereo, so split a longer episode into parts. Everything here works with the graph stopped.
Steps
Click New Project and drag your recording onto the viewport. If the viewport shows Edit as a clip, press it.
Press Listen. When you hear a long pause or a stumble, drag a range over it and choose Edit > Trim > Cut. It comes out, and the gap closes with a short crossfade so it does not click. Do the same for each one.
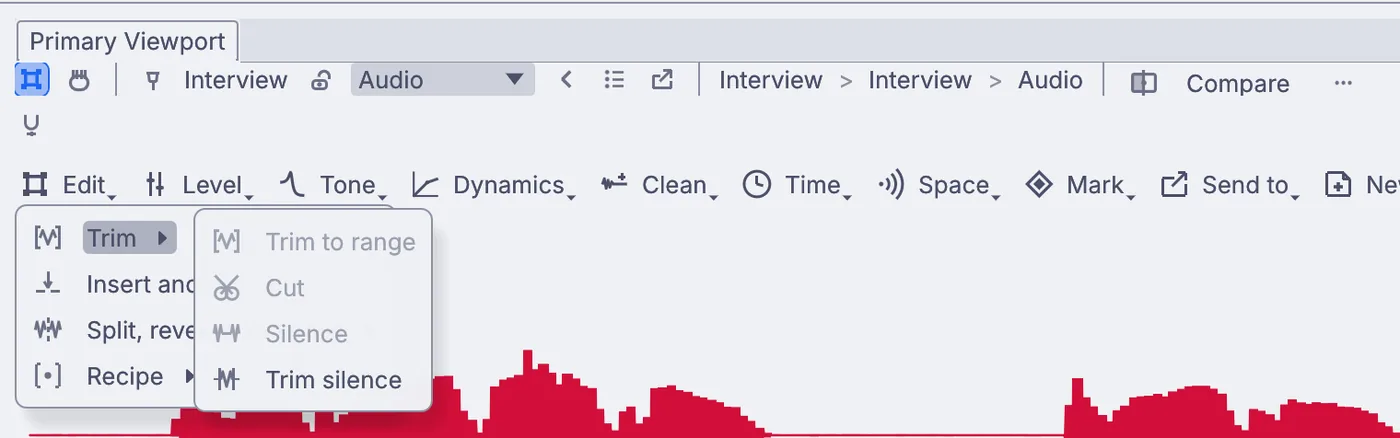
Edit > Trim. Trim to range, Cut and Silence wait for a range; Trim silence works on the whole sound. Choose Edit > Trim > Trim silence to take the quiet off the start and the end.
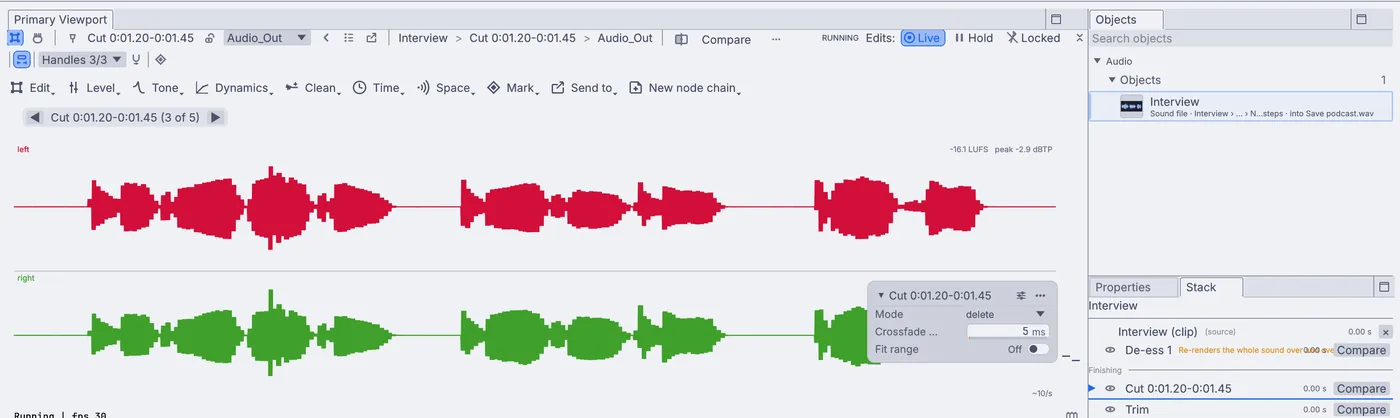
A cut picked in the Stack: its card shows the crossfade across the join. Choose Dynamics > De-esser. Set Frequency to where the S sounds are harshest, often between
6000and7000Hz.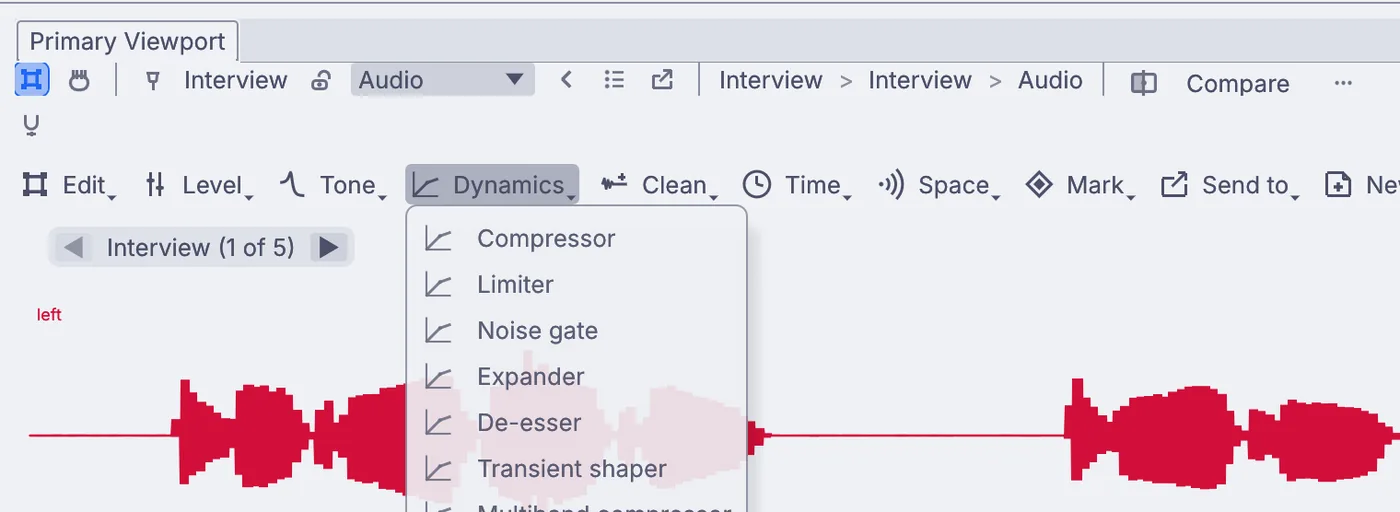
The Dynamics menu: Compressor, Limiter, Noise gate, Expander, De-esser and more. Choose Dynamics > Compressor. Set Ratio to about
3, then raise Makeup gain db in the Properties panel until the level comes back up. Loud and quiet words now sit closer together.Choose Level > Loudness > Normalize to LUFS > -16 LUFS. The readout at the top right of the viewport shows how loud the whole recording feels.
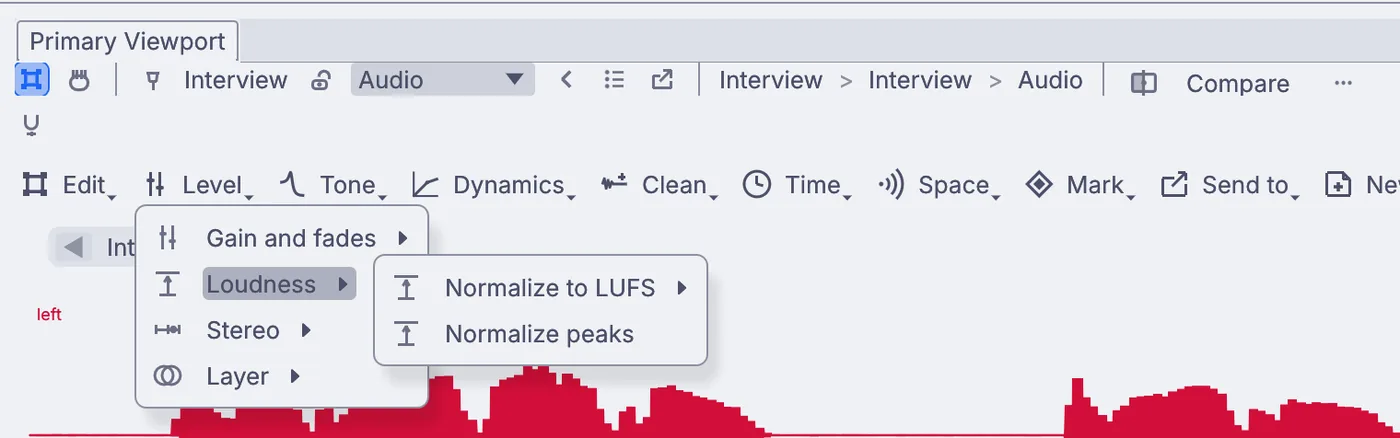
Level > Loudness: Normalize to LUFS and Normalize peaks. Open Window > Panels > Stack and press Compare on the Compressor to hear the difference.
Choose Send to > Save to a sound file..., name it, and press Play on the transport bar to write it.
On the canvas
Each cut is an AudioEditRange node, the trim is AudioTrimSilence, and then come AudioDeEsser, AudioCompressor, AudioNormalize and OutputAudioFile. Loudness always sits near the end, so it is set on the finished sound whatever you add later.
Make it yours
- Clean a noisy room first with Clean > Denoise on a stretch of room tone.
- Set -14 LUFS instead when the episode goes to a music service.
- Add Dynamics > Limiter before the loudness step so no peak clips.
- Lower a music bed under the voice with Dynamics > Duck under a take....