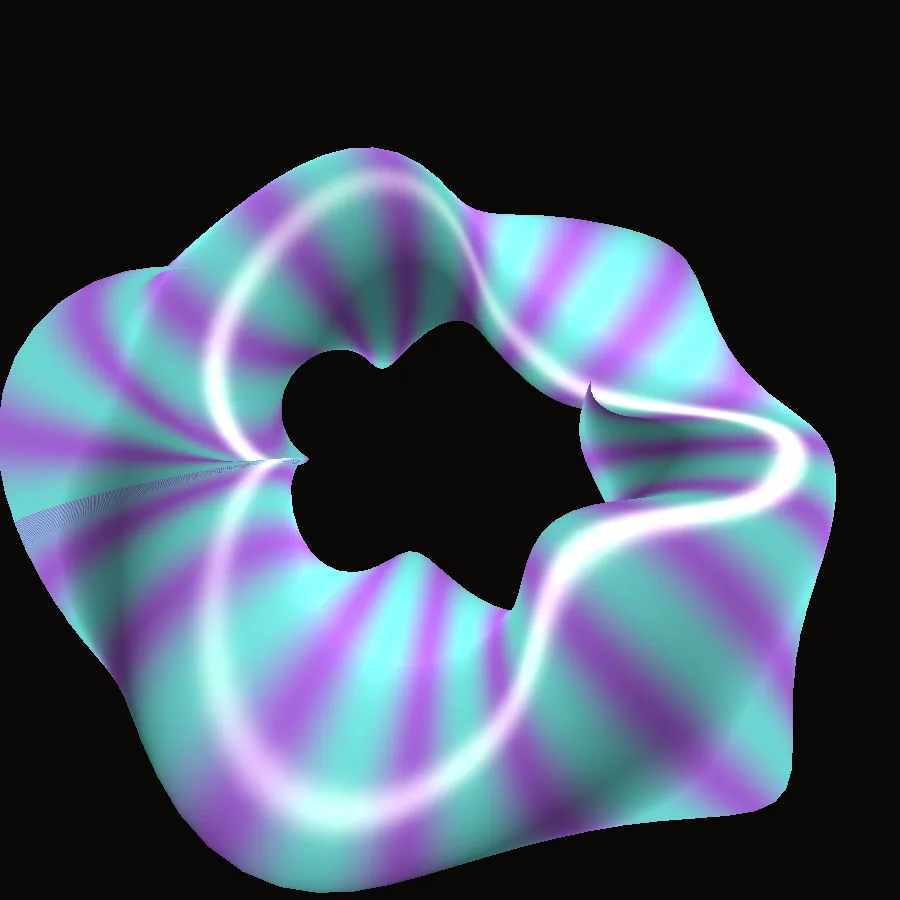
The Twisted Torus gets its metal look from a shader material: a short program that works out the color of every point on the surface. Change a number in it and the torus changes while it spins.
Steps
Choose Help > Browse Demos..., type
twistedin the search box and open Twisted Torus. A copper and gold torus twists and turns in the viewport.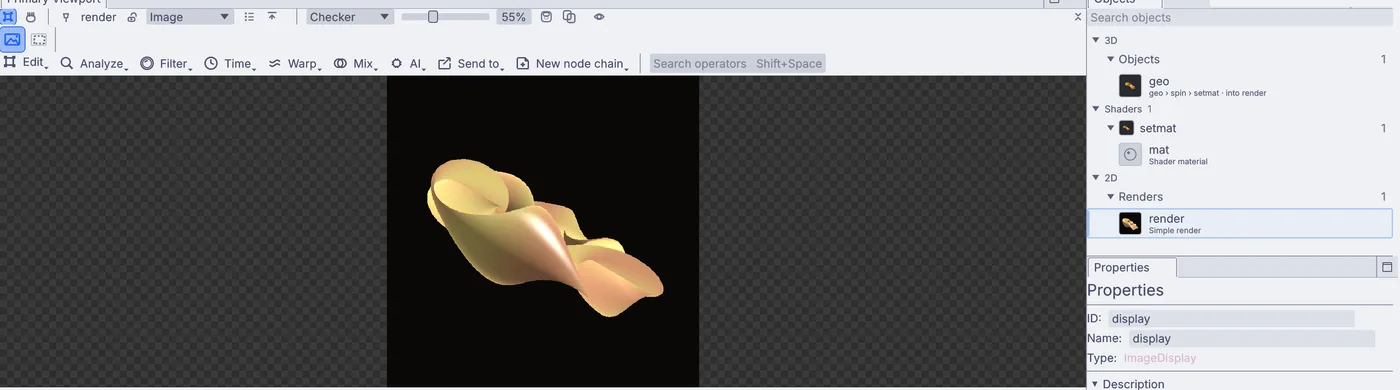
The demo running. The Objects panel lists mat under Shaders and render under Renders. In the Objects panel, under Shaders, click mat. Hover over the viewport and press E, or click Open Shader Editor (E) in Properties. The Shader editor opens on the shader that colors the surface.
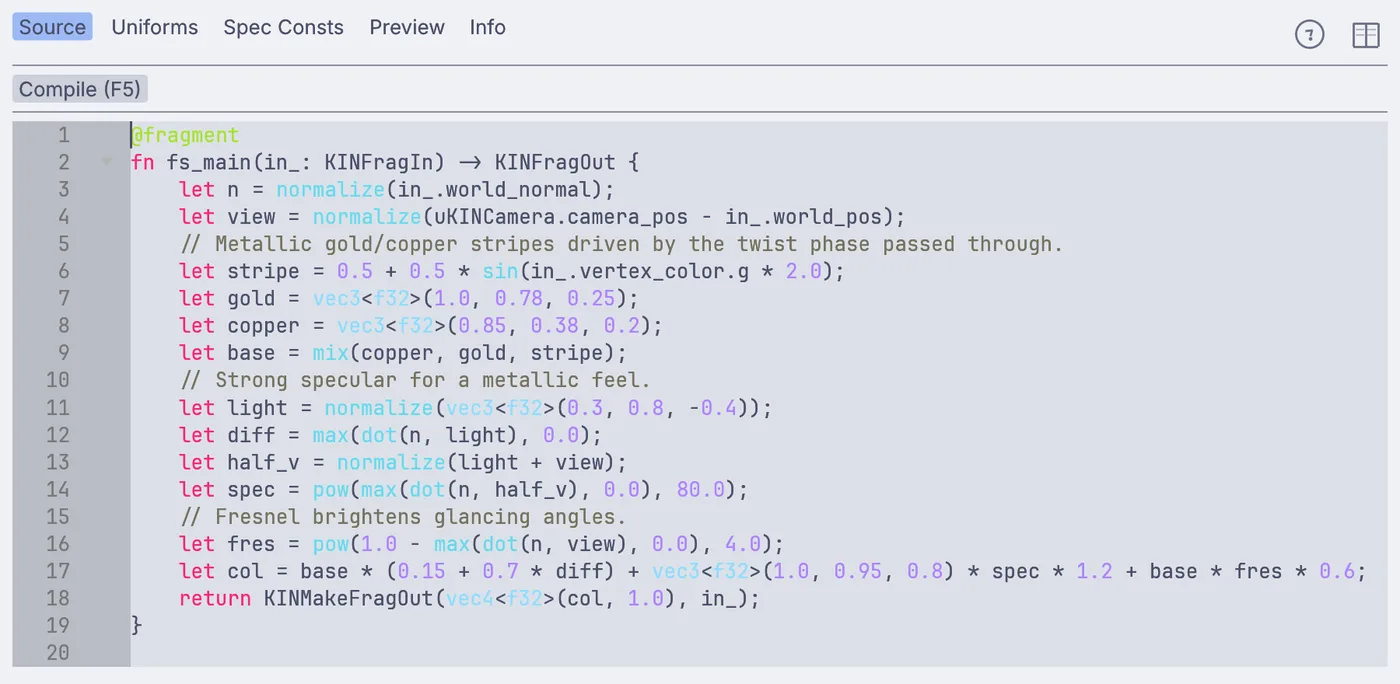
The color shader. Line 6 sets the stripes; lines 7 and 8 hold the two stripe colors. In the Objects panel, under Renders, click render, so the viewport shows the torus again while you edit. Keep the editor open beside it.
Change the two colors. Replace line 7 and line 8 with:
let gold = vec3f(0.2, 0.9, 0.85);
let copper = vec3f(0.45, 0.15, 0.85);
Each color is red, green and blue, from 0 to 1. Press F5. The stripes turn teal and violet while the torus keeps turning.
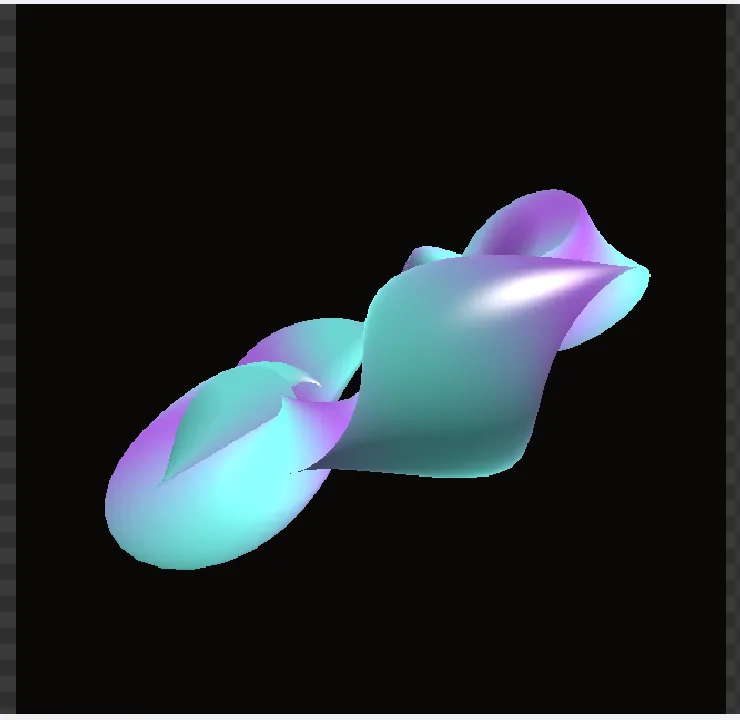
Teal and violet stripes, still following the twist. Add more stripes. On line 6, change
2.0at the end ofsin(in_.vertex_color.g * 2.0)to6.0and press F5. The stripes get thinner and there are three times as many.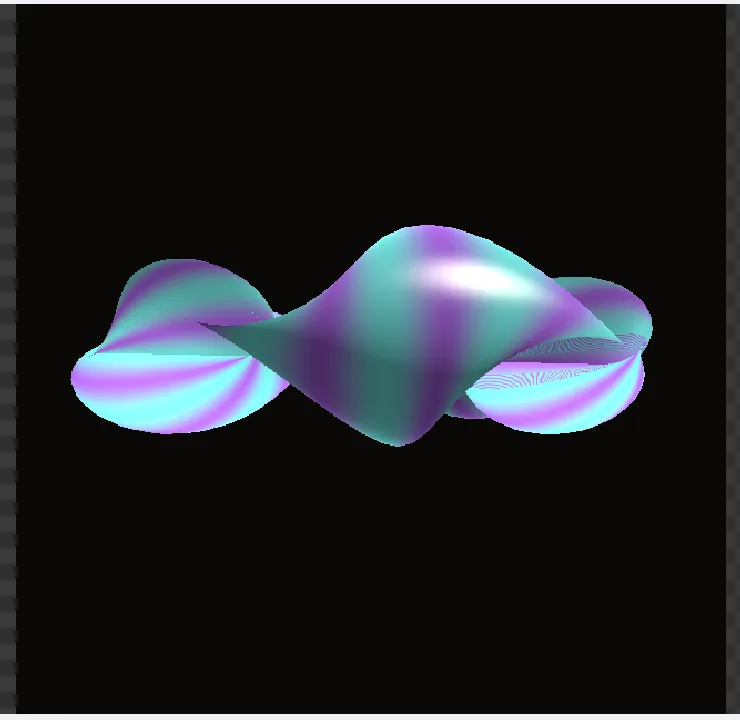
Thinner stripes from one changed number. Try a softer shine: on line 14, change
80.0to20.0and press F5. The bright highlight spreads wider across the surface.Choose File > Save As... and save your version under a new name, so the demo stays as it was.
On the canvas
The demo's 3DGeoTorus is turned by a 3DGeoTransform, then a 3DGeoSetMaterial puts the ShaderMaterial called mat on it. A 3DGeoSimpleRenderToImage named render draws the picture, and your changes are saved in mat's settings.
Make it yours
- Pick your own pair of colors. Two that are far apart, like
vec3f(1.0, 0.3, 0.2)andvec3f(0.1, 0.2, 0.9), show the twist best. - Change
4.0on line 16 to1.5for a strong glow around the edges. - Turn the stripe count into a setting: add a struct with a
stripesfield above the shader, bind it asuKINCustomUserat group 2, binding 12, and useuKINCustomUser.stripesin place of6.0. A stripes value then shows up under Uniforms in Properties. - Open Help > Shaders > API Reference to see every helper the shader can call.
If it goes wrong
- The torus does not change after F5: look at the editor's Info tab. If the code has a mistake, the torus keeps its last working look until you fix it.
- The viewport shows a small preview instead of the torus: click render under Renders in the Objects panel.