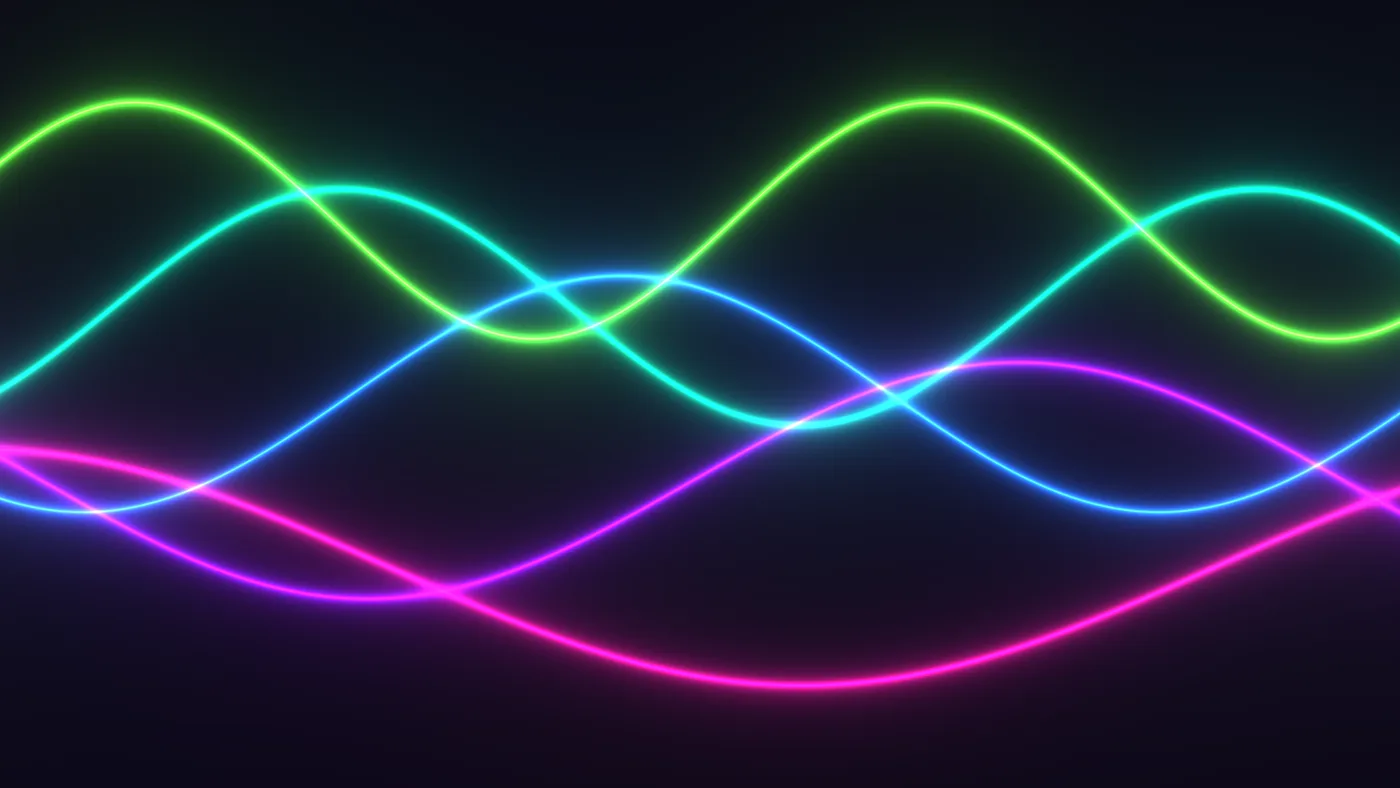
Most Shadertoy shaders run in Kinematic with no changes at all. The Custom shader only needs to know two things: the code is GLSL, and it is written the Shadertoy way, with a mainImage function.
Steps
Click New Project. On the start card, under 2D, click Create an image. A dark gray picture fills the viewport. The shader will draw over it at its size, 1920 by 1080.
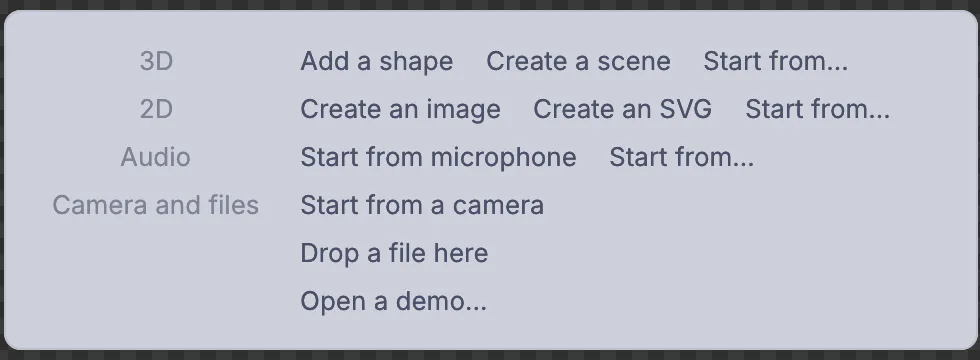
The start card. Create an image is under 2D. Open Filter > Code and kernels > Custom shader. The shader goes in after the picture. It starts out passing the picture through, so the view stays gray.
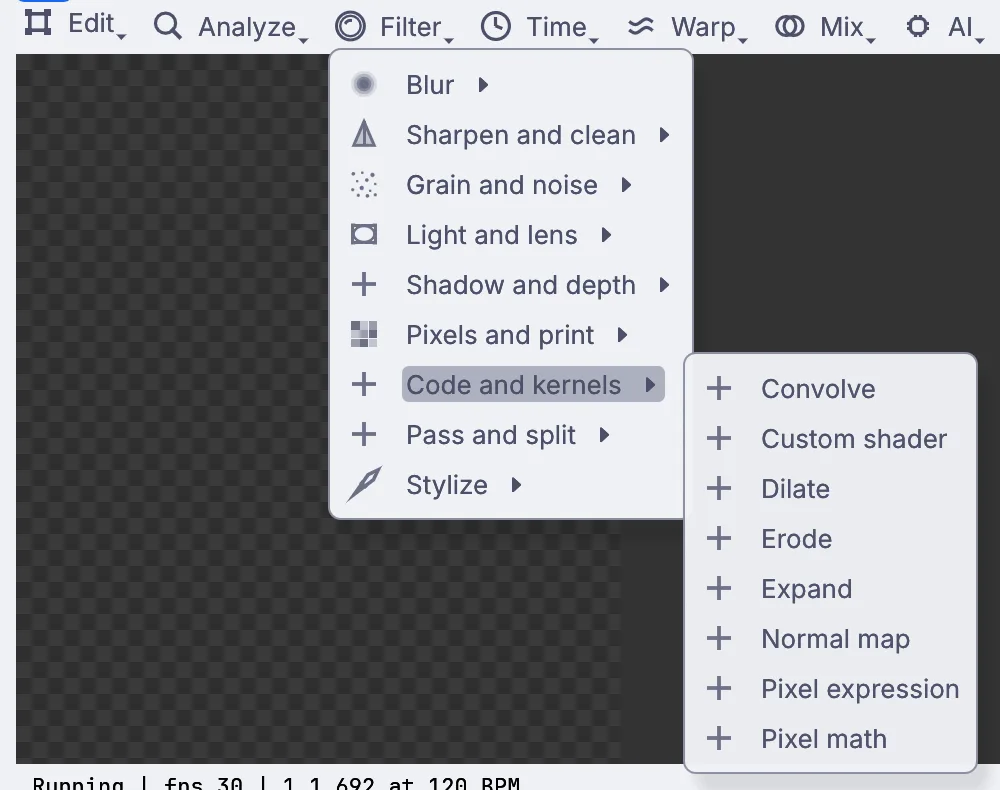
Filter > Code and kernels holds the Custom shader. In Properties, under Configuration, type
shadertoyin the filter box and tick Shadertoy compat. Then typelanguagein the filter box and set Language toglsl. The view stays gray until you paste your shader.
Type in the filter box to find a setting fast. Hover over the viewport and press E. The Shader editor opens on the Source tab.
Click in the code, select all of it with Ctrl+A (Cmd+A on a Mac) and paste this over it:
// Glowing ribbons that sway across the screen.
void mainImage(out vec4 fragColor, in vec2 fragCoord)
{
    vec2 uv = (fragCoord*2.0-iResolution.xy) / iResolution.y;
    vec3 col = vec3(0.02, 0.01, 0.05);
    for (int i = 0; i < 5; i++) {
        float fi = float(i);
        float wave = 0.3 * sin(uv.x * (1.5 + fi * 0.4) + iTime * (0.6 + fi * 0.15) + fi * 1.7);
        float d = abs(uv.y-wave+0.22*fi-0.44);
        vec3 tint = 0.5 + 0.5 * cos(6.2831 * (fi * 0.15 + vec3(0.0, 0.33, 0.67)) + iTime * 0.3);
        col += tint * 0.012 / (d + 0.004);
    }
    fragColor = vec4(col, 1.0);
}
Press F5, or click Compile (F5). Five ribbons of light start to sway. Any Shadertoy that only reads
iTime,iResolutionandfragCoordpastes in the same way.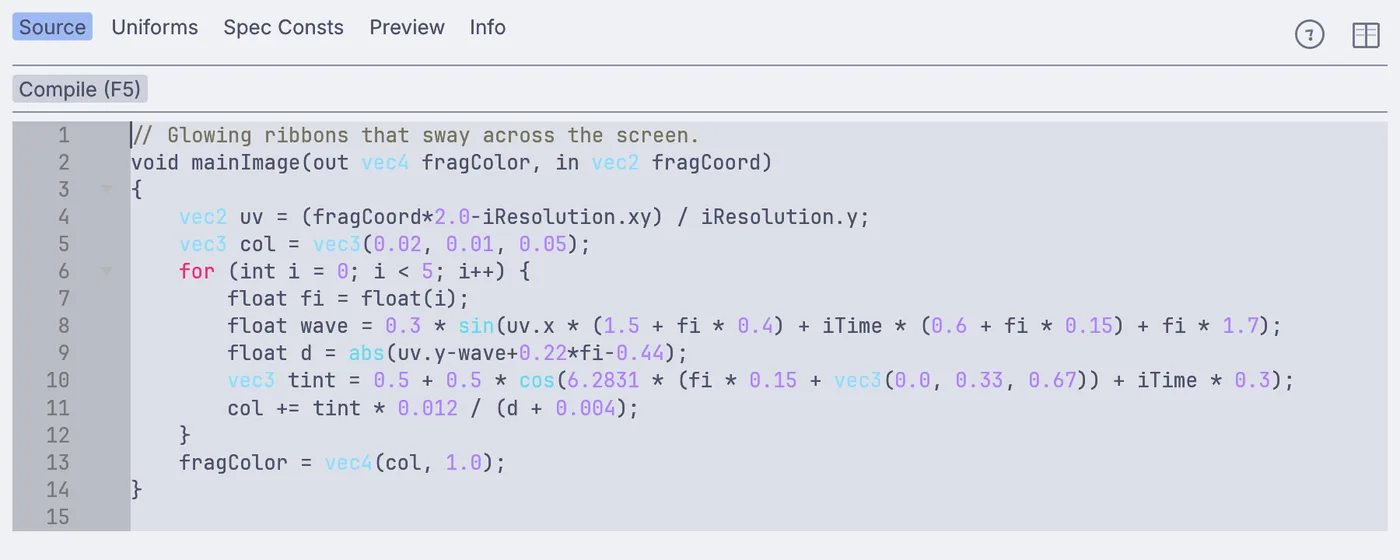
The pasted shader in the Shader editor. The status line at the bottom says GLSL. Now add two sliders. Paste this block at the very top of the code, above
mainImage:layout(set = 0, binding = 23) uniform Params { // @range(0, 3) @default(1) float speed; // @range(0.004, 0.03) @default(0.012) float glow; } uKINUser;The comment above each value sets its slider's range and starting value.
Put the values to work. Add
float t = iTime * uKINUser.speed;as the second line insidemainImage, change bothiTimein the loop tot, and change0.012in the last line of the loop touKINUser.glow. Press F5.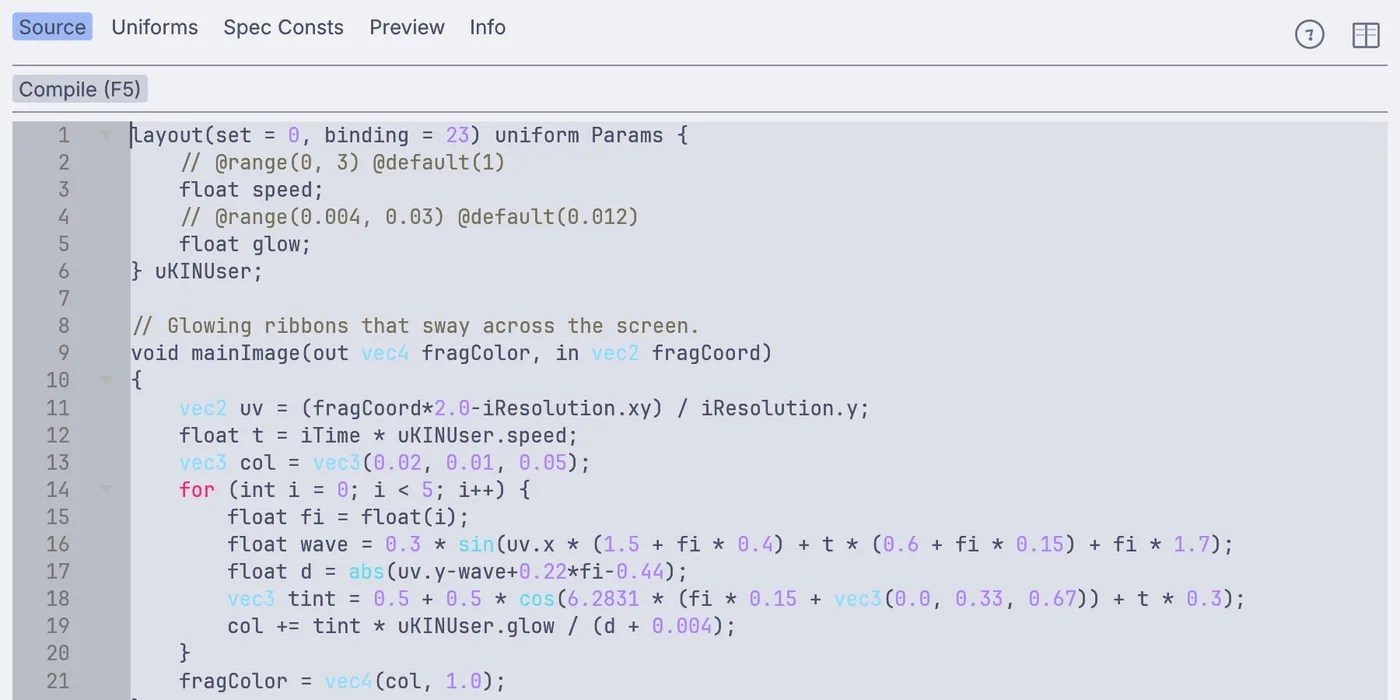
The finished code: the block of two values at the top, and t and uKINUser.glow in use below. Click the Uniforms tab in the editor. speed and glow each have a slider. Drag them while you watch the viewport: speed changes how fast the ribbons sway, glow how wide and bright they shine.
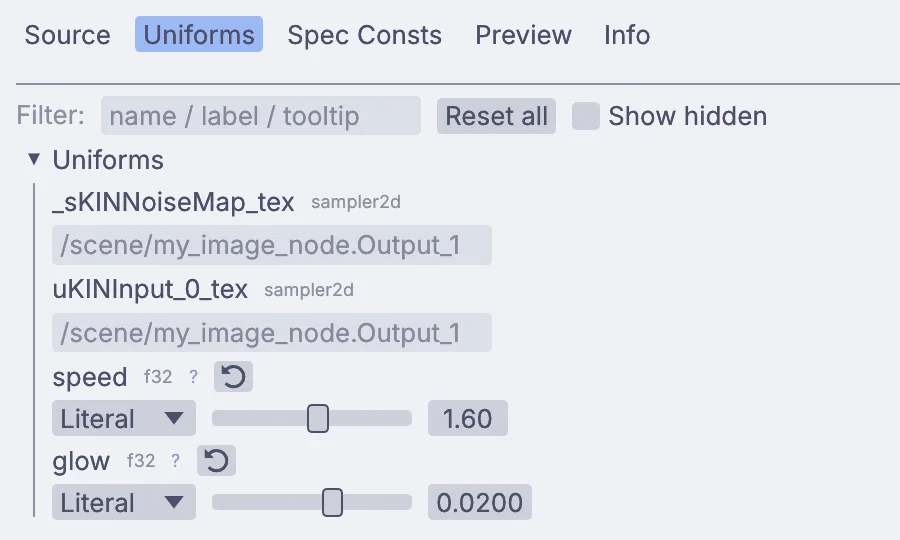
The Uniforms tab with a slider for speed and one for glow. 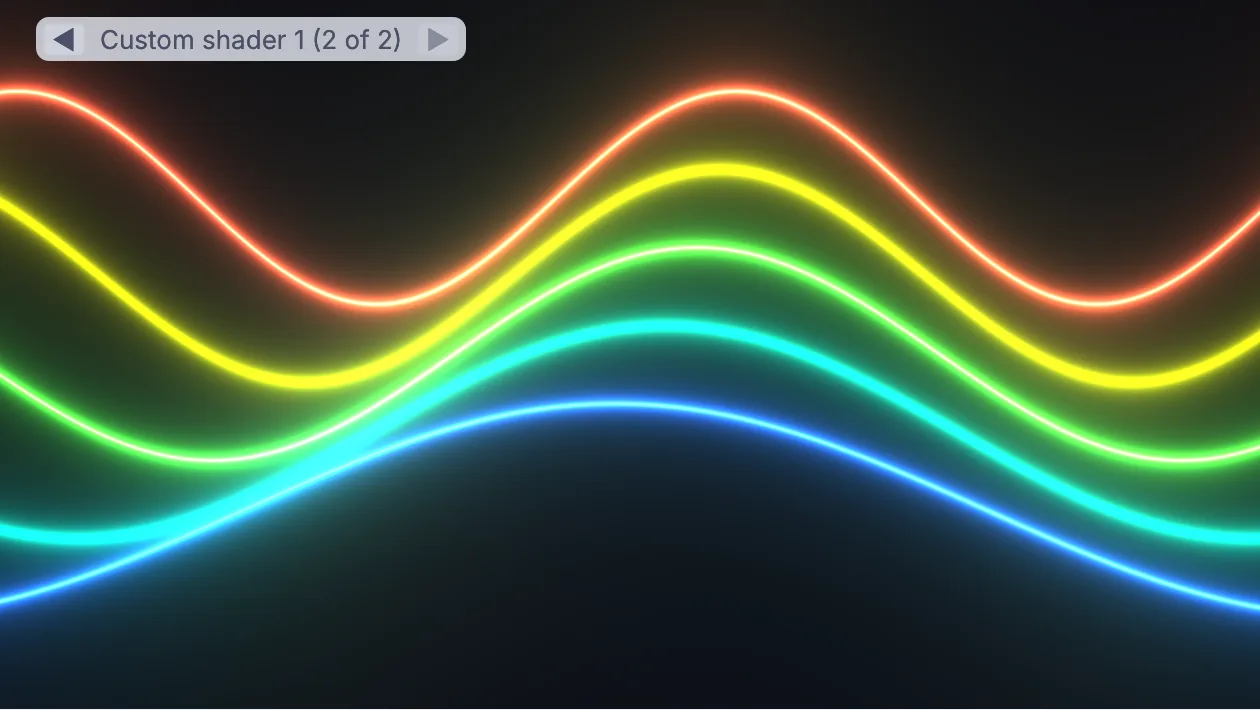
Faster and brighter after a drag on both sliders. Save with File > Save.
On the canvas
An ImageSolidColor makes the gray picture and the ImageShader draws on top of it. Your code and both slider values are saved in the shader's settings, so the file carries everything.
Make it yours
- Change
vec3(0.0, 0.33, 0.67)tovec3(0.0, 0.1, 0.2)for a different set of colors. - Add a third value to the block, such as
float waves;with// @range(1, 4) @default(1.5), and use it in place of1.5in thewaveline. - Make the picture square: click the Solid color in the Objects panel and set its Width and Height to
1080. The shader follows its size. - See six more Shadertoy style scenes in the Shadertoy Gallery demo under Help > Browse Demos....
If it goes wrong
- The view stays gray: the shader did not compile, and the last picture that worked stays up. Check that Language is
glsland Shadertoy compat is ticked. The Info tab in the editor names the line with the problem. - A Shadertoy that reads a texture with
texture(iChannel0, uv)needsKINInput(0u, uv)in its place.