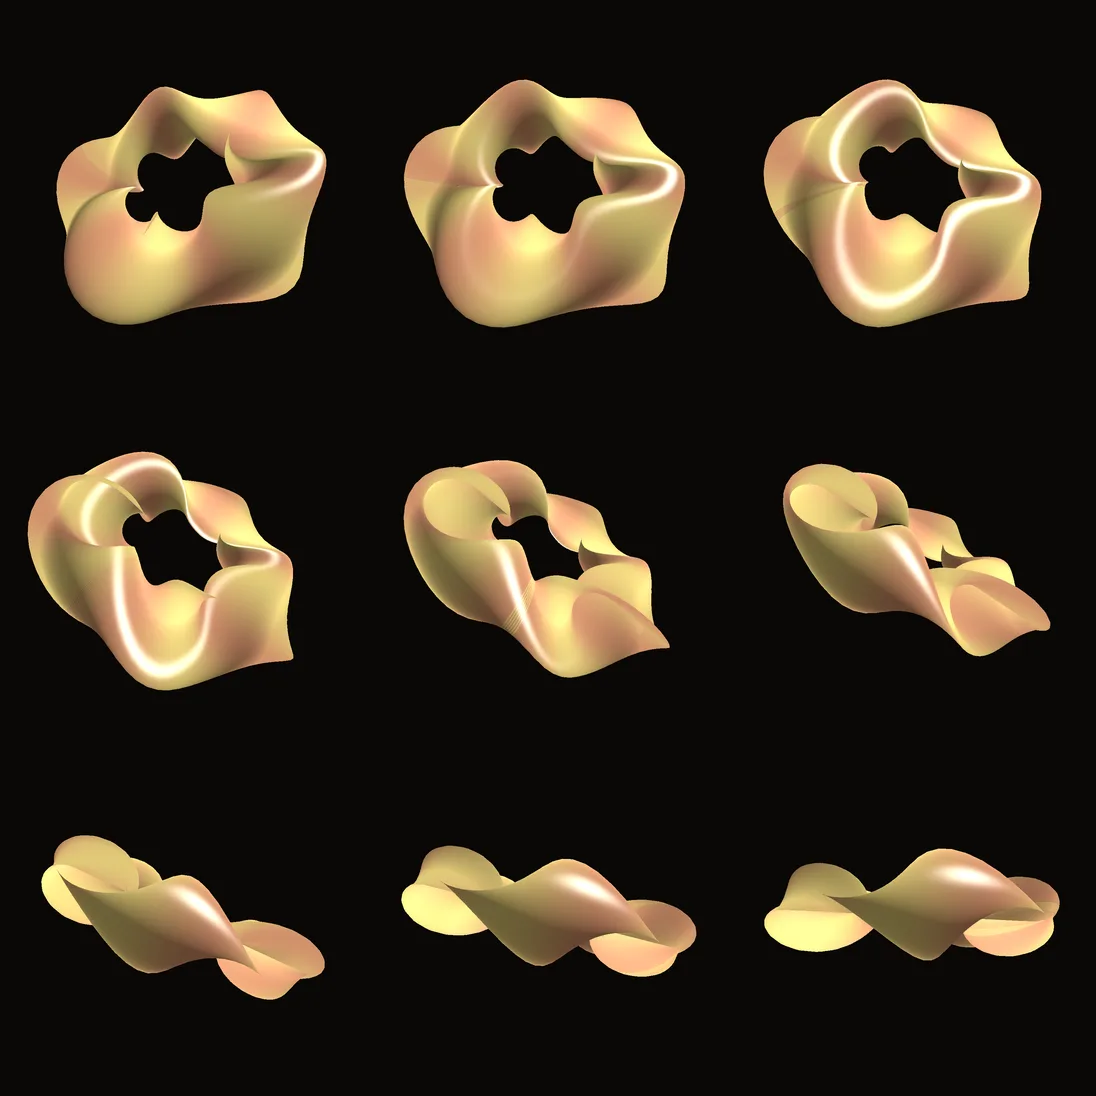
Kinematic can run any graph with no window at all and write what it makes to files. That is handy for long renders, for a machine with no screen, or for a script that makes many versions.
Steps
Choose Help > Browse Demos..., type
twistedin the search box and open Twisted Torus.Choose File > Save As.... Make a new folder called
renderson your desktop and save the graph in it astwisted_torus.kin.Open a terminal and go to that folder:
cd ~/Desktop/renders
On a Mac, the command lives inside the app. Give it a short name for this terminal window:
alias kinematic=/Applications/Kinematic.app/Contents/MacOS/Kinematic
On Linux,
kinematicis ready to use. On Windows, it iskinematic.exein thebinfolder where you installed Kinematic (C:\Program Files\Kinematic\binunless you chose another place).Ask for the plan first.
--planworks out the render and prints it without making anything:kinematic render twisted_torus.kin --out "frames/torus_{frame:04}.png" --frames 120 --resolution 1080x1080 --plan
It shows what it will record, the size, the frame rate and where the files go:
sink       __render_sink (OutputImageFile, added)
producer   render (3DGeoSimpleRenderToImage) port Image
size       1080 x 1080
fps        30
frames     120
format     from the graph
engine     auto
clock      wall
duration   4.00 s
size est   unknown (the sink has no bitrate_kbps)
file       frames/torus_{frame:04}.png
The torus has no file writer of its own, so the render adds one for this run only. Your file is not changed.
Run the same command without
--plan. Kinematic plays the graph with no window and makes theframesfolder as it goes. Some lines may scroll past; when the prompt comes back, it is done. On a recent laptop that takes a few seconds.Open the
framesfolder. It holdstorus_0000.png,torus_0001.pngand on, one picture for every frame.{frame:04}in the name is the frame number, padded to four digits.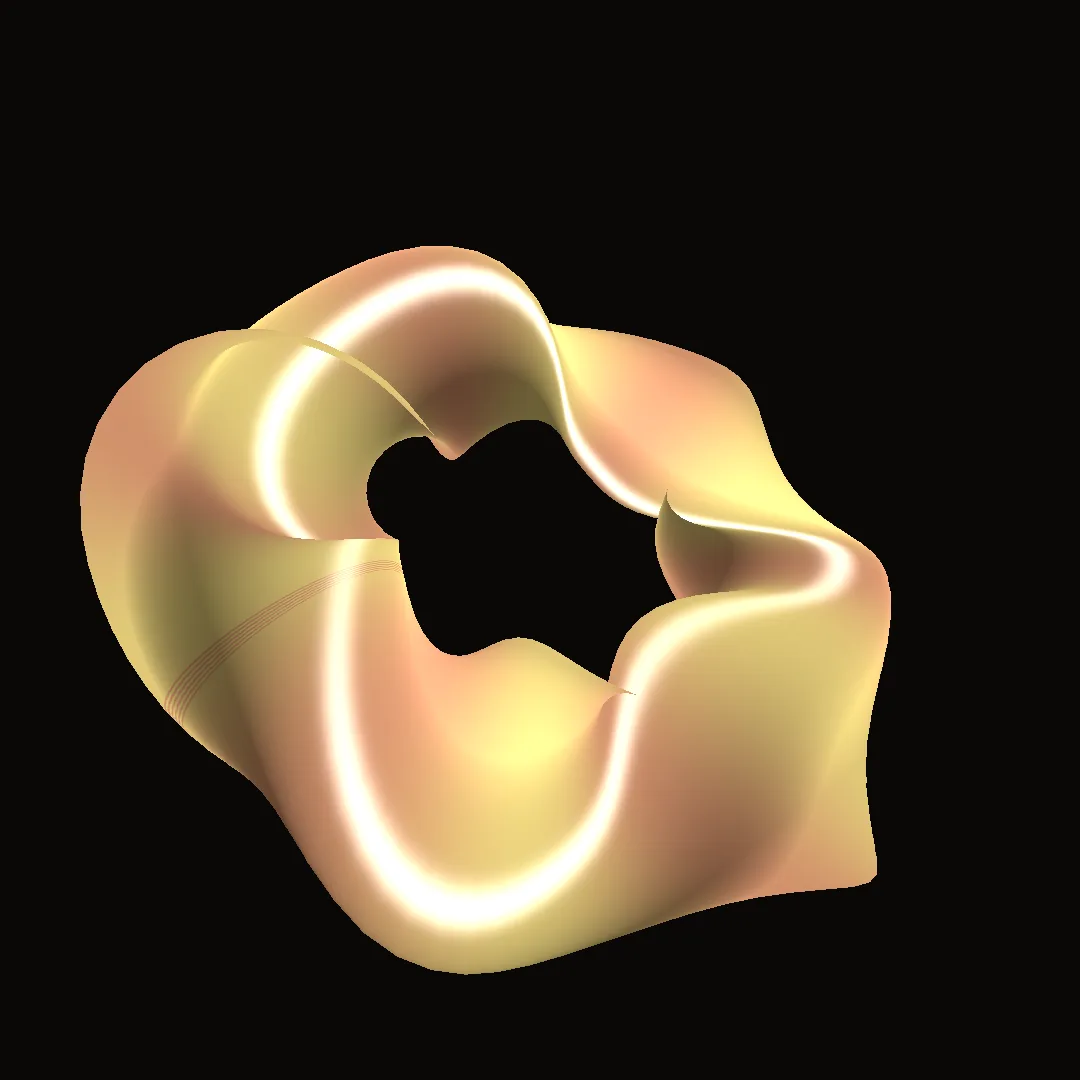
One frame from the folder, at full size. For the full list of what
rendercan do, runkinematic render --help.
On the canvas
Nothing on the canvas changes. The demo draws its picture with a 3DGeoSimpleRenderToImage called render, and for this run only the command adds an OutputImageFile that saves each frame.
Make it yours
- Render wide:
--resolution 1920x1080. - Render ten seconds instead of four:
--frames 300. - Render your own graph the same way. When the picture you want comes from a 2D node, name it with
--render-nodeand its picture output with--port, for example--render-node toy --port Output_1. The ID in Properties is the name to use. - Always try
--planfirst: it costs nothing and shows exactly what the render will do.
If it goes wrong
command not found: on a Mac, run thealiasline again in the same terminal window.- "this graph has no output-file node and nothing that makes a picture": the graph's picture comes from a 2D node. Add
--render-nodeand--portas in Make it yours.