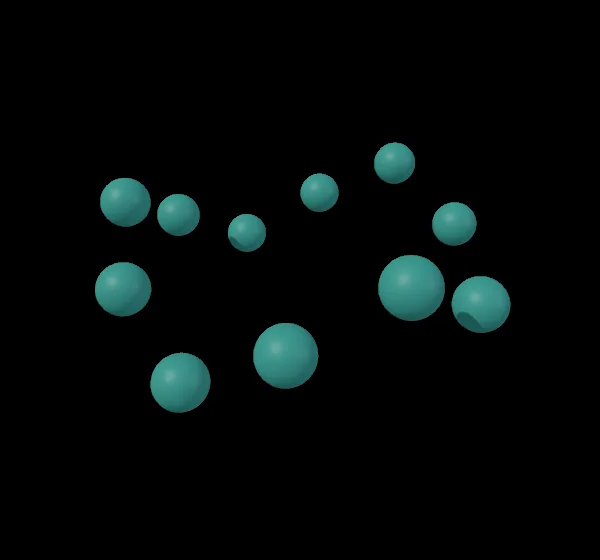
A script can do anything you can do with the mouse, many times over. This one adds twelve spheres, moves each one to its place on a circle and joins them into one object.
Steps
Click New Project.
Press Ctrl+Shift+E. The Python Script Editor opens in a window of its own.
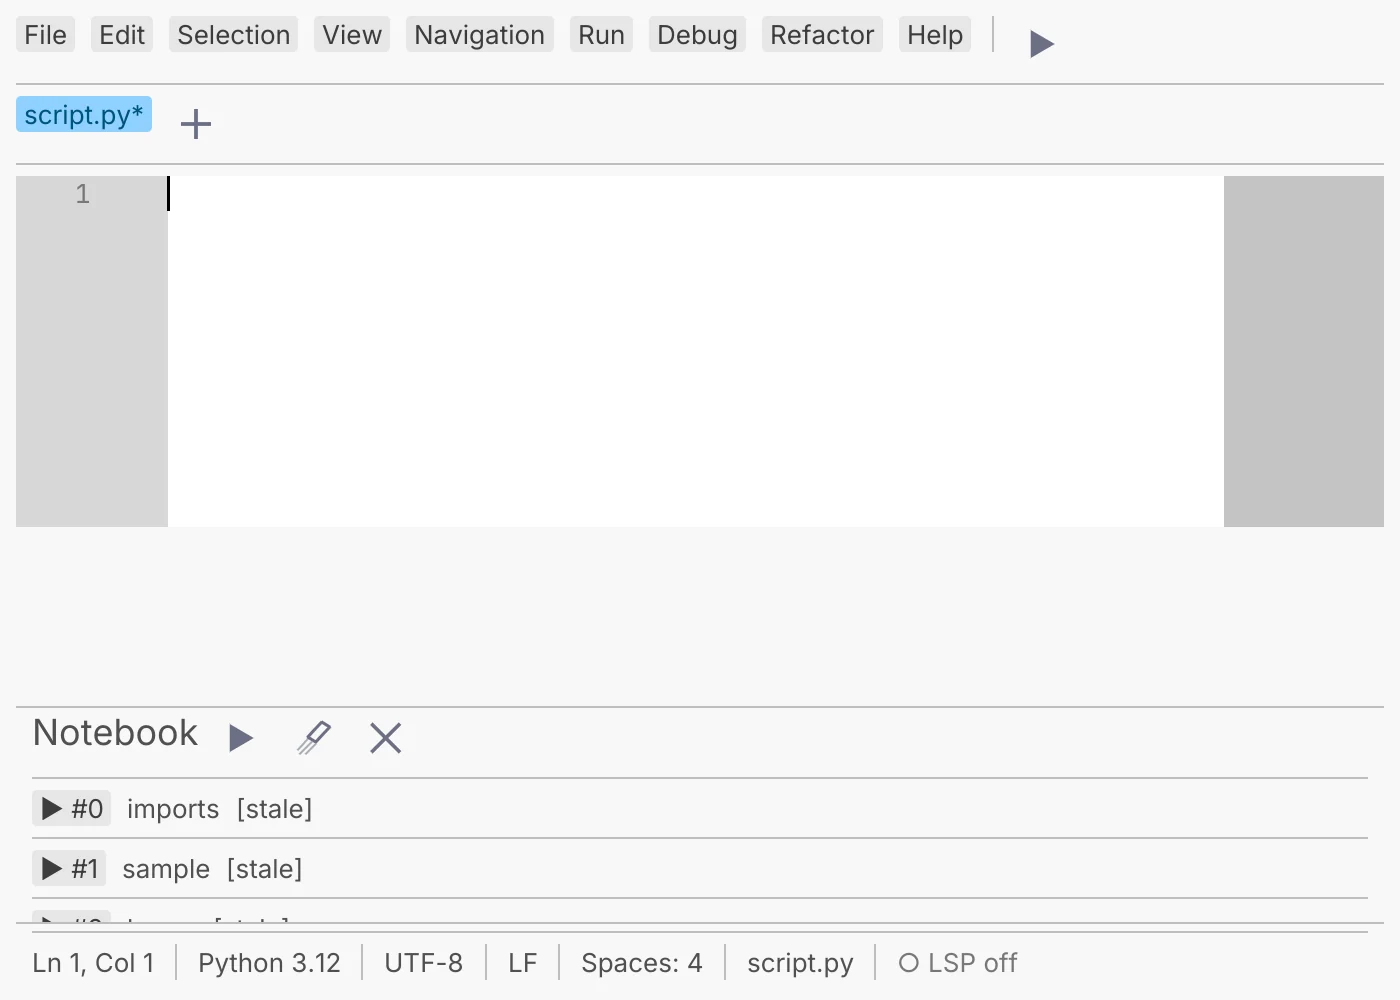
The Python Script Editor: the code at the top, Run and Debug in its menu, and the play button for Run Script. Click in the code, select all of it with Ctrl+A (Cmd+A on a Mac) and paste this script over it:
import math
import kinematic.graph

g = kinematic.graph.current()
count = 12
ring = g.create_node("3DGeoMerge", position=(800, 600), config={"num_inputs": count})

for i in range(count):
    angle = i / count * math.tau
    ball = g.create_node("3DGeoSphere", position=(i % 2 * 320, i // 2 * 260), config={
        "radius": 0.2,
        "t_tx": math.cos(angle) * 1.5,
        "t_tz": math.sin(angle) * 1.5,
        "t_ty": math.sin(angle * 3) * 0.4,
    })
    g.connect(ball, "Geometry_Out", ring, f"Geometry_In_{i + 1}")

print(f"Made {count} spheres and joined them in {ring.id}")
Choose Run > Run Script, or press F5. The script adds a Merge node with twelve inputs, then twelve spheres. Each sphere gets a radius and a place on the circle (
t_tx,t_tzandt_tyare its Move X, Move Z and Move Y), and each one is wired into the Merge.In the main window's Objects panel, click Merge 1. The viewport shows the whole ring, rising and falling three times as it goes around.
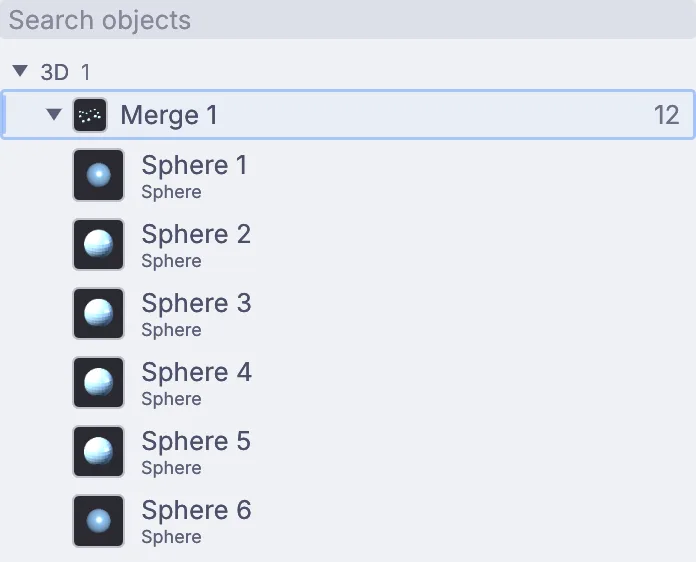
Merge 1 holds all twelve spheres in the Objects panel. Color it. Open Surface > Material > New PBR material. In the Objects panel, under Materials, click the new material, then in Properties click the hex box beside Base color, type
#3FA7A0and press Enter.Hover over the viewport and press Shift+H to hide the handles. Save with File > Save.
On the canvas
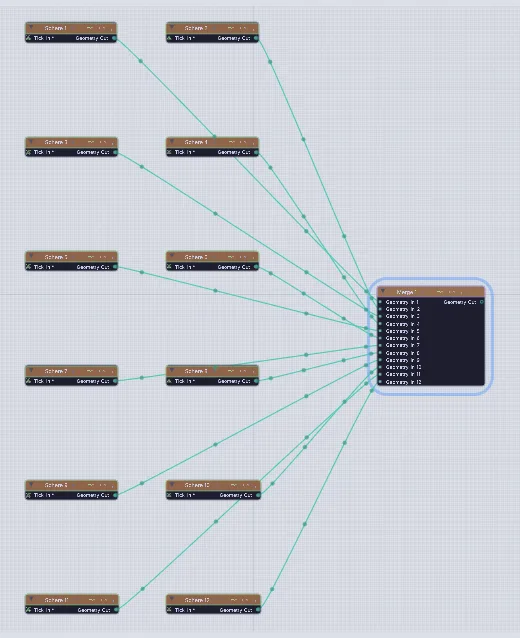
The script added a 3DGeoMerge and twelve 3DGeoSphere nodes, each wired into its own Merge input, and your color step added a PbrMaterial and a 3DGeoSetMaterial after the Merge. The position values in the script lay the spheres out in two neat columns.
Make it yours
- Change
count = 12to24and"radius": 0.2to0.1, open a new tab with the + beside the tab name, and run the script there. - Change
angle * 3toangle * 5for five waves around the ring. - Swap
3DGeoSpherefor3DGeoTorus, and"radius": 0.2for"major_radius": 0.2, "minor_radius": 0.06, for a ring of rings. - Go further with Help > Python > Script Templates, which has worked examples to start from.
If it goes wrong
- Nothing appears in the viewport: click Merge 1 in the Objects panel. The viewport shows the object you pick.
- Running the script twice makes a second ring on top of the first. Start a new tab before you run it again.