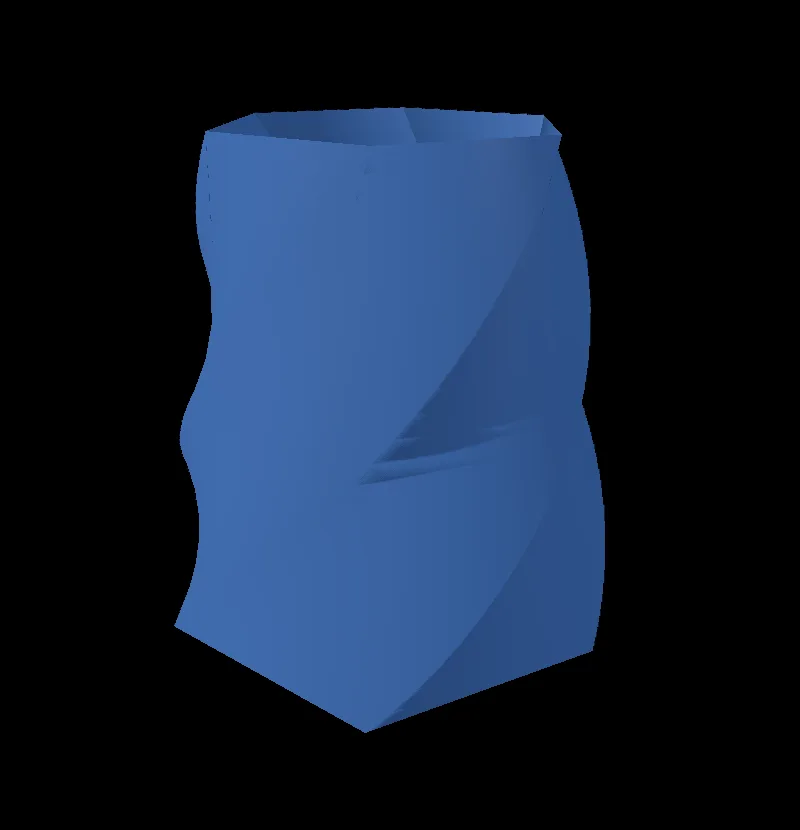
A plain cylinder becomes a vase in a few moves. Each move stays editable, so you can come back and twist it further.
Steps
Click New Project on the start screen. On the viewport's start card, click Add a shape and pick Cylinder.
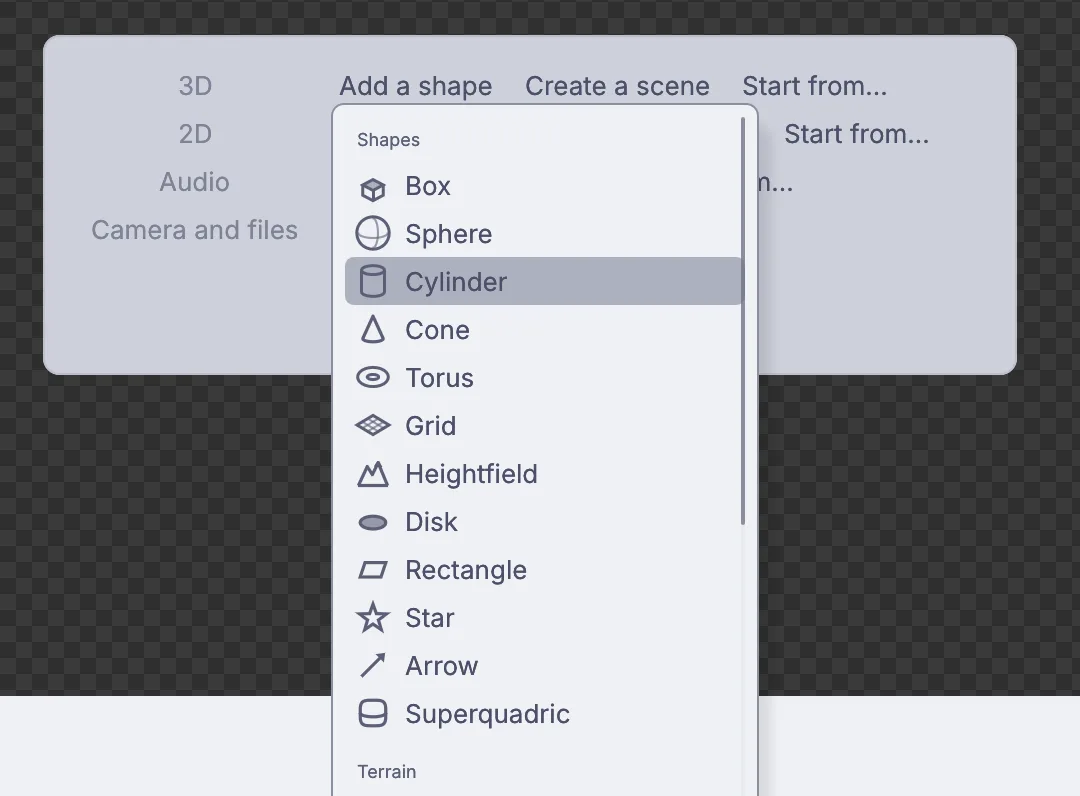
Cylinder in the Add a shape menu. The card on the right holds the cylinder's settings. Click Around, type
6and press Enter for six flat sides. Click Along, type24and press Enter, so the sides have room to bend smoothly.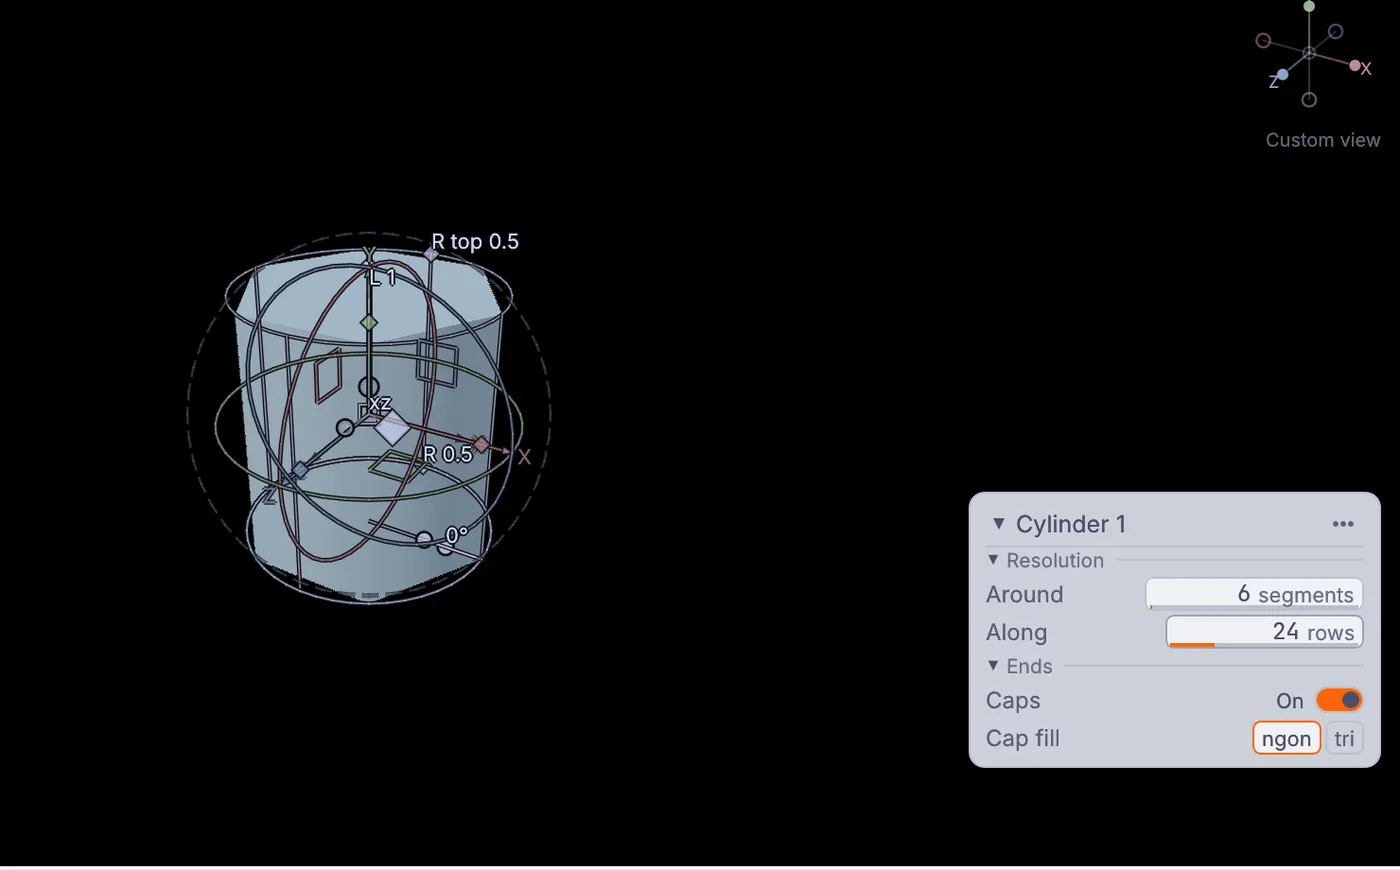
Around set to 6 and Along to 24. Drag in the empty space around it to see the top. Click Faces, the filled square among the small pick buttons near the top left of the viewport, then click the top. Open Shape and choose Inset region.
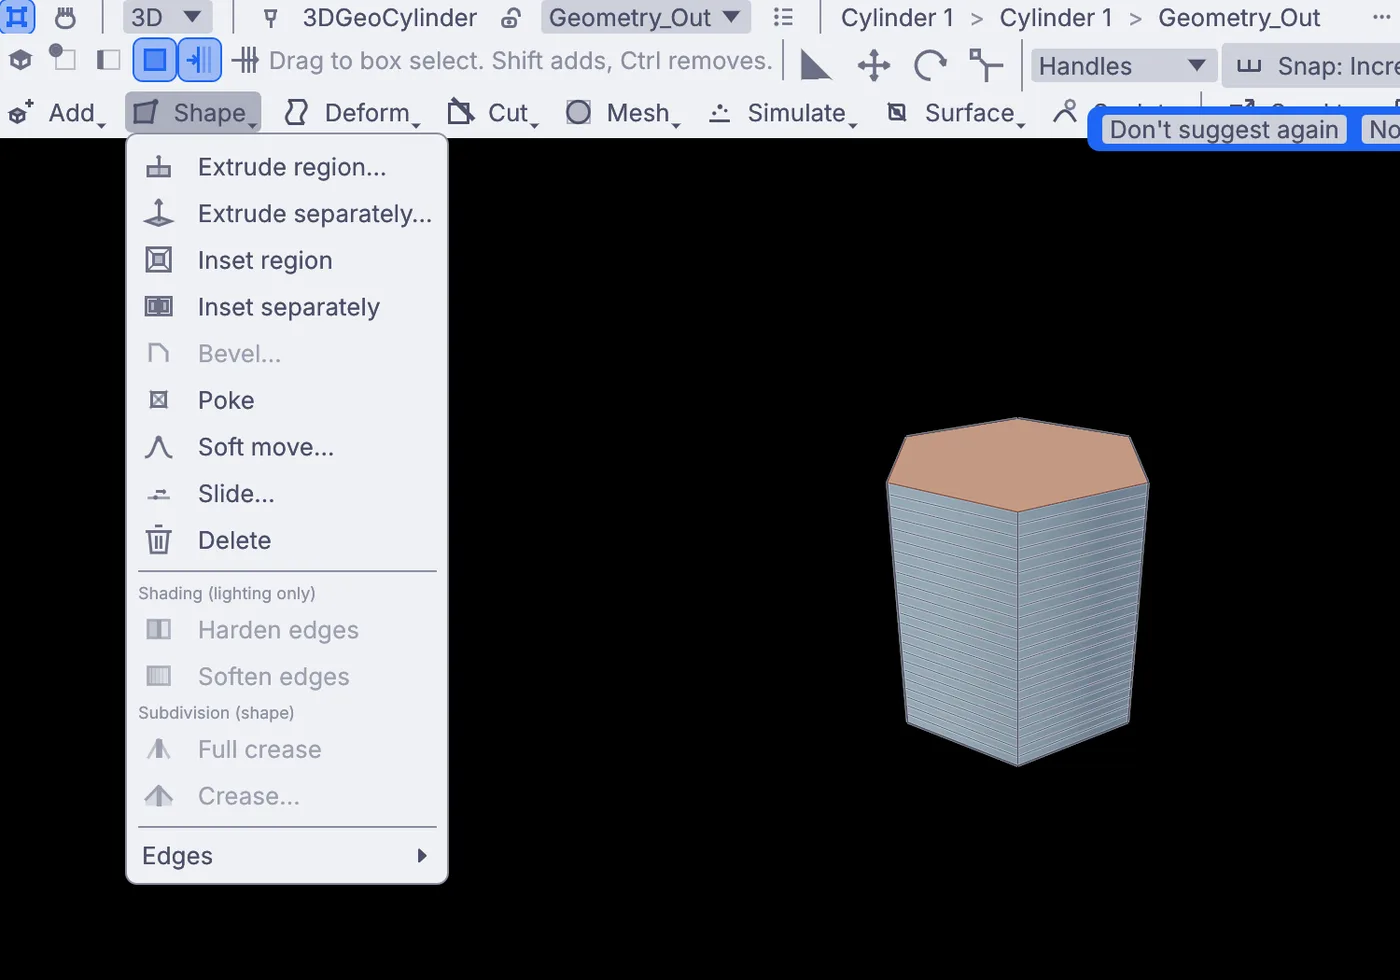
The top picked, and Inset region in the Shape menu. The card now shows the inset. Set Thickness to
0.06for a thin rim, then set Depth to-0.85. The middle of the top sinks deep into the vase.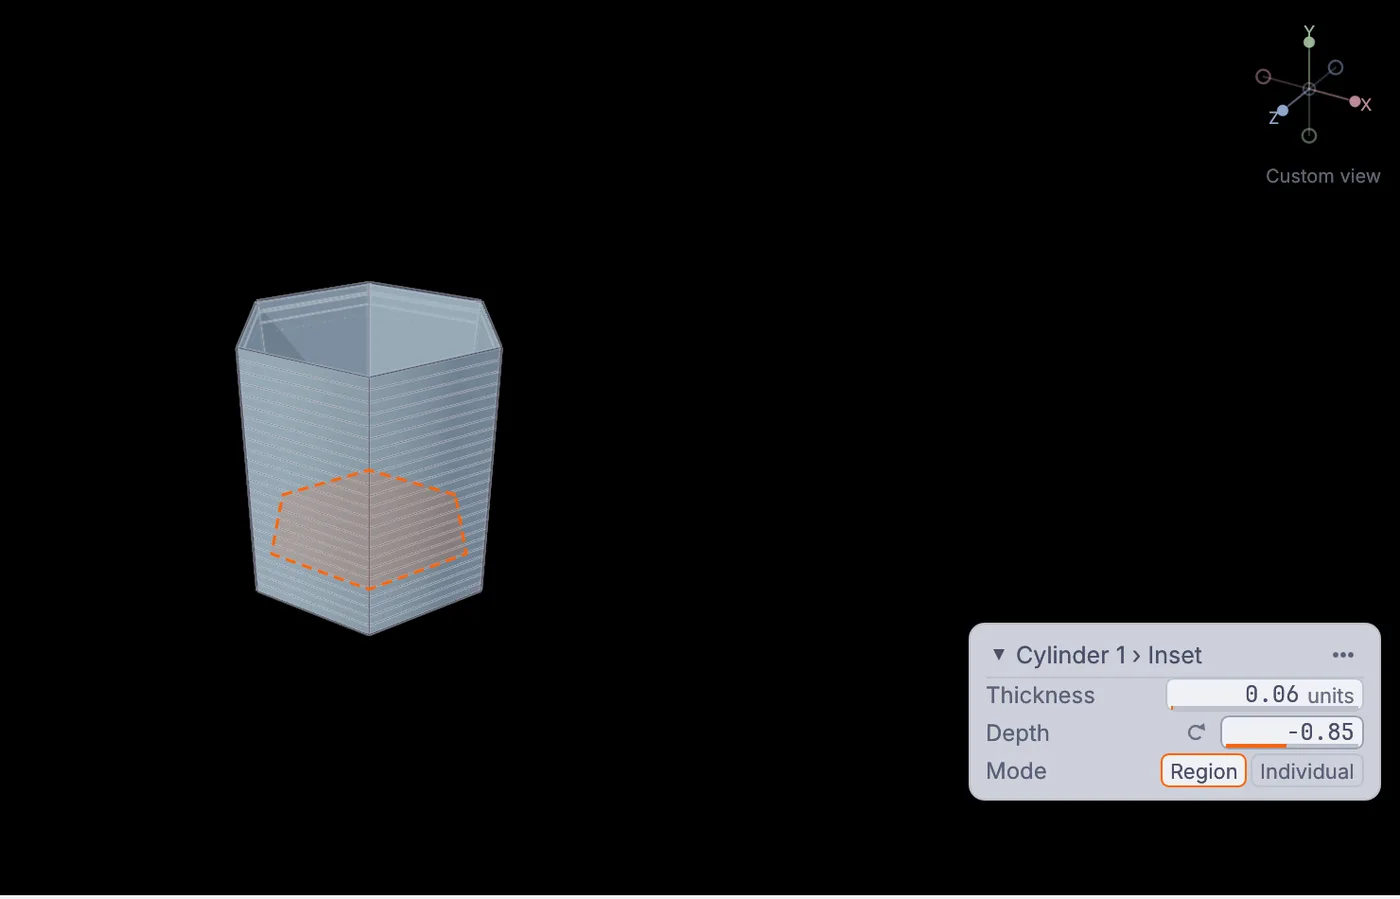
The opening, pushed down inside the vase. Click Object, the first pick button, so the next tools work on the whole vase. Open Deform, choose Taper... and, on the card, type
0.3beside Taper and press Enter. The top pulls in.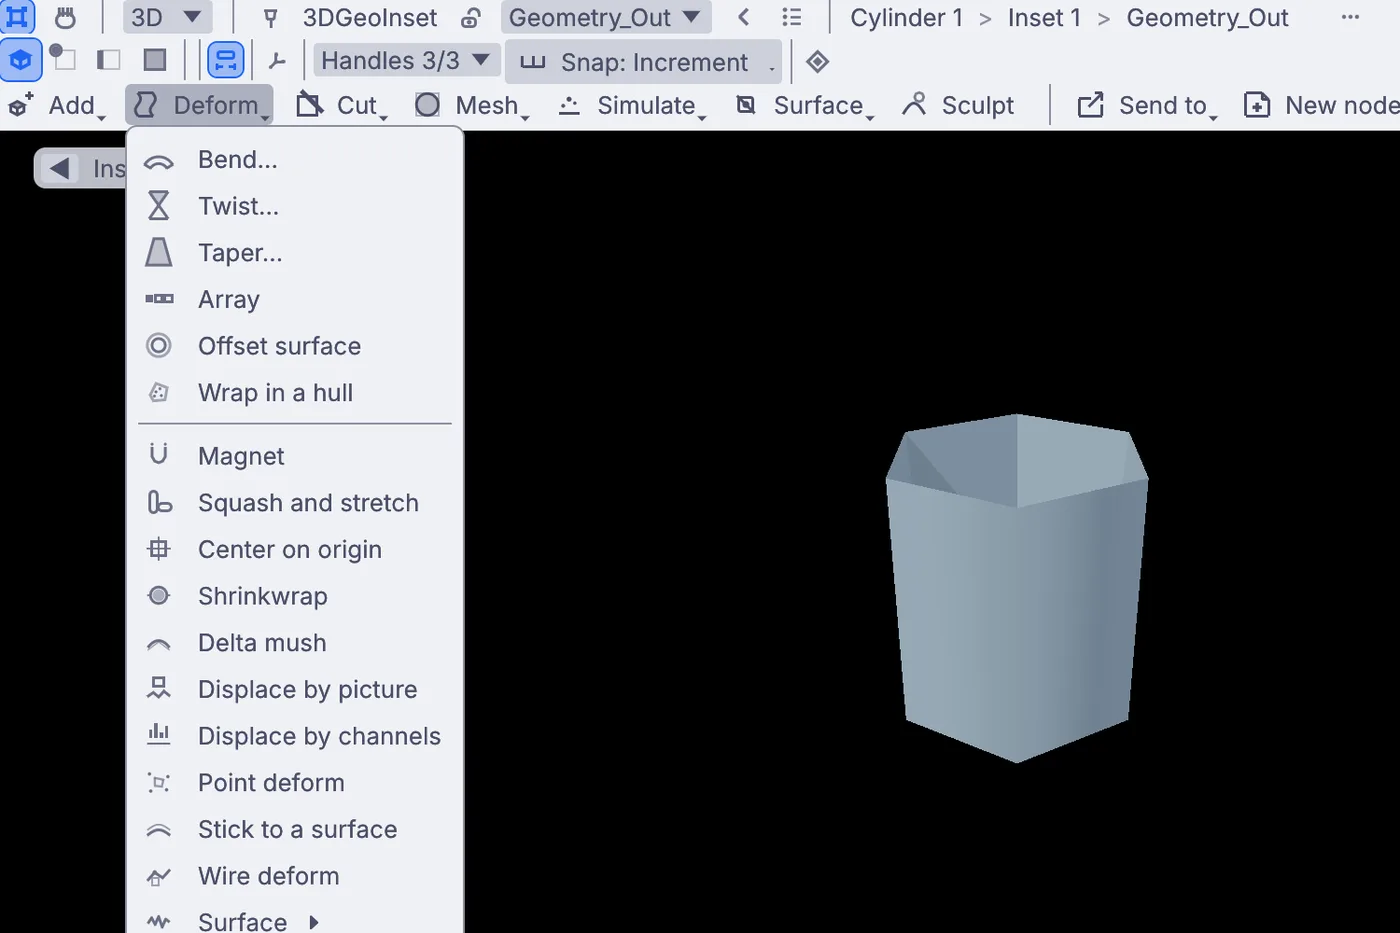
The Deform menu, with Bend, Twist and Taper at the top. 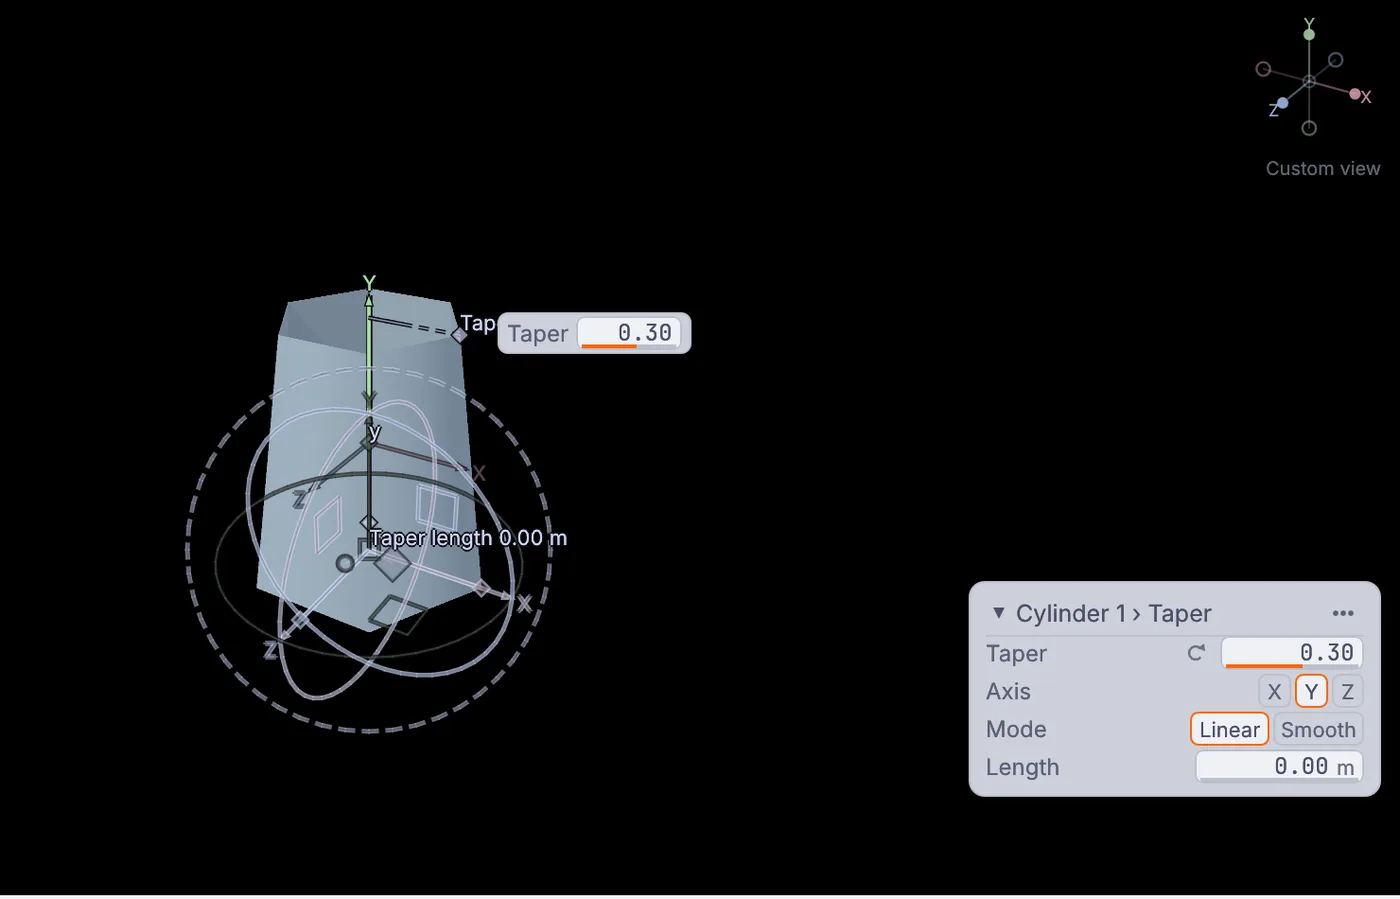
Taper set to 0.3. Open Deform again, choose Twist... and type
120beside Twist and press Enter. The six sides wind around the vase a third of a turn.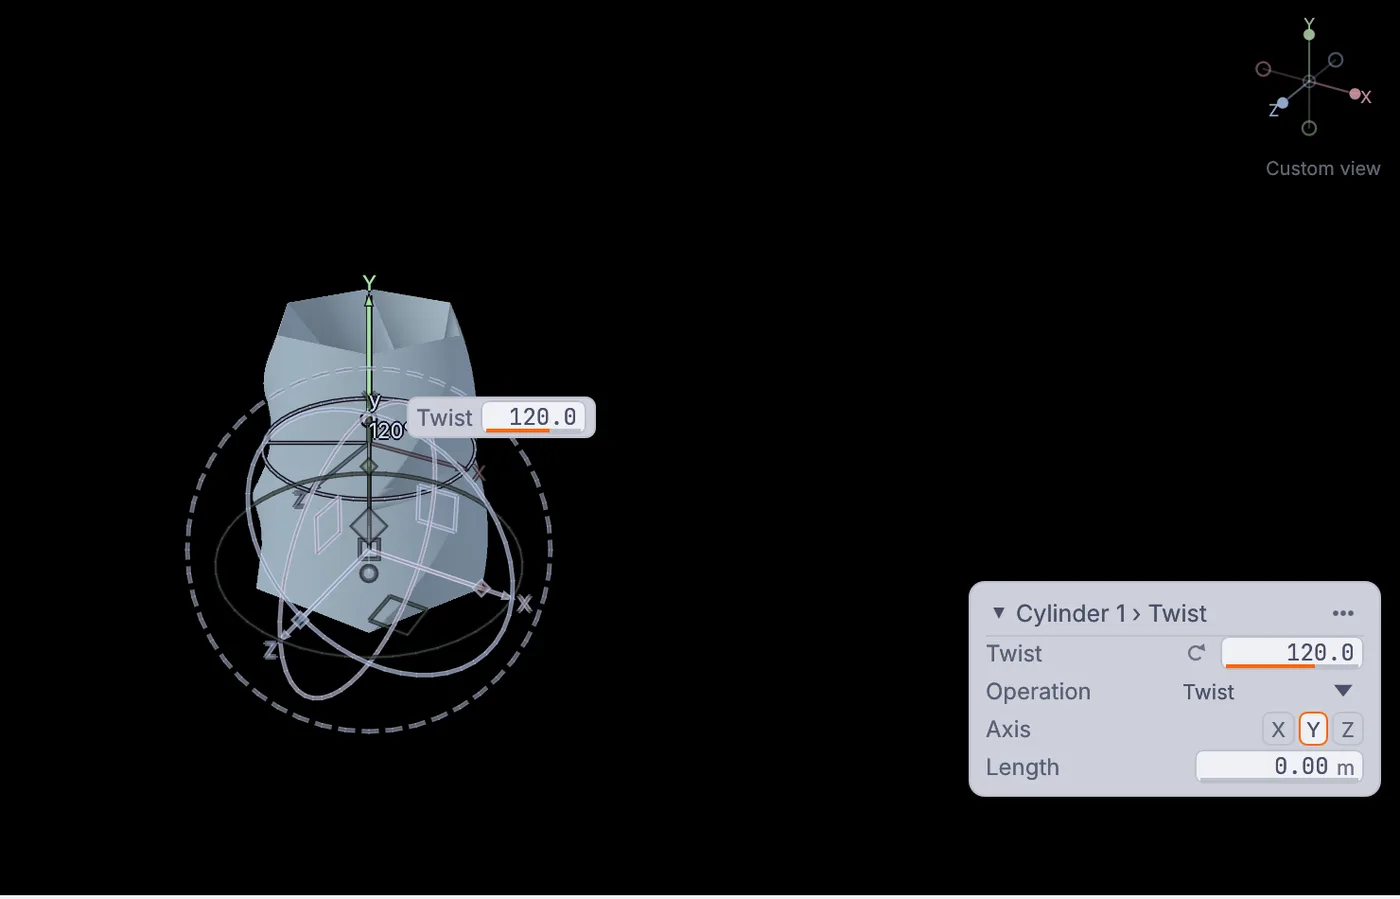
Twist set to 120 degrees. Open Surface > Material > New PBR material. Then, in the Objects panel under Materials, click Cylinder 1 material, and in Properties set the hex box beside Base color to
#4A7FD0. Turn the view to admire it, and save with File > Save.
On the canvas
The steps line up in order: 3DGeoCylinder, then 3DGeoInset for the opening, 3DGeoTaper, 3DGeoTwist, and 3DGeoSetMaterial with its PbrMaterial at the end. Click any earlier step to change it, and everything after it follows.
Make it yours
- Set Around to
12for a rounder vase, or4for a twisted square tower. - Twist the other way with
-120, or go wild with360. - Taper with a negative number for a vase that flares out at the top.
- Give the material some shine: lower its Roughness in Properties.