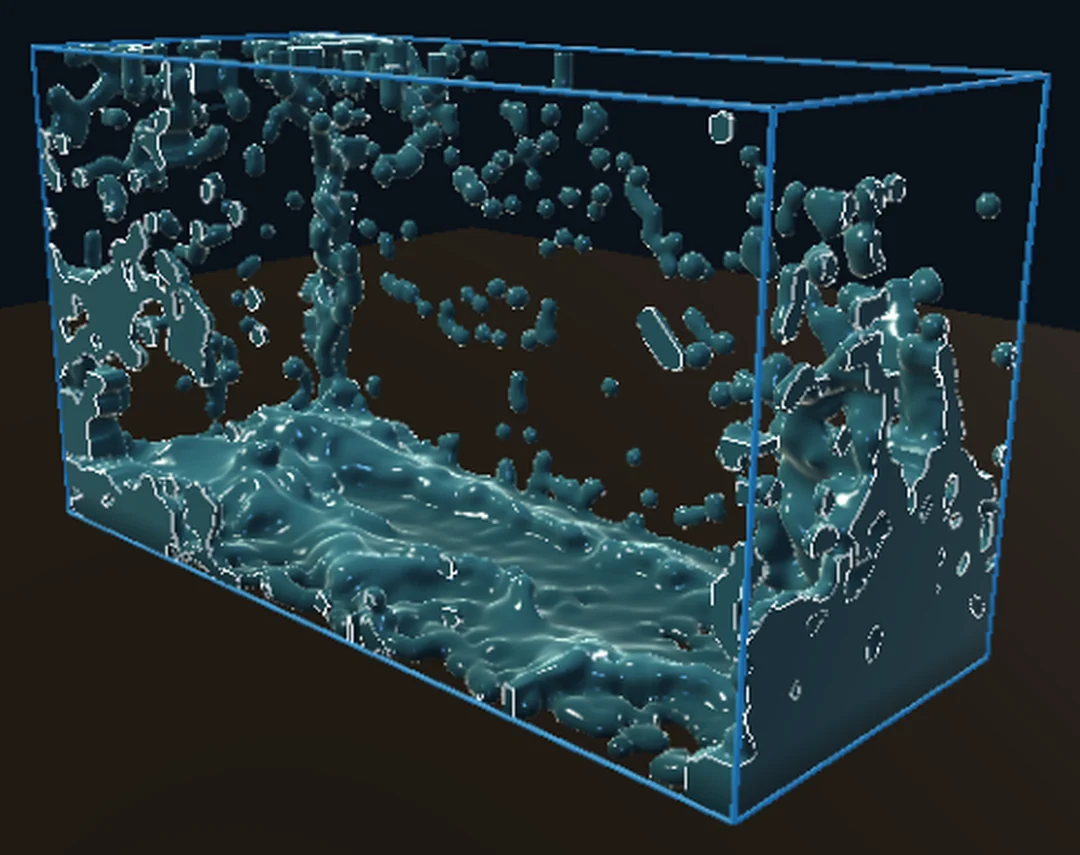
One node runs the whole liquid, so a few settings change everything about how it moves.
Steps
Choose Help > Browse Demos..., type
damin the search box and open Liquid Dam Break. It plays at once: the column lets go, races down the tank, slams the far wall and sloshes back. It is a heavy sim, so expect a few frames a second on most computers.In the Objects panel, under Simulations, click flip. The viewport switches to the liquid's particles, and a card on the right holds Cell size, Friction, Bounce, Time scale and Viscosity enable.
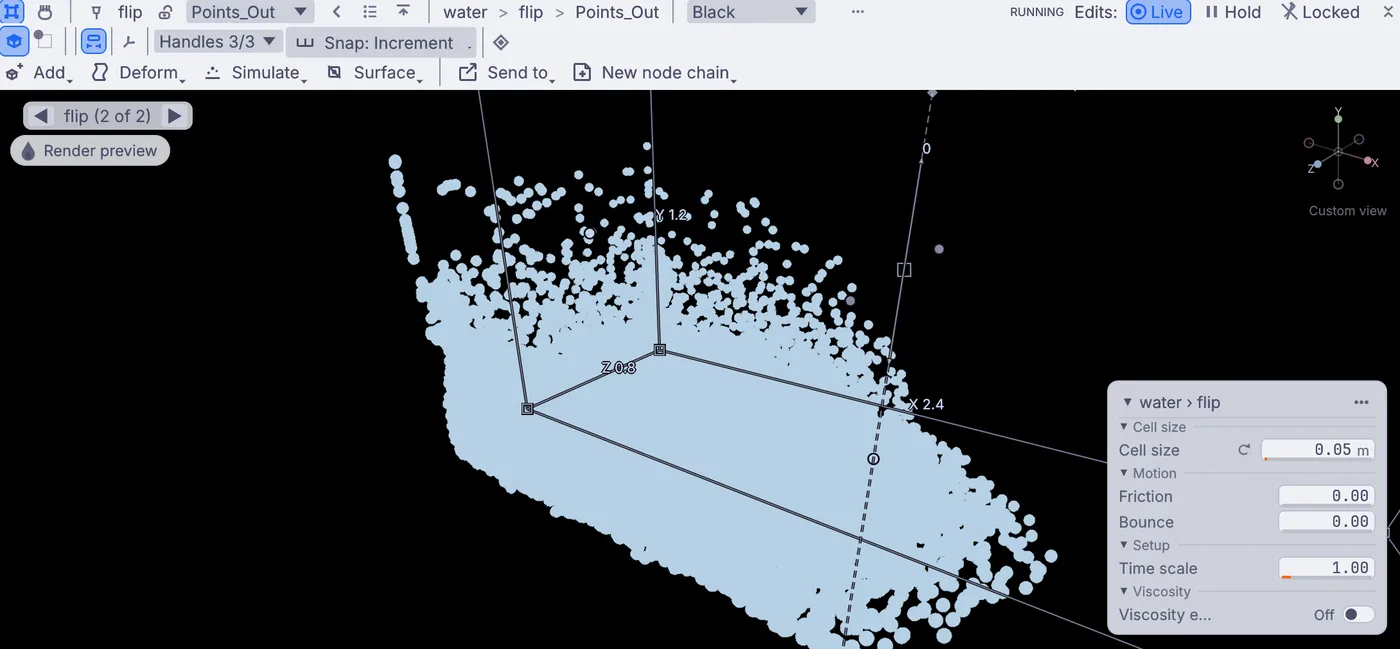
The water as particles in its box, with the card showing Cell size, Friction, Bounce, Time scale and Viscosity enable. On the card, turn on the Viscosity enable switch and set Viscosity below it to
0.5. To watch from the start, press stop and then play on the timeline at the bottom of the window. This time the column slumps forward slowly like wet mud instead of crashing.Click the back arrow in the viewport's header (its tip reads Back to what you were looking at) until you see the shaded picture again.
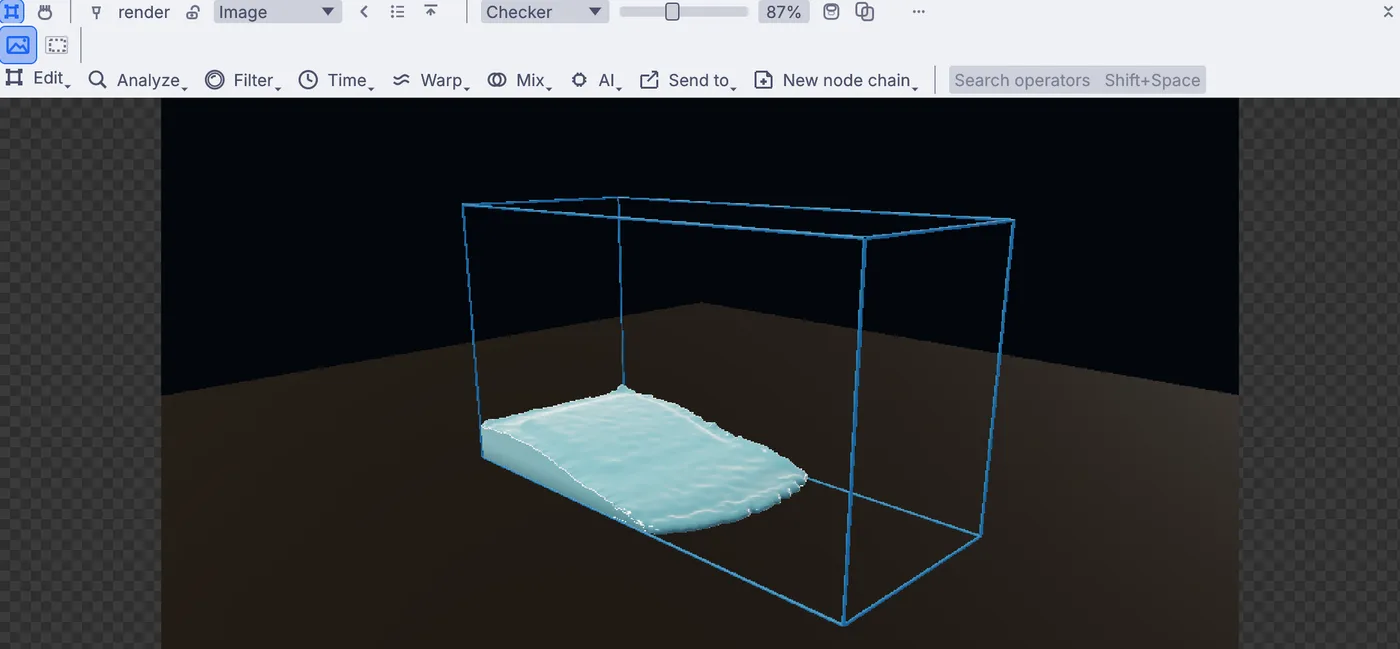
The thick version: a heavy, rounded slab of liquid easing across the tank floor. Set Time scale to
0.5on the card for slow motion, or2to speed it up.Give it more water. In the Objects panel, under 3D, click water. This is the column the sim starts from, with handles on every side. Drag the top handle up, or set Size y in Properties to
1.1. Press stop and play to start over with the taller column.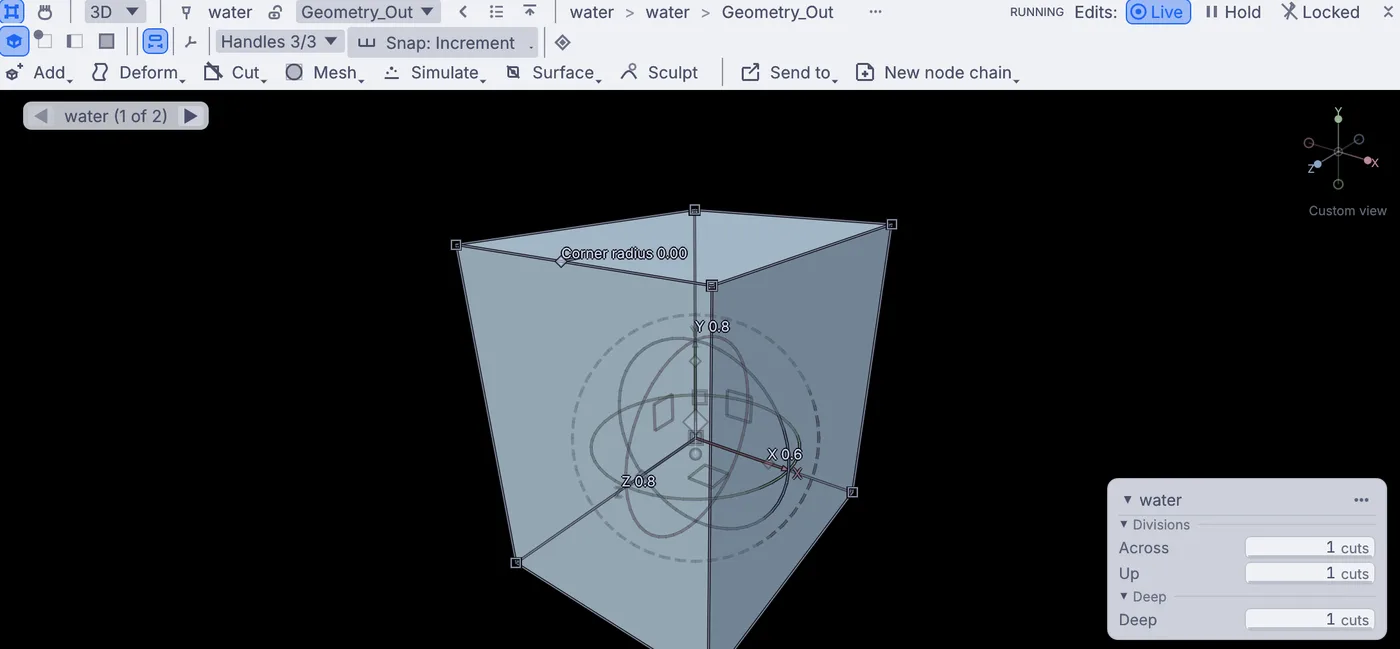
The starting column of water picked in the viewport, with handles on its sides. Turn Viscosity enable off again for water, and watch the taller column hit the far wall harder and throw more spray.
On the canvas
The demo's 3DGeoBox named water is the starting column, and one 3DGeoFlipSimpleSolver named flip runs the whole liquid. Everything you changed sits on those two nodes; the rest of the graph lights and shades the picture.
Make it yours
- Set Viscosity to
0.005for something like honey: it still flows, but it folds as it lands. - Set Viscosity to
5and the column barely moves, like cooling lava. - Move the water column to the middle of the tank (set its Center x to
1.2) so it splashes out both ways. - Make Cell size smaller, such as
0.04, for finer detail. It runs slower.