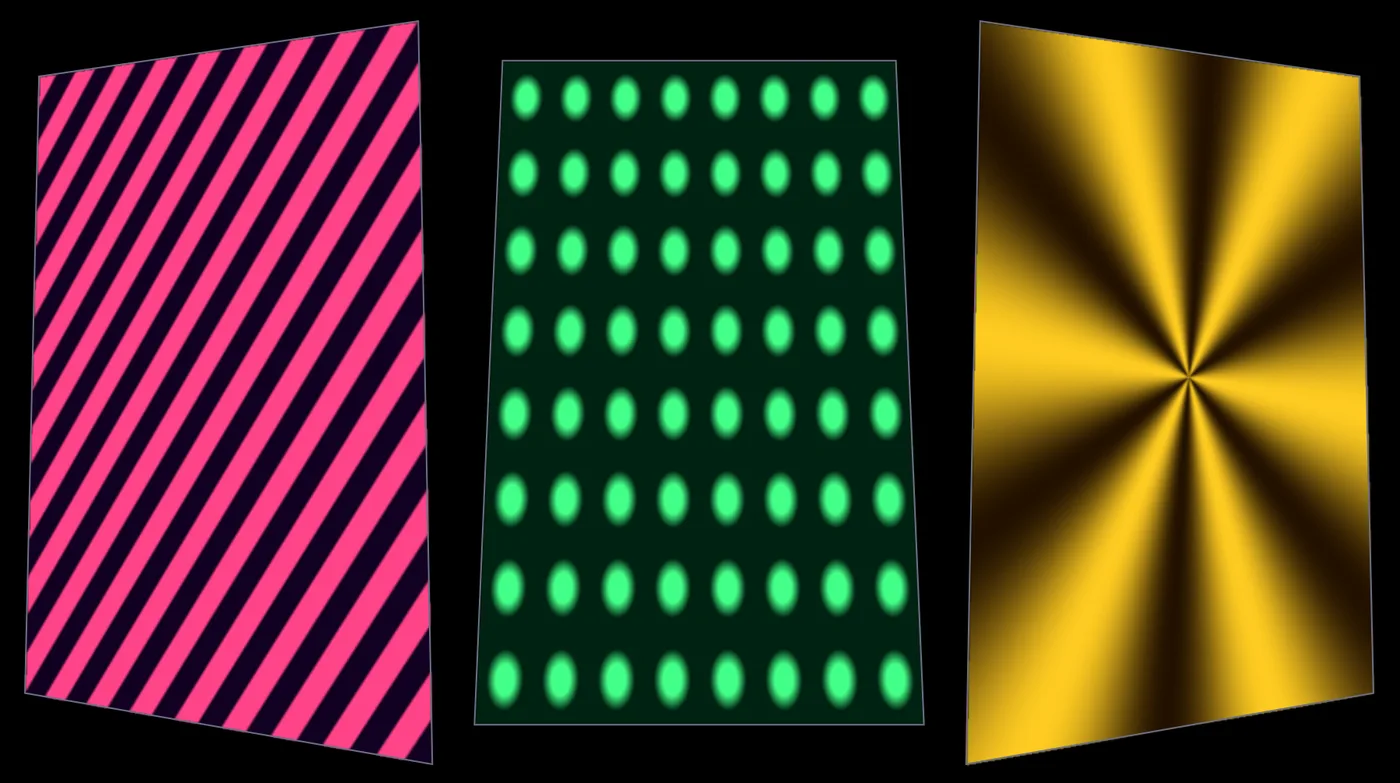
Three flats on a stage, three faces of a box, three windows of a shop: each one gets its own picture.
Steps
Choose Help > Browse Demos..., type
mapperin the search box and open Projection Mapper Multi Texture. Three panels of moving pattern sit side by side.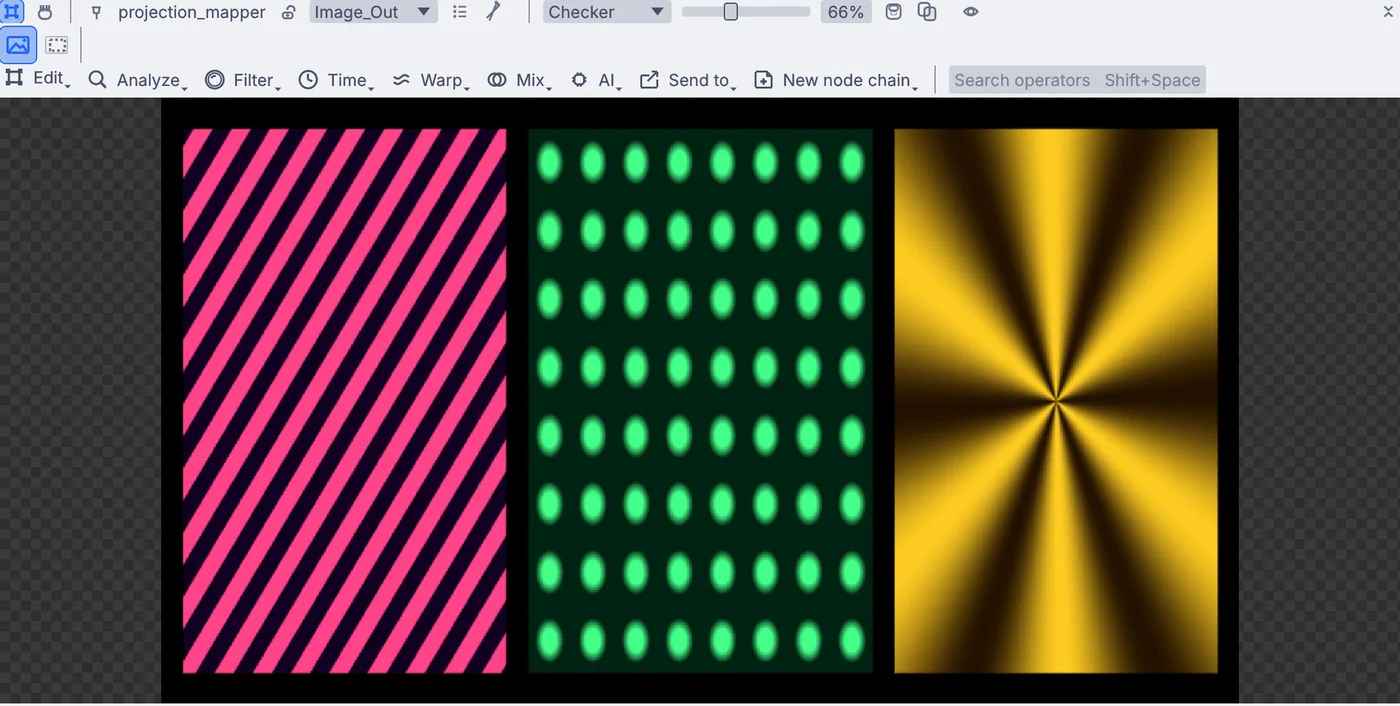
The demo as it opens: stripes, dots and a star in three straight panels. A card at the lower right of the viewport reads Open the projection mapper (E). Click it. The Projection Mapper editor opens in its own window, with the panels listed on the left: Star Panel, Dots Panel and Stripes Panel.
Put the picture on your projector: choose Window > Outputs..., pick the projector under Display in the perform window settings and press
F1. The editor window stays open beside it.In the editor, click a panel and drag each of its four corners until it lands on the matching corner of the real surface. Watch the wall, not the screen.
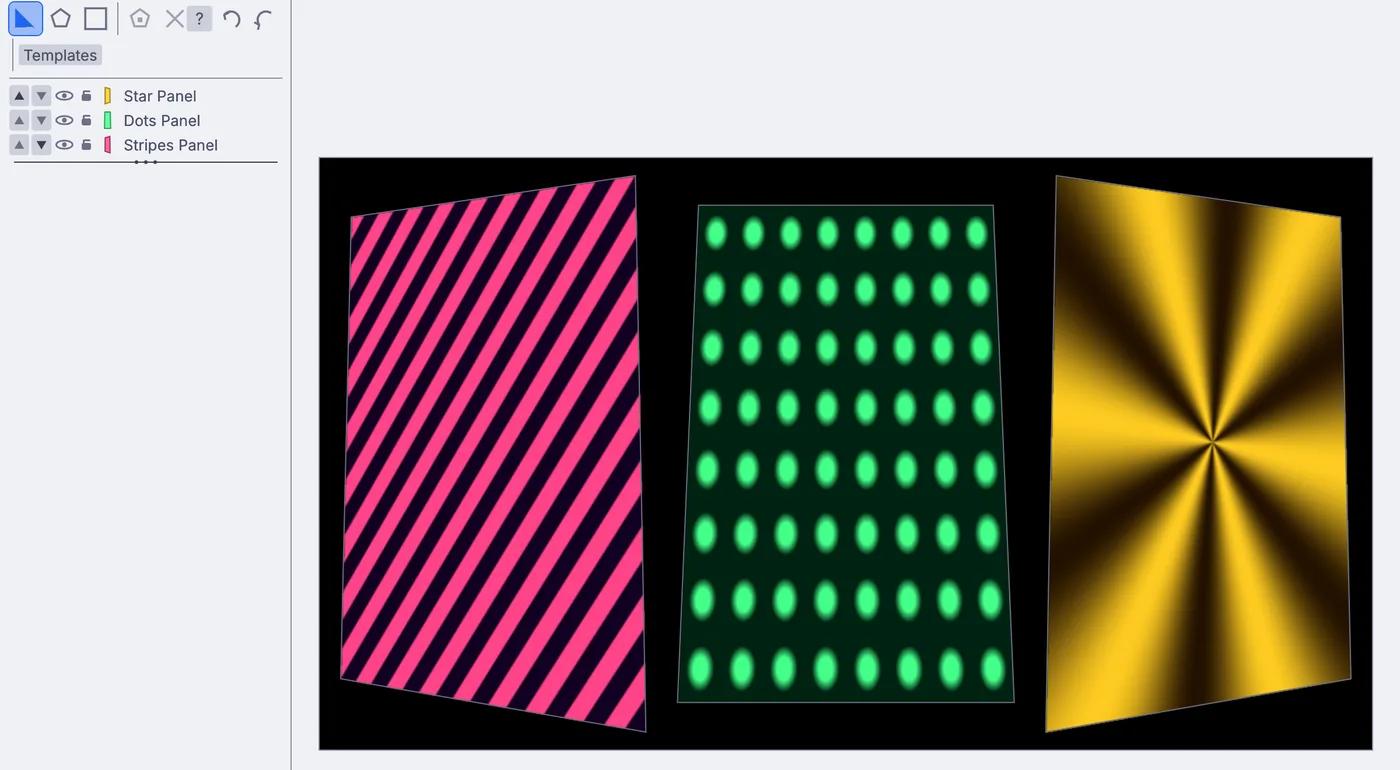
The Projection Mapper editor with the three panels tilted to match three surfaces at different angles. For an exact spot, type the corner positions in the panel's Geometry settings under the list, from
0at one edge of the picture to1at the other.Need another surface? Press
Qand drag out a new quad, or pressFand click around an odd shape to draw it freehand. Templates drops a ready set of panels.Close the editor and press
F1. Each pattern now sits on its own surface.
On the canvas
The demo's ImagePattern nodes make the stripes, dots and star and hand them to one ProjectionMapper. Every panel you drag is saved inside that node, so the map travels with the file.
Make it yours
- Press
Hwith a freehand shape picked and draw a hole in it, so a window or a door stays dark. - Turn on Soft Edge for a panel where two panels meet, so the seam fades instead of cutting.
- Lower a panel's Opacity for a ghostly layer over another.
- Pick Grid 3x3 from Templates to map a wall of nine screens.